
Add Live Chat to ClickFunnels Courses
In this tutorial we'll cover setting up FastComments Streaming Chat with a ClickFunnels course. We'll also add a code snippet at the end for Live Commenting if you want to use that instead.
Note that this tutorial is for a Course module but the steps are similar for adding commenting to blog posts and pages (simply edit the corresponding template).
We will also briefly cover setting up automated comments to help encourage people to engage.
Note that this tutorial requires a FastComments account. It's recommended that you sign up first and then come back here. You can create an account here.
Step One: Find The Template 
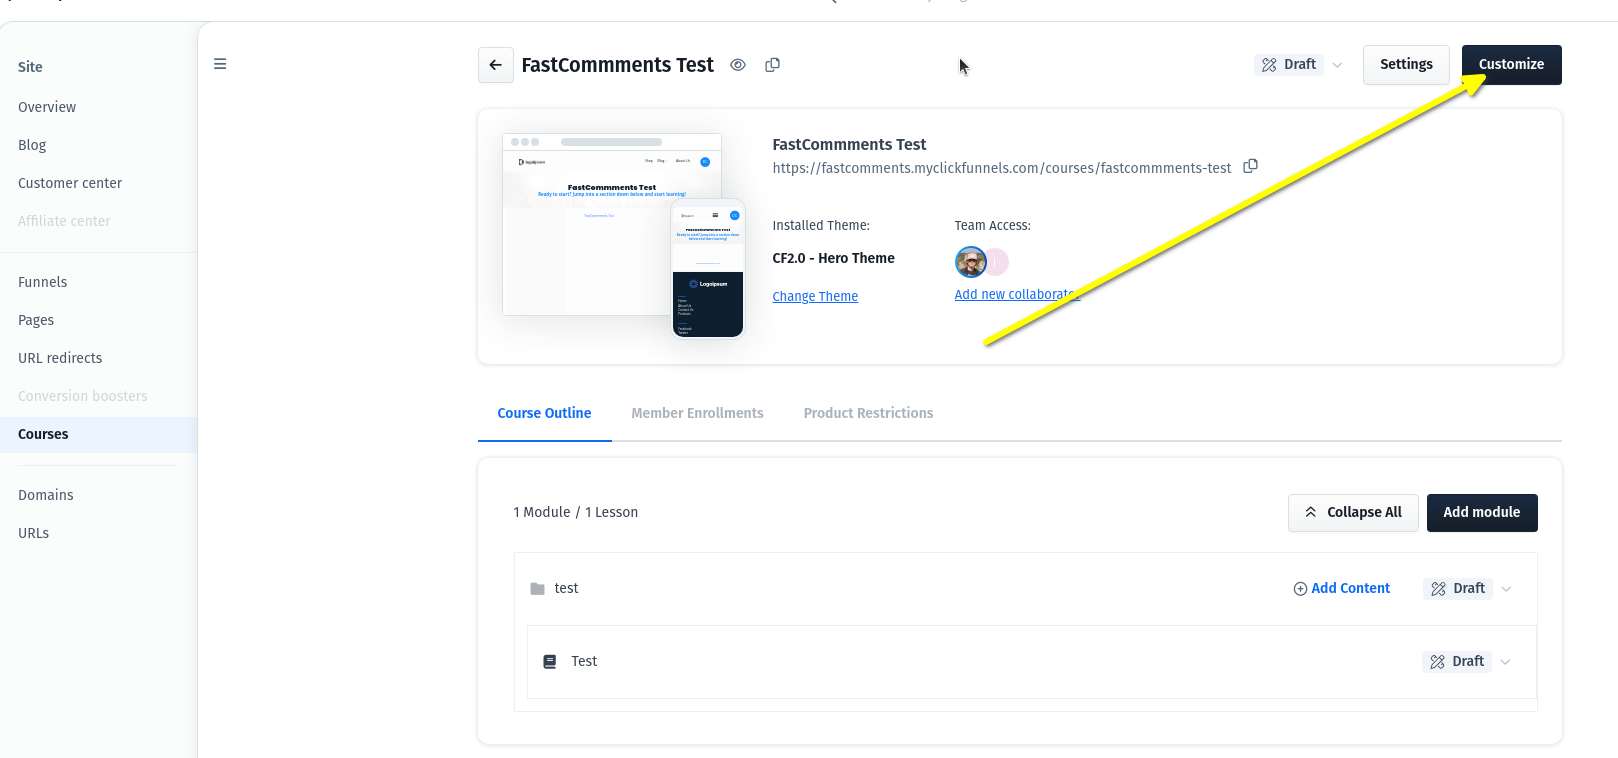
First, we need to open the ClickFunnels template editor. For courses, this is accessed by opening the course and clicking Customize in the top right:
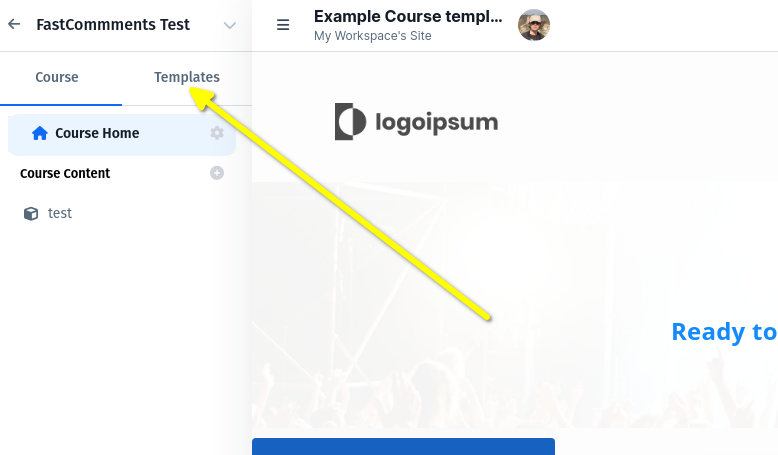
Go to Templates:
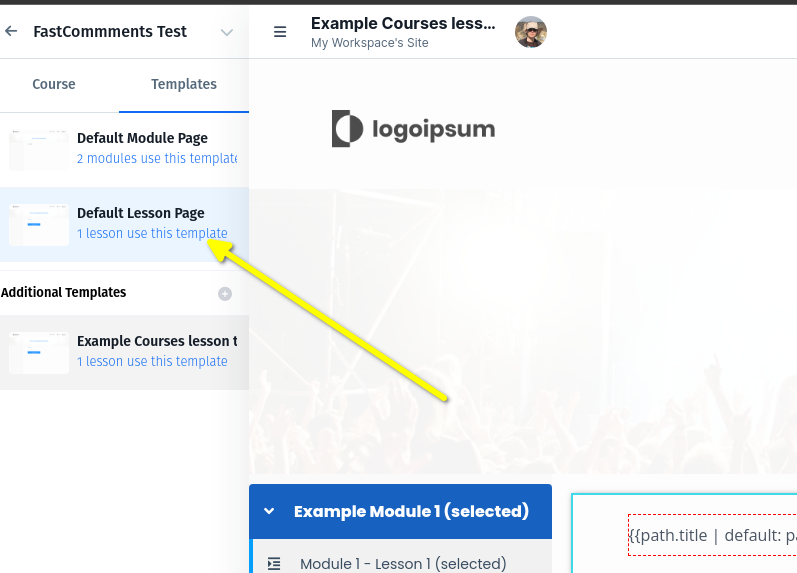
Courses consist of different templates. We want to display comments on lessons, so select Default Lesson Page (for example):
That's it! Now you're ready for step two.
Step Two: Add The Code
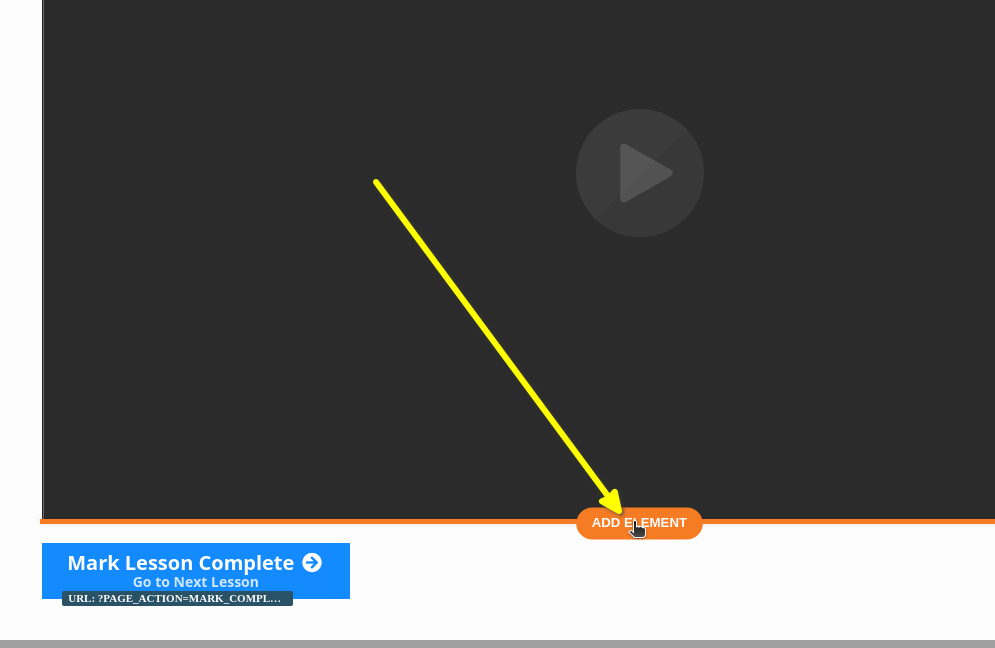
Now that we're in the template editor, we must decide where we want to display the comments, or live chat.
In this example we will add it directly below the video. Hover the element to add the widget to the end of, and click ADD ELEMENT:
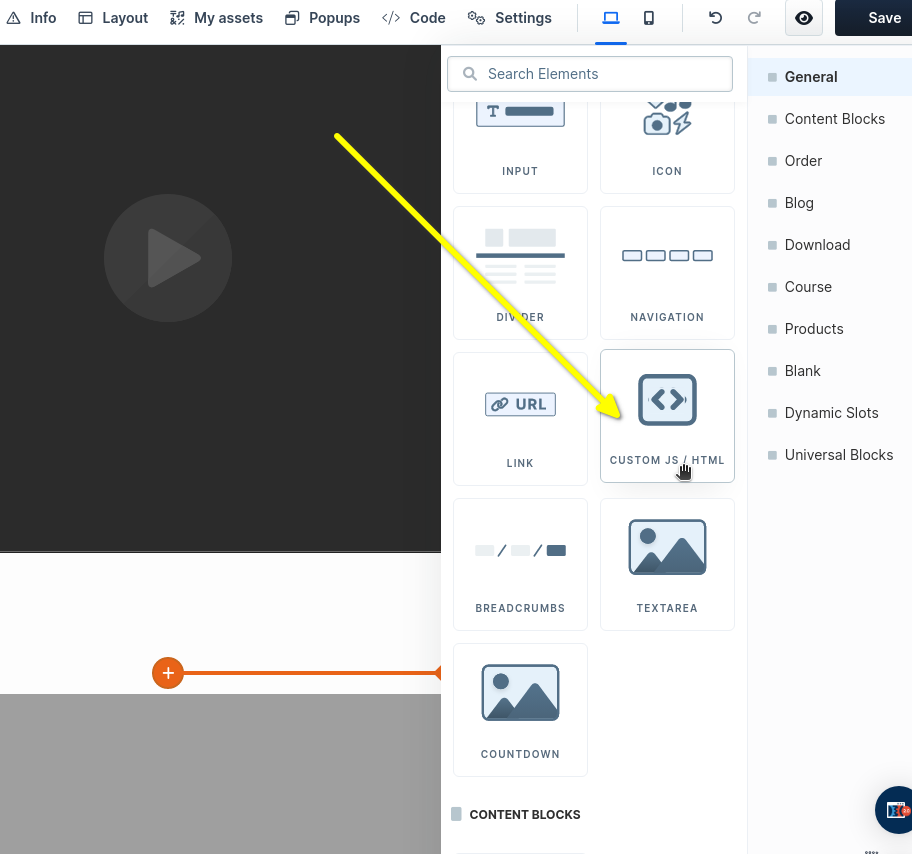
Select CUSTOM JS/HTML:
Now let's open the code editor where we'll paste our code.
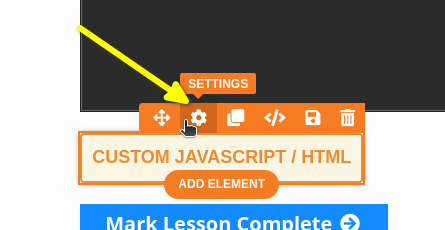
ClickFunnels is a bit confusing on this next step.
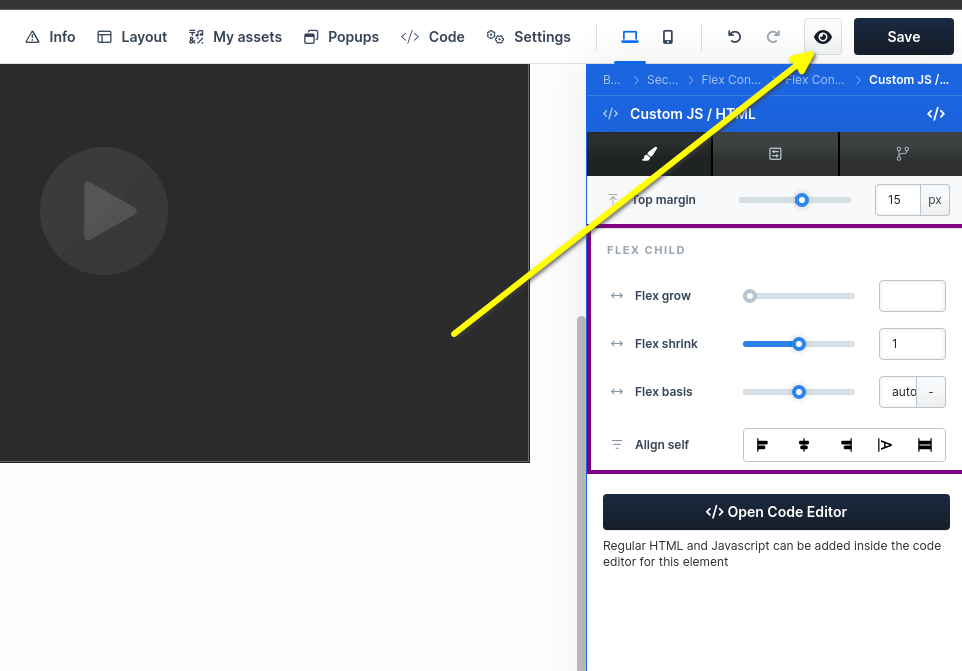
It's important that you DO NOT select Code when you hover over the new element. Instead, select SETTINGS:
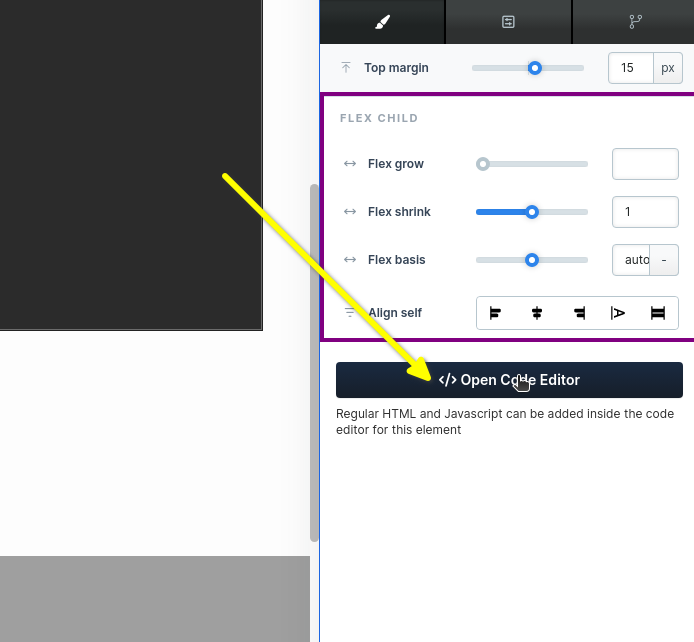
Now on the right hand side we can click Open Code Editor:
You'll see a big square open up. This is where we can paste our code. Copy the following snippet (use the copy button in the top right):

This code snippet is for our Streaming Chat product, which goes well with videos. If you want the Live Commenting widget code snippet instead, which goes best with regular pages or blog posts, it's at the end of this tutorial.
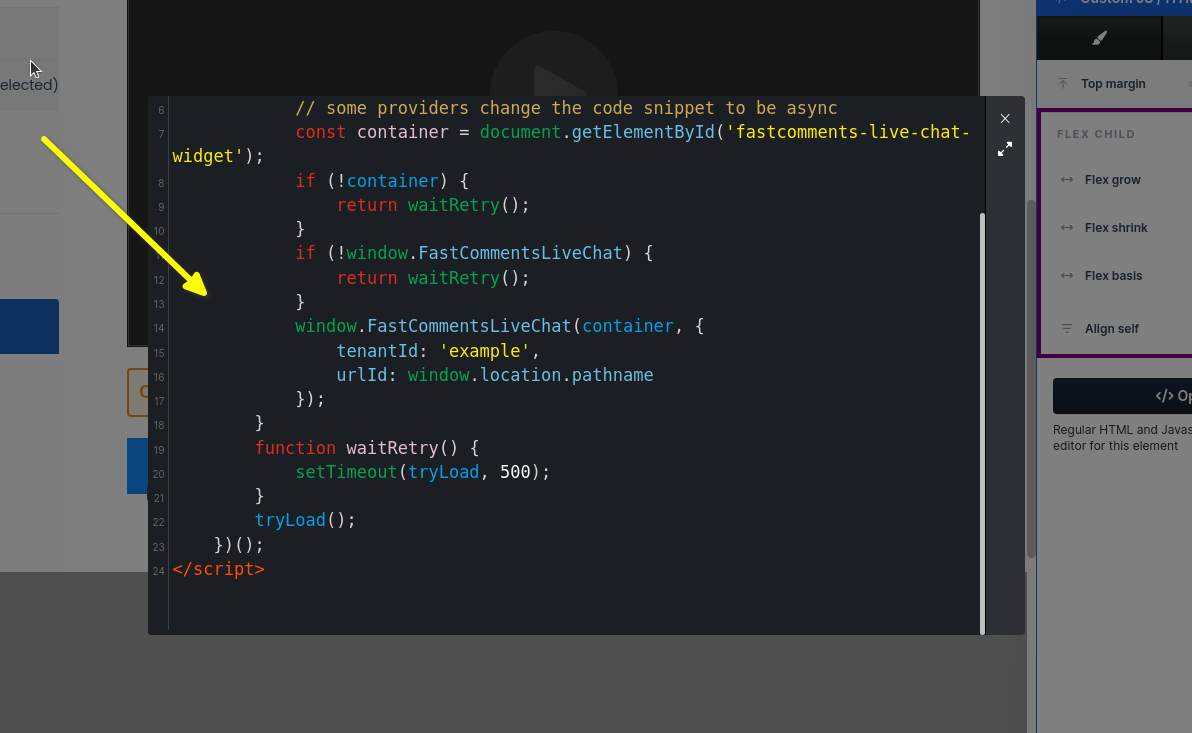
When we paste the code snippet into the window, it should look like this:
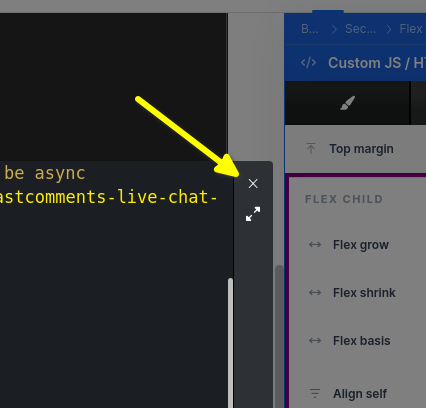
Now we just have to close the box:
Now you can preview your changes! Feel free to move the widget around and see where you like it best.
Success! Don't forget to test mobile!

Domain Errors
You may get an authorization error, like the following:

This is because FastComments doesn't know it's supposed to allow your account to be used on this domain.
In this case, the fix is simple. You just have to add your site to your FastComments.com account.
Customization
FastComments is designed to be customized to match your site.
If you'd like to add custom styling, or tweak configuration, Checkout our Customization Documentation to learn how.
Extra: Code Snippet for Live Commenting
If you're looking for the ClickFunnels Live Commenting code snippet, try this:
Extra: Auto Play Comments
FastComments supports something called Auto Play. This allows you to import a CSV of comments and schedule them to play at certain offsets based on hour, minute, and seconds from page load time.
It also automatically adds any comments posted back into the autoplay script, at the correct time, so that your video script grows with each webinar without any manual work.
This is currently included in all FastComments plans.
Learn more about Scheduled Comments here
Note!
Remember that the URL ID column in the CSV file must match the URL of the course/video.