
Add Members-Only Live Commenting to ghost Sites
With FastComments we can easily add live, members-only commenting to any site built with Ghost.
We will be able to automatically import your members usernames, avatars, and have comment reply notifications setup.
Note that this tutorial requires a FastComments account. It's recommended that you sign up first and then come back here. You can create an account here.
In this tutorial we'll be targeting a blog built with Ghost, but with a little know-how the same instructions apply to any type of site.
This tutorial starts from the perspective of a user who is very new to Ghost. Users experienced in editing their themes can skip to Step 4.
If you're having trouble, feel free to send your exported theme template to your support representative (still requires steps 1 - 5).
Step 1: Download Your Theme 
To add FastComments to Ghost properly, we have to edit theme files.
So let's start by downloading your existing, or desired theme.
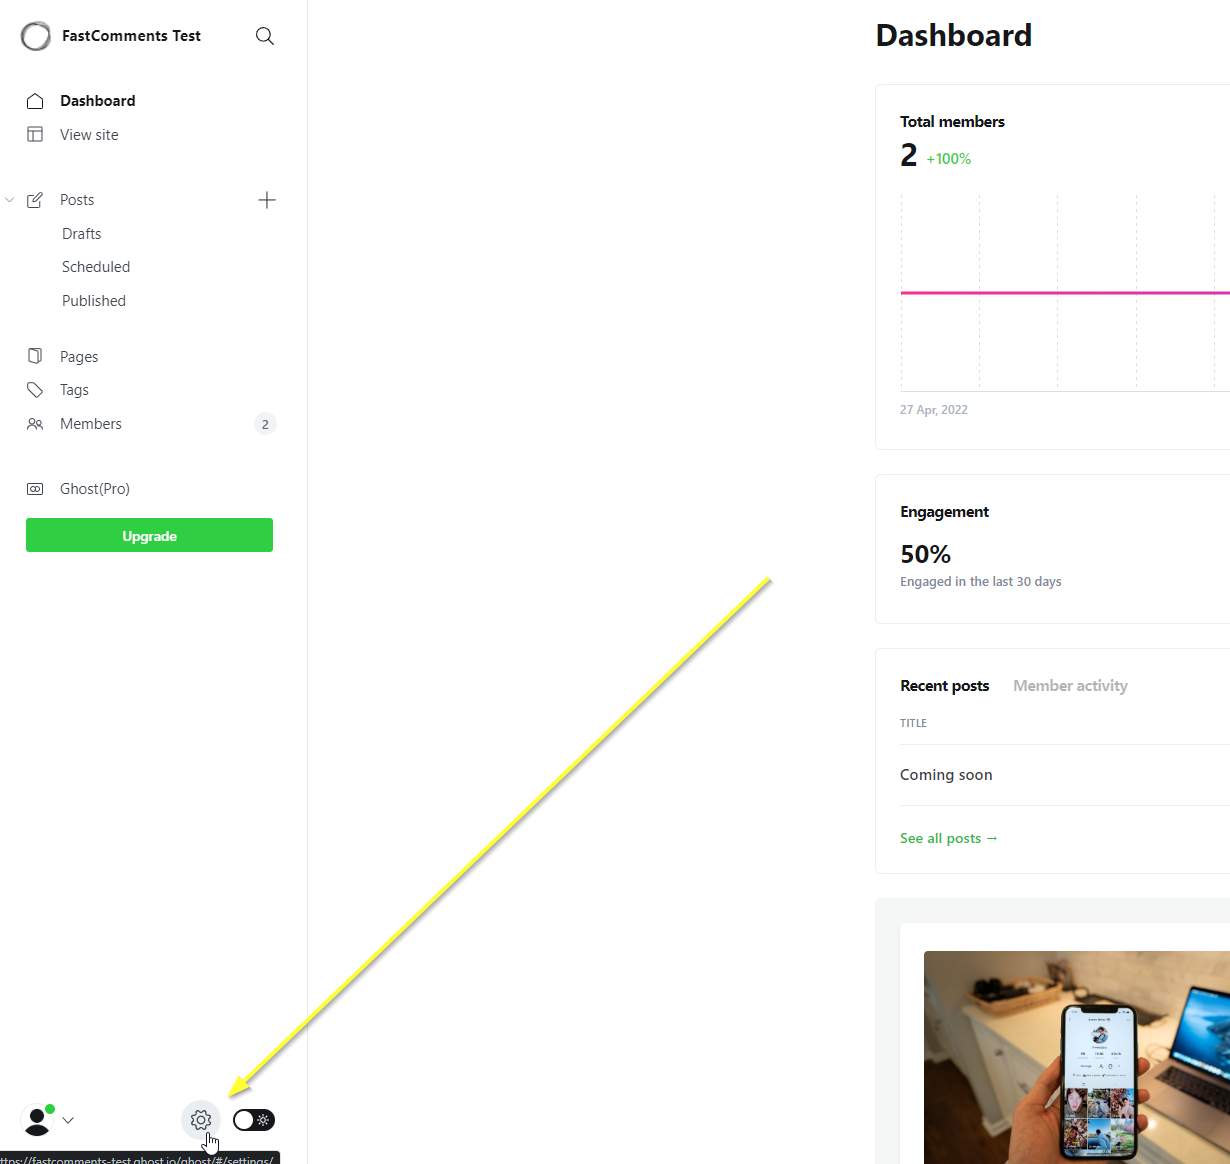
Navigate to your site dashboard and click the gear in the bottom left:
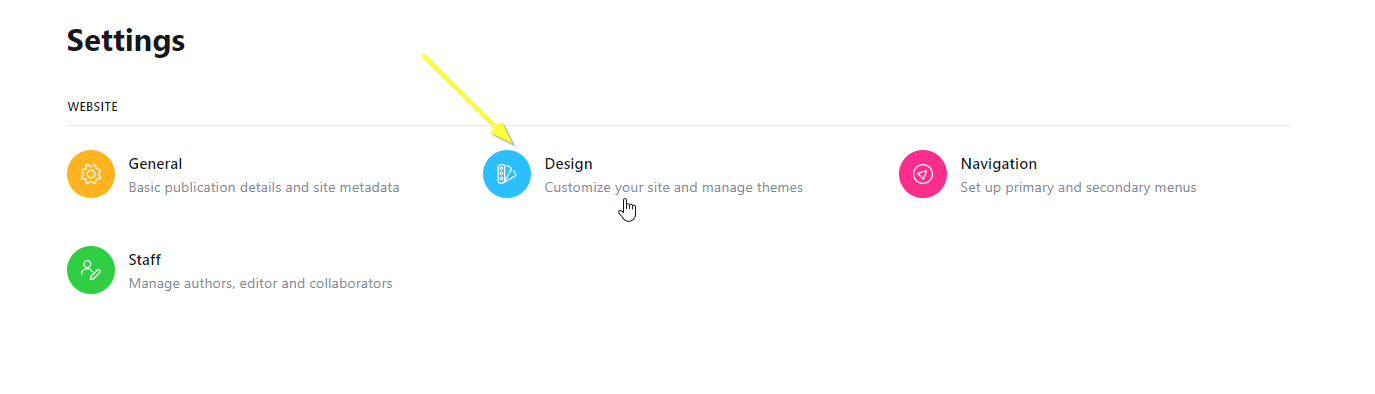
Next select the Design option:
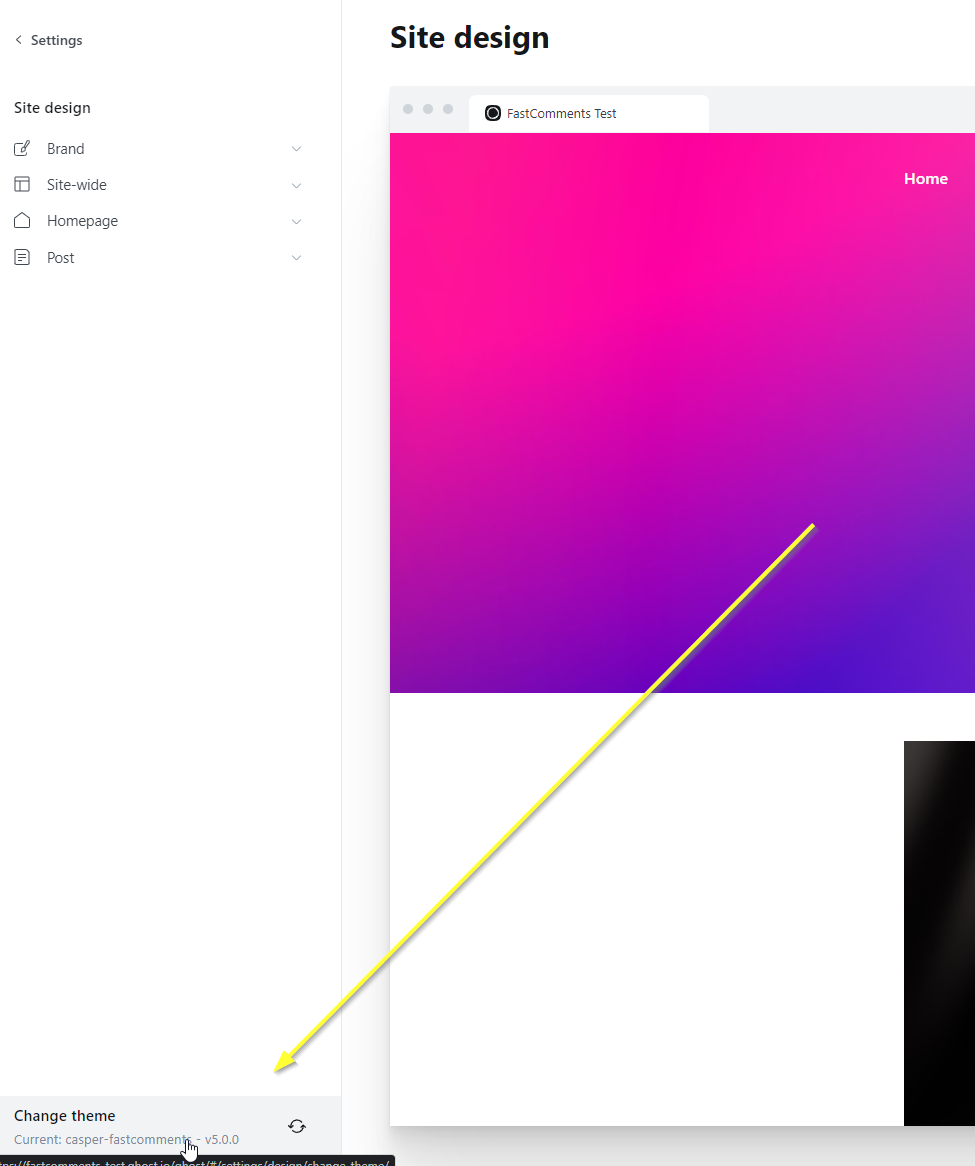
While we're not technically changing the theme, click Change Theme in the bottom left:
In the top right select Advanced:
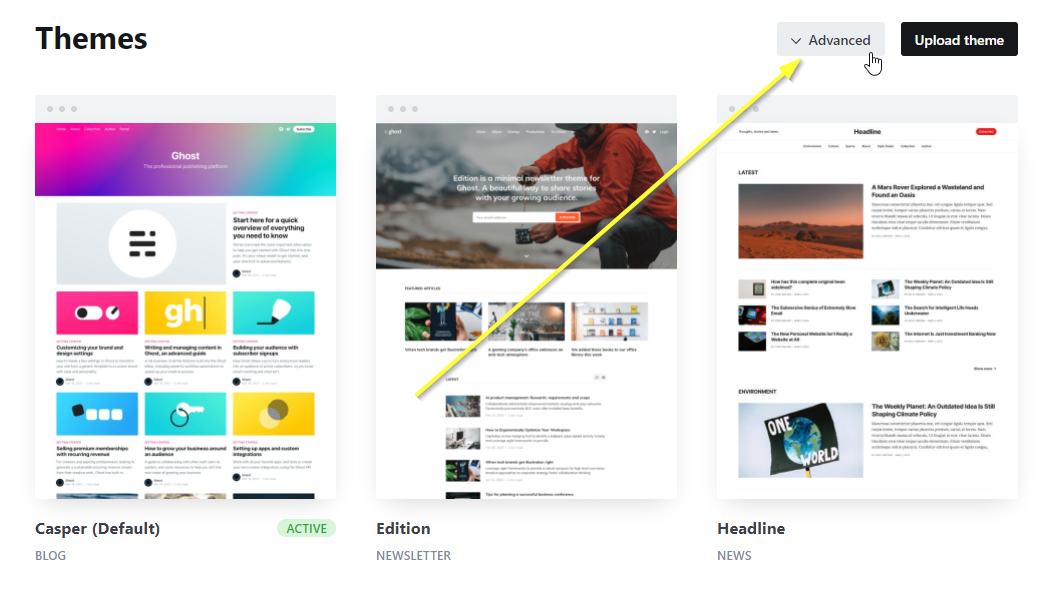
...and then download your current or ideal theme:

Step 2: Install Your Theme Locally
Now that we've downloaded the zip file, extract it to a folder. I've downloaded the default casper.zip and extracted to Downloads\casper on Windows.
Next, you'll want to make sure you have the LTS or newer version of NodeJS installed. You can get that here: https://nodejs.org/en/download/
Once NodeJS is installed, you'll want to install a code editor.
We recommend (and use) Webstorm, which you can get here with a 30-day trial (no credit card needed): https://www.jetbrains.com/webstorm/
The next best free option would probably be Visual Studio Code: https://code.visualstudio.com/download
Once you have your editor setup, and the theme folder open in the editor, open the terminal in the IDE and run:

Successful output will look like this (you can ignore warnings):
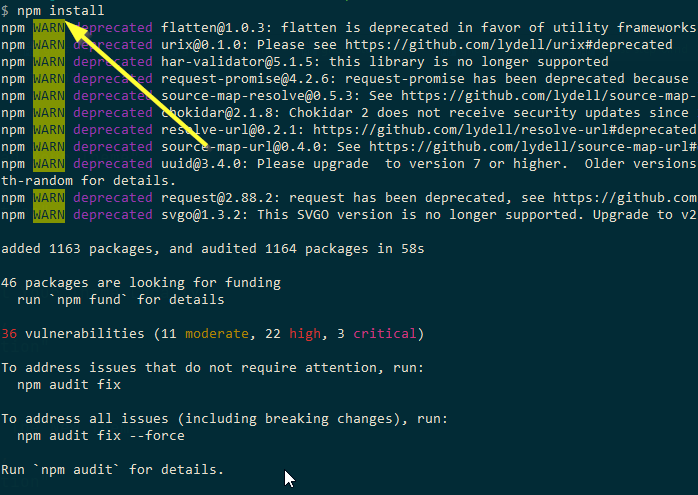
This will set up the theme's dependencies for later commands we will run. Also, the export depends on the theme's dependencies being installed, otherwise the re-import will not work properly.
Step 3: Name The New Theme
Now that we have the theme open in our editor, open package.json and change the name field to something else. In our case we just add -fastcomments onto the end:
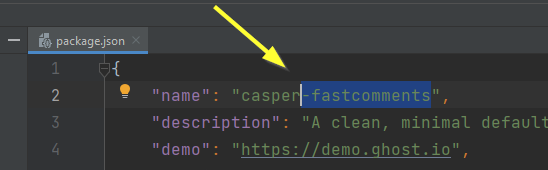
If you're using an IDE it will auto-save after you make this change.
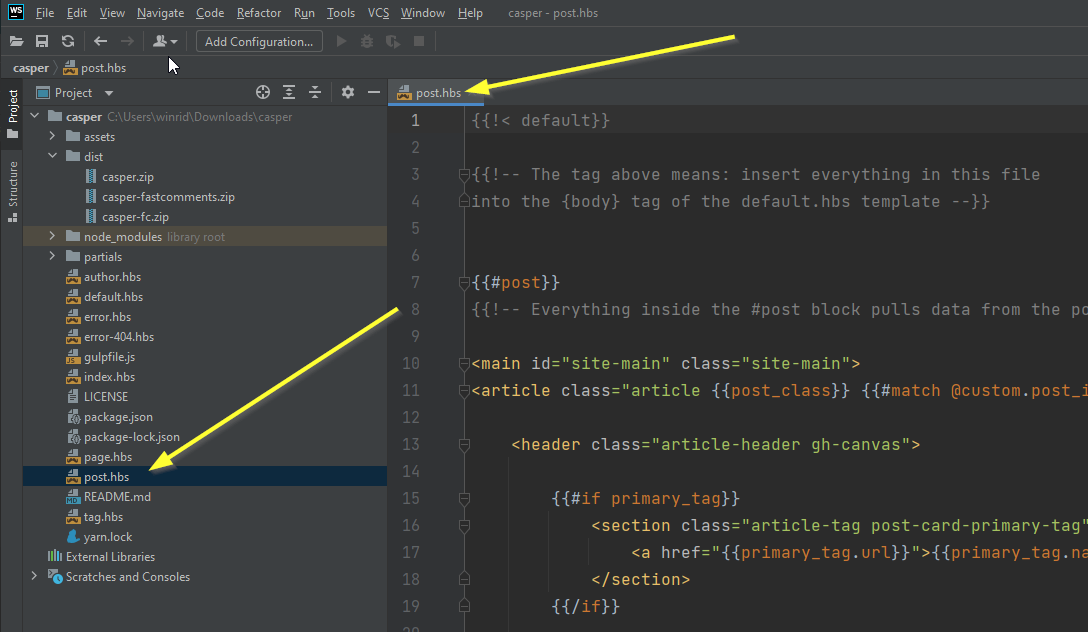
Step 4: Open The Post Template
Now we're going to open the template that is used for our blog articles. It's called post.hbs:
Step 5: Add The FastComments Code
Next we need to identify where to add the FastComments.com widget code.
If you're using the default casper theme, you'll see a section like this at line 82:
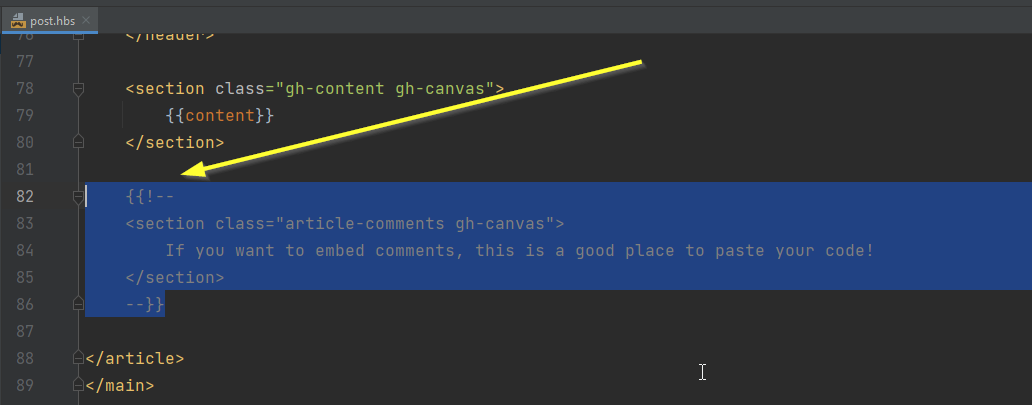
If you're using other themes, you won't see this, and will need to add this code after the last </section>:
You should have something like this ready:

Once ready, copy the FastComments.com widget code:
...and it should look like this:

Coding done. Now we just have to re-import our theme!
Step 6: Export Your Theme
Now we need to package the theme files back into a zip file. To do this, use the built in features in Ghost.
Open your editor's terminal again and run npm run zip.
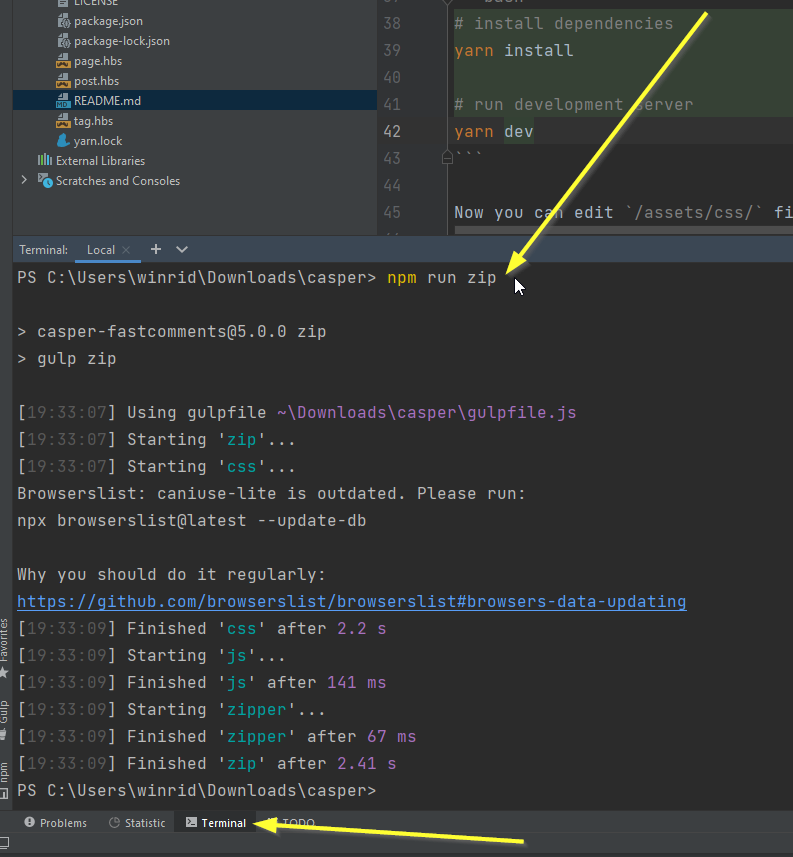
This will package the theme into a zip file in dist/casper-fastcomments.zip (if that is what you've named the theme in Step Three).
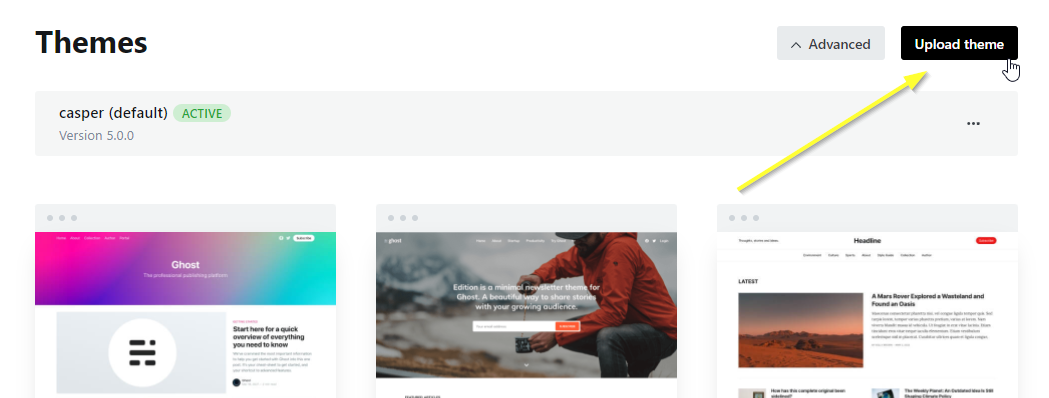
Step 7: Upload The Theme to Ghost
Back in the Ghost dashboard, let's upload our theme:
For me, I have the zip file in the following location. Note the dist folder:
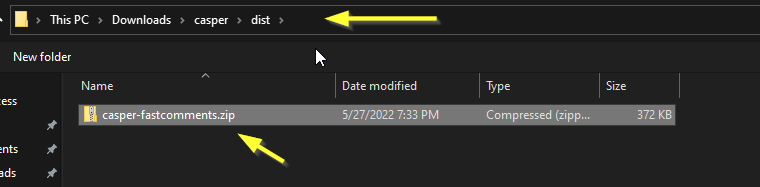
Remember to activate your newly uploaded theme (Ghost should ask you).
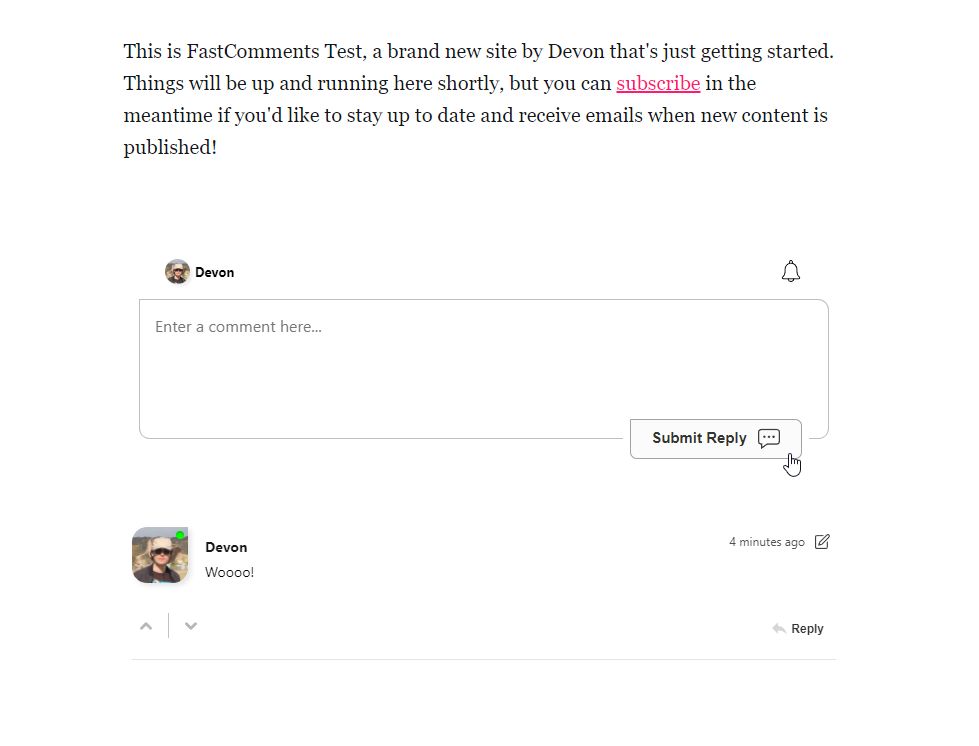
Success!
Now we should have FastComments Live Commenting enabled for our members!
Congratulations on setting up FastComments with Ghost! If you've run into a Domain Error, or would like to learn how to customize the comment area, read on!
Domain Errors
You may get an authorization error, like the following:

This is because FastComments doesn't know it's supposed to allow your account to be used on this domain.
In this case, the fix is simple. You just have to add your site to your FastComments.com account.
Customization
FastComments is designed to be customized to match your site.
If you'd like to add custom styling, or tweak configuration, Checkout our Customization Documentation to learn how.