
Add Comments to Ionos Sites
With FastComments we can easily add live commenting to any site built with Ionos.
Note that this tutorial requires a FastComments account. It's recommended that you sign up first and then come back here. You can create an account here.
Step 1: Add a Contact Form 
First, we're going to add a contact form which FastComments will replace.
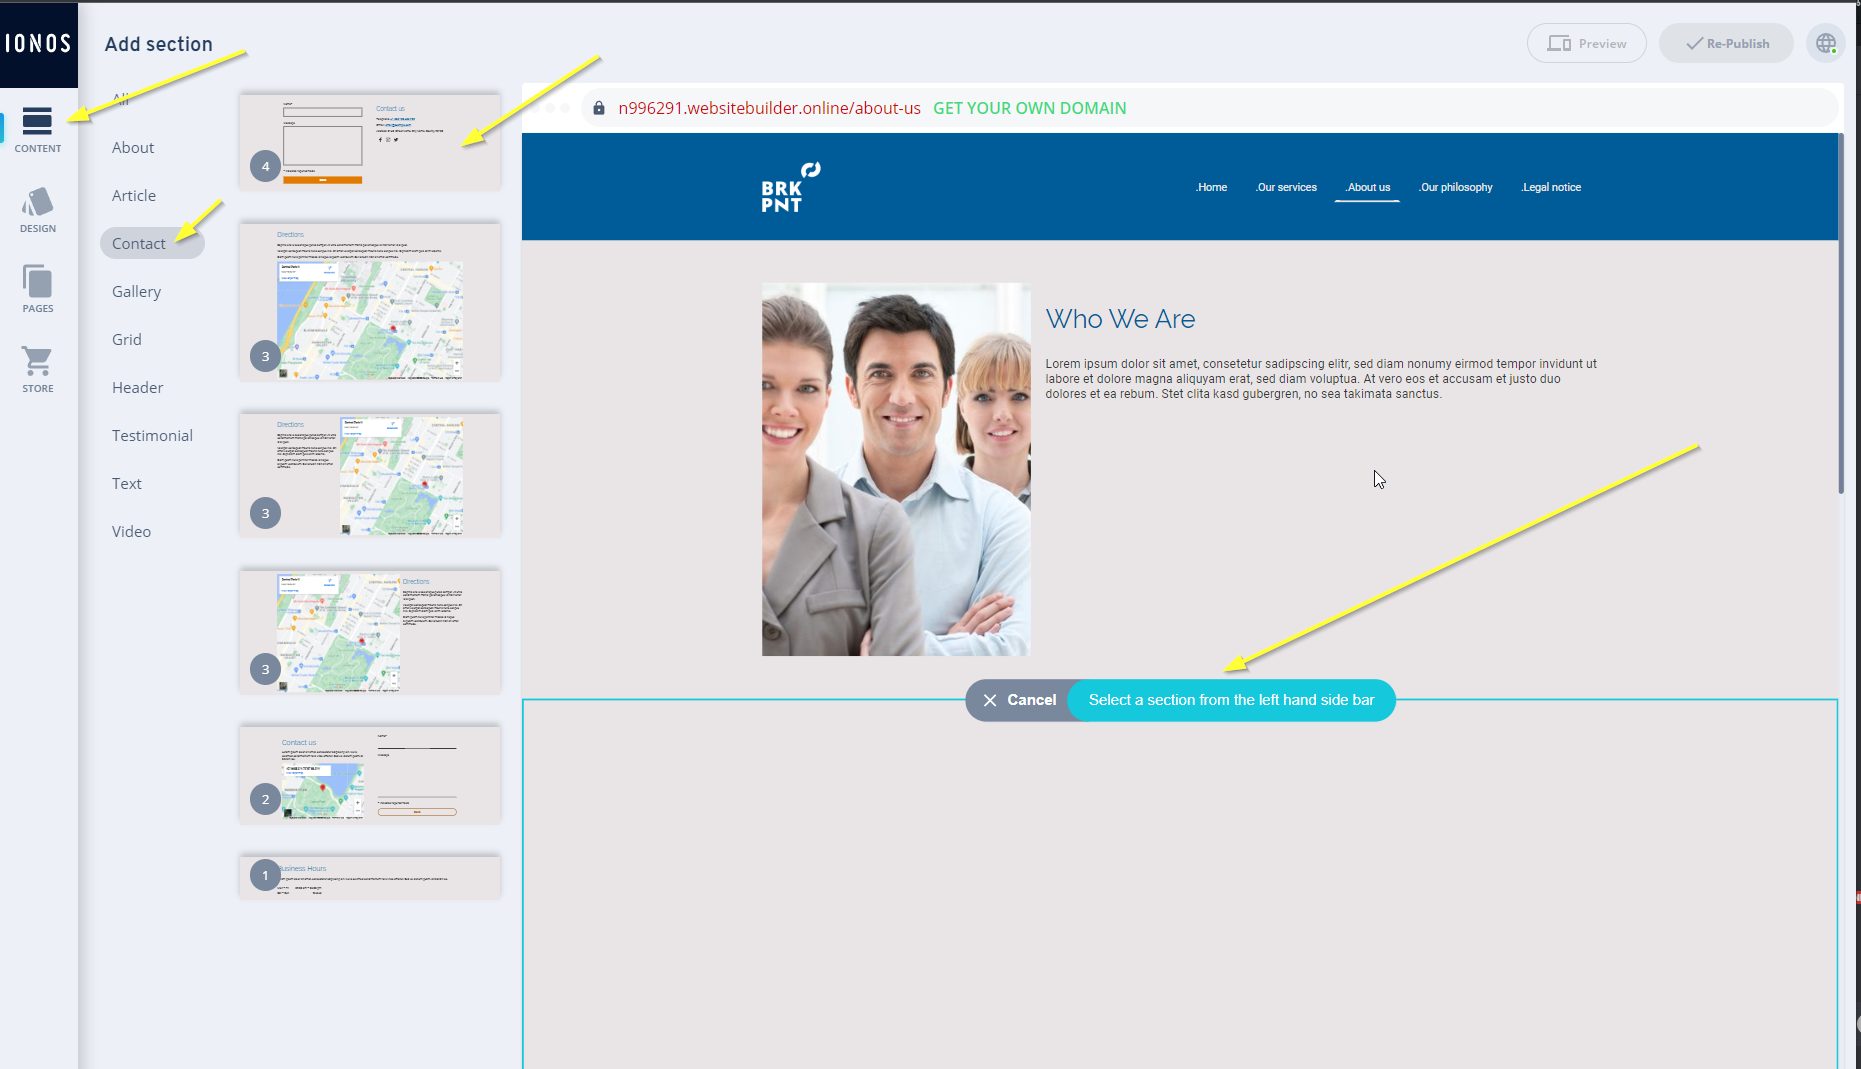
To do this, open the site editor, and click Add Section on the desired page.
Then, go to Content -> Contact -> Contact Form on the left, as shown:
Next, we need to tell FastComments to replace our form. Click on the default form title:
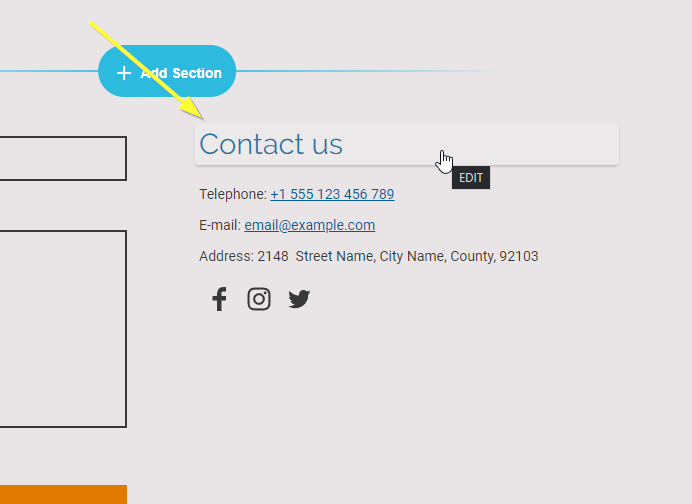
We'll set the title to FastComments Goes Here. It's very important that the casing
and spacing is the same, or else it won't work, so we recommend you copy this text and paste it in.
When done, it should appear as follows:
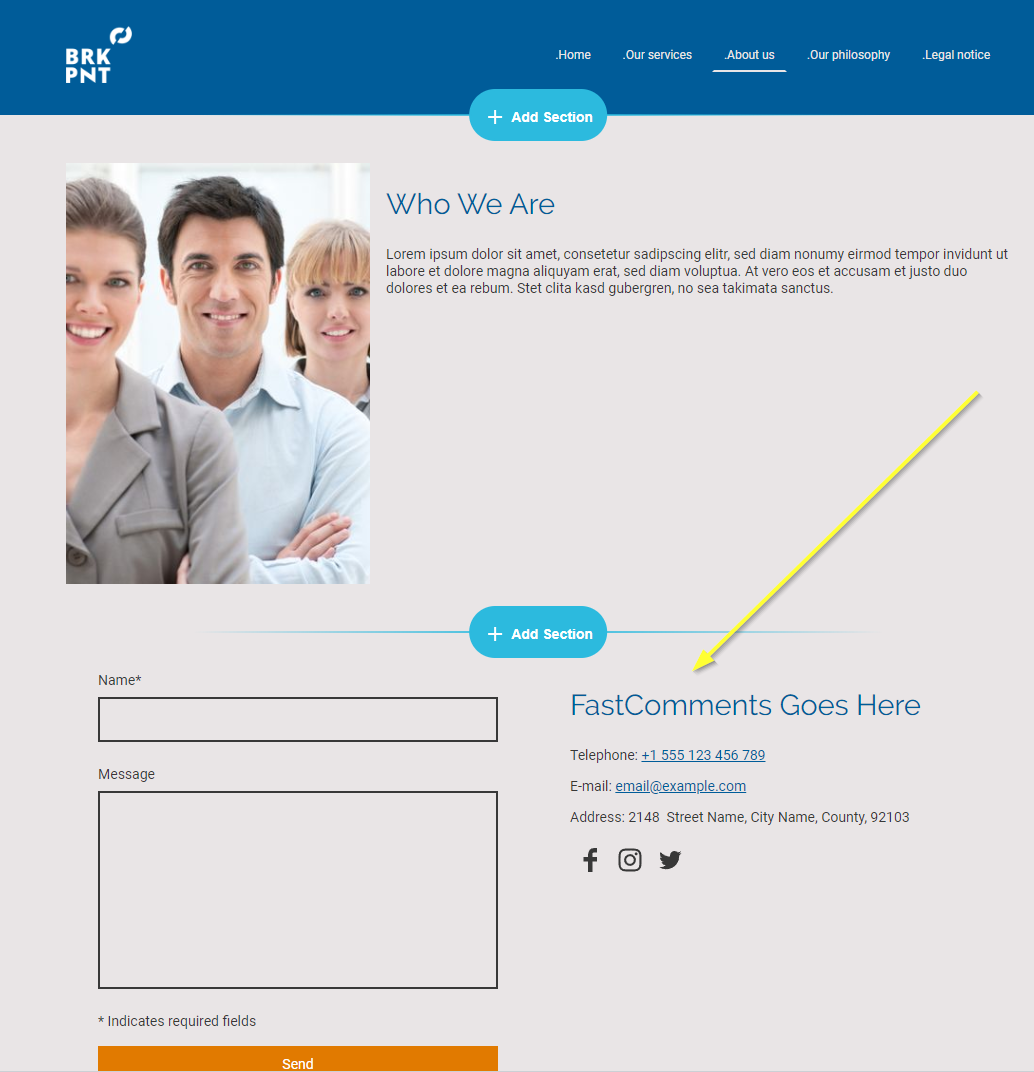
That's the end of step one!
Step 2: Add FastComments.com Code
Next we're going to add the FastComments widget code to your site. This code will search for all forms with the title FastComments Goes Here and
replace it with FastComments.
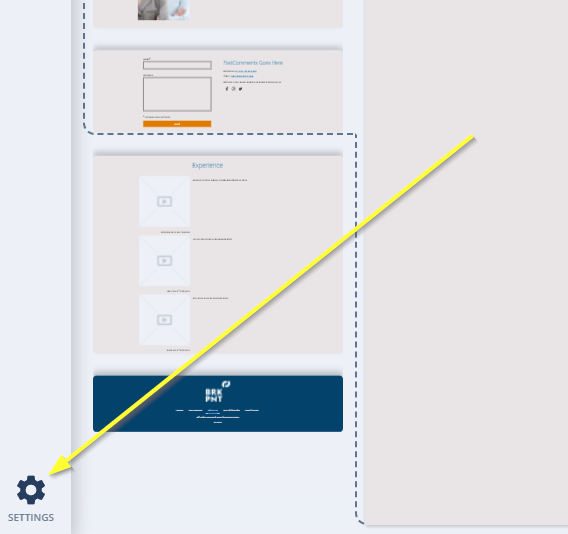
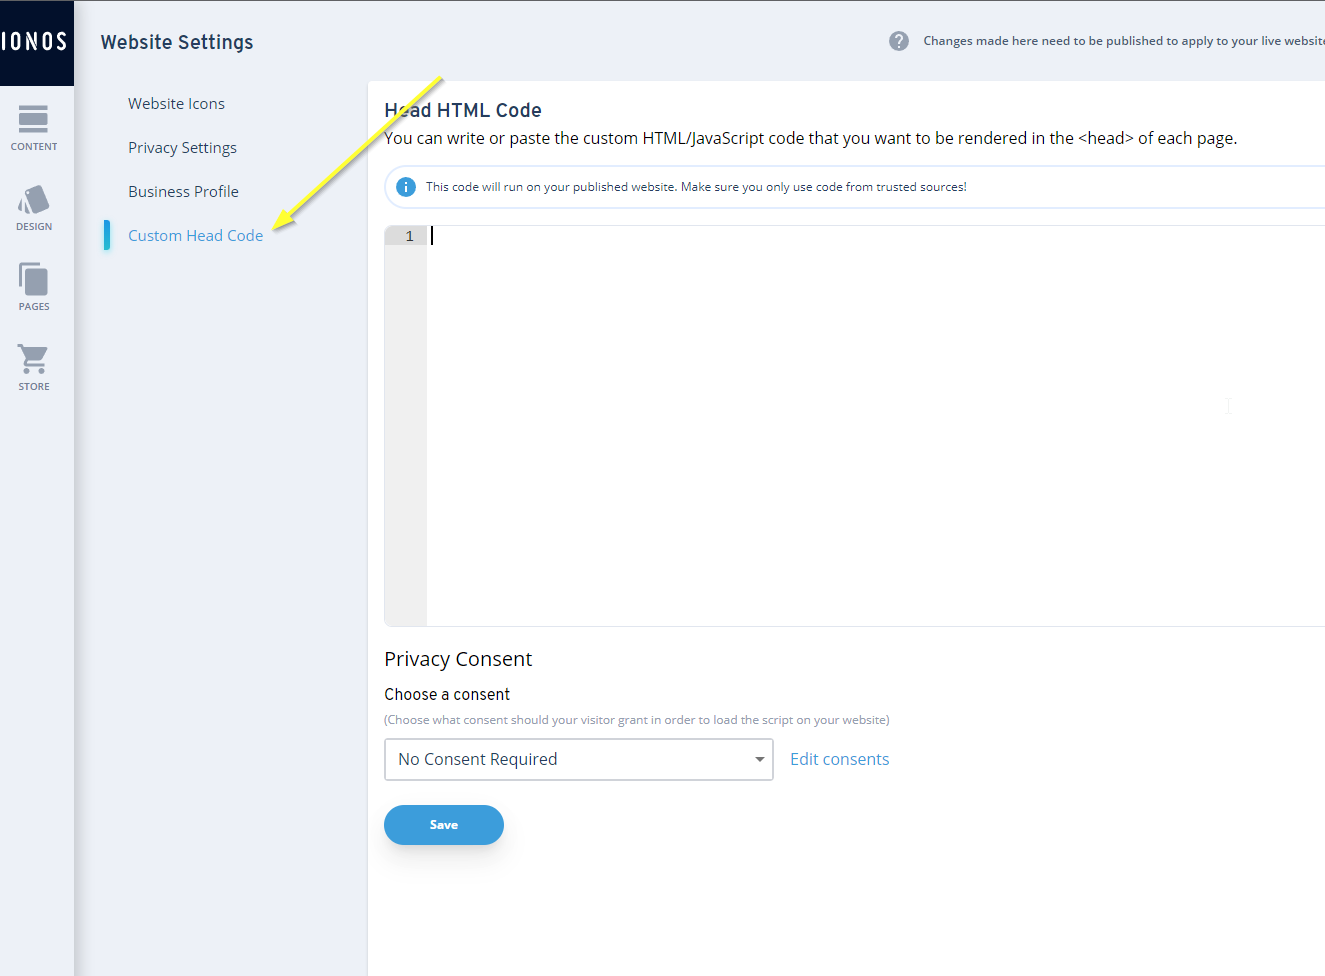
So let's go to Settings in the bottom left of the site editor:
Open the Custom Head Code section:
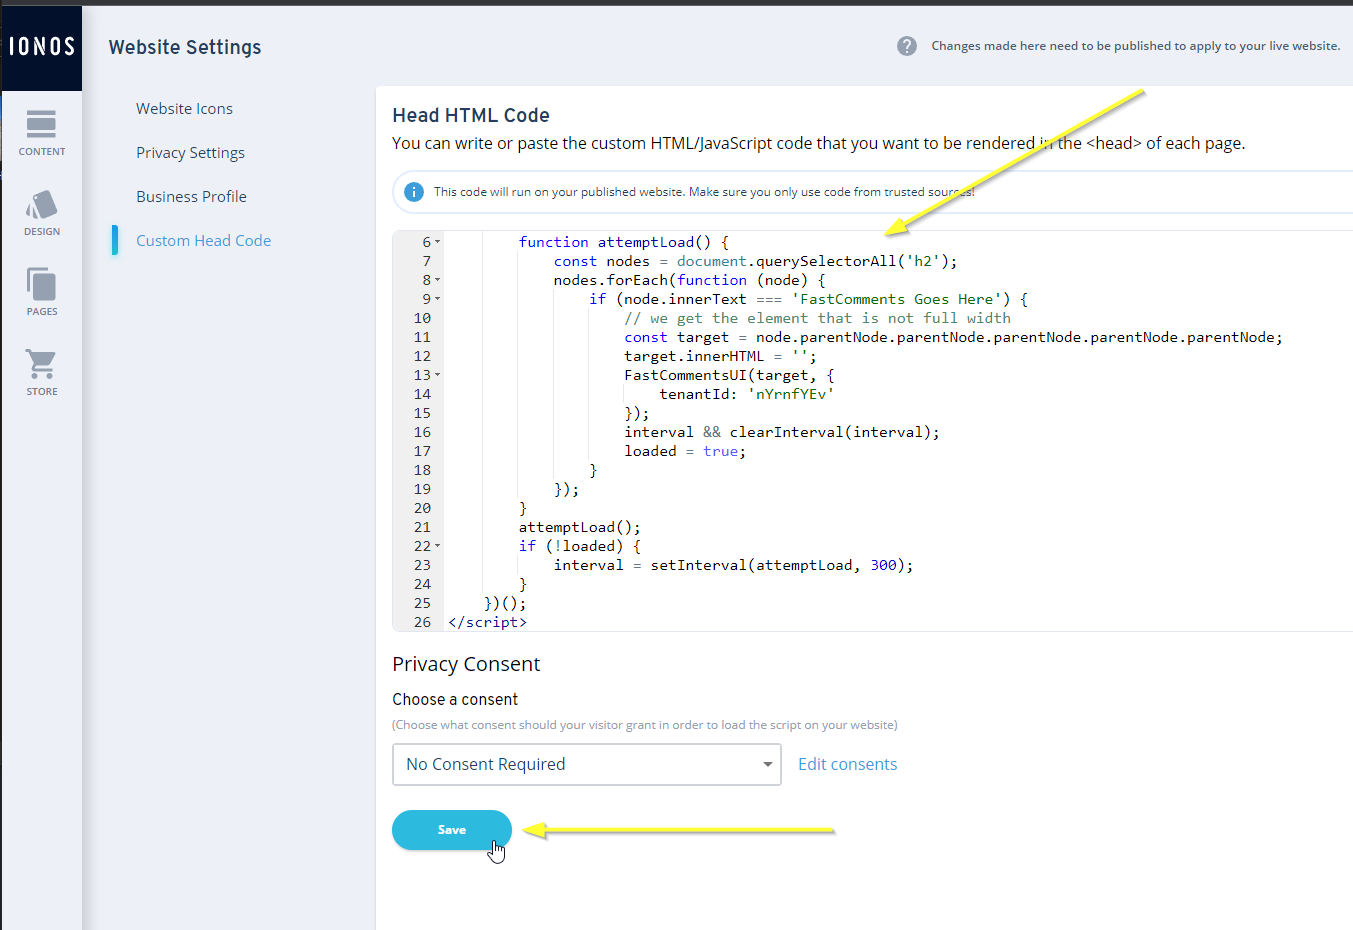
For Ionos we need a special version of the FastComments widget code. Code snippets from other tutorials will not work.
Now copy the following code:

...and paste it in as shown:
Step 3: Publish
Now we just have to publish our site and we're done.
Go back to the content editor by clicking Content in the top left:
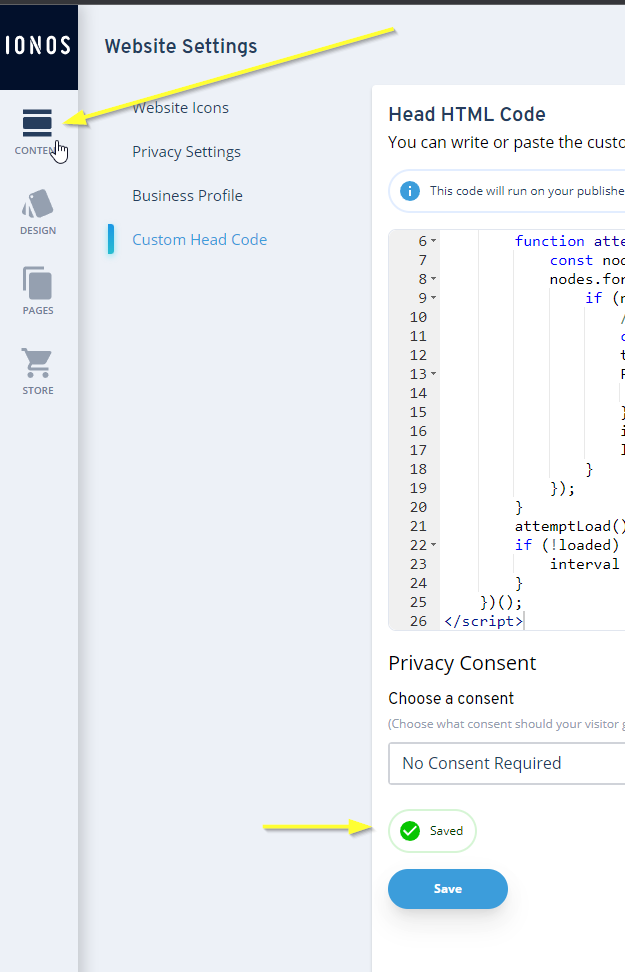
Then we can publish!
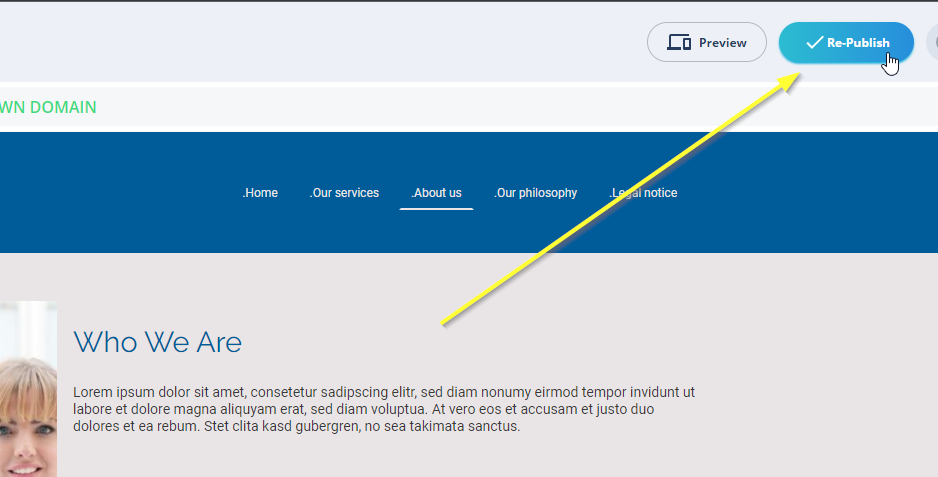
That's it! FastComments should be live on your site. You should see something similar to this:
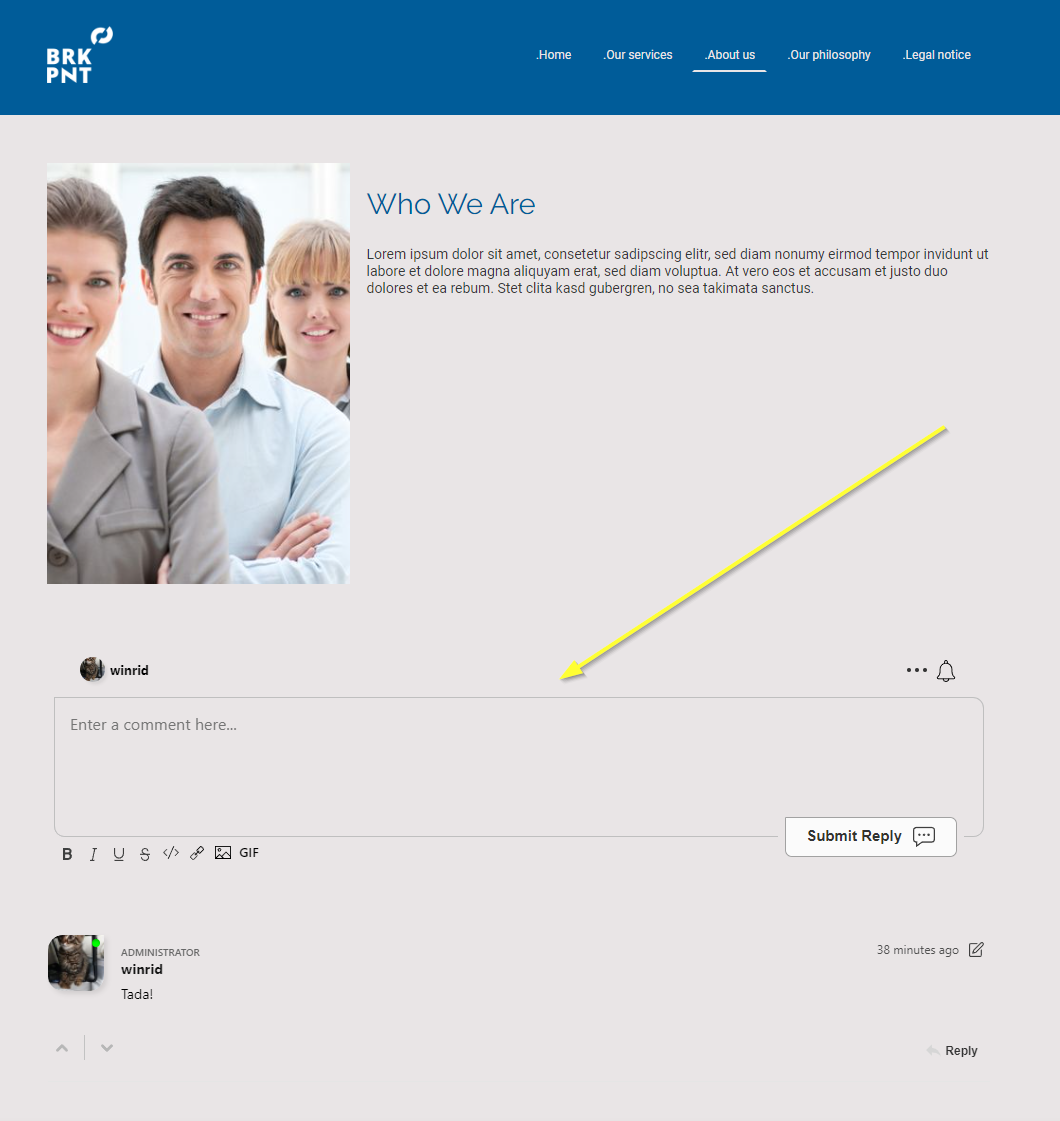
Success
Nice work! You've added live commenting to your Ionos site.
If you've run into a permission denied error, or would like to customize FastComments, read on.
Domain Errors
You may get an authorization error, like the following:

This is because FastComments doesn't know it's supposed to allow your account to be used on this domain.
In this case, the fix is simple. You just have to add your site to your FastComments.com account.
Go here to add your site to your account.
Now you should have fast, live, commenting added to your Ionos site!
Customization
FastComments is designed to be customized to match your site.
If you'd like to add custom styling, or tweak configuration, Checkout our Customization Documentation to learn how.