
Add Comments to a Systeme.io Blog
With FastComments we can easily add live commenting to any Systeme.io blog.
The instructions below are for a blog built on Systeme.io, but the embed code can also be manually added to any page by editing other theme files. FastComments Support can also assist with this.
Note that this tutorial requires a FastComments account. It's recommended that you sign up first and then come back here. You can create an account here.
Step 1: Open The Blog Theme Template 
We're going to edit our blog's layout to add FastComments to all our blog posts.
In our Blog admin panel, we're going to click the Post Layout button.

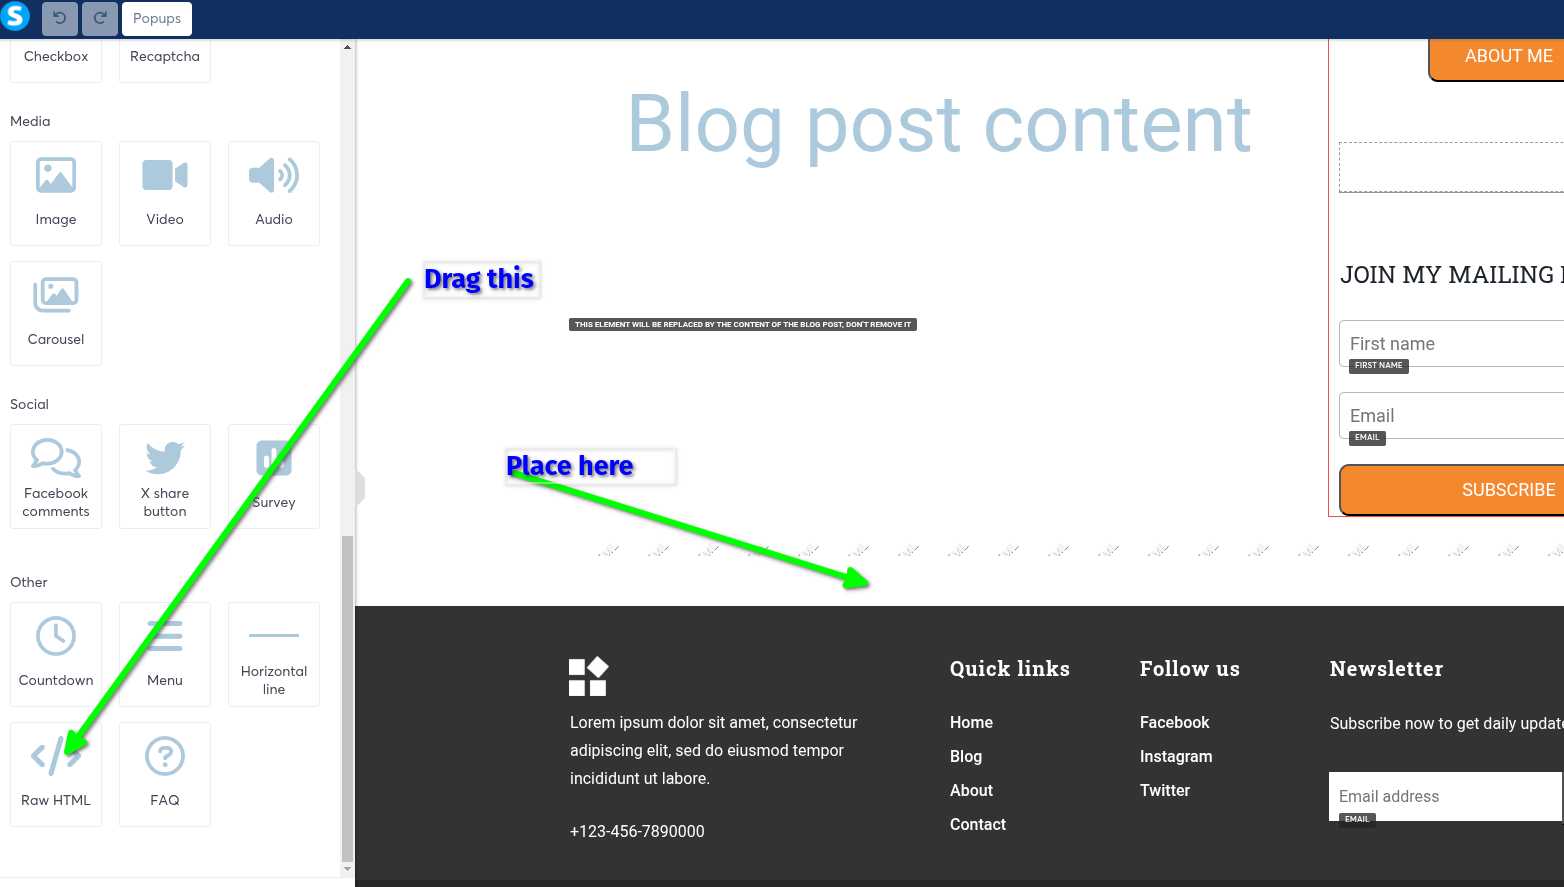
Then we're going to add a Raw HTML block (drag it to where you want the comment area):
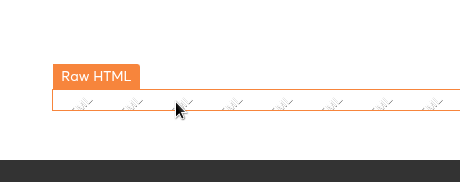
Now move your mouse over the block until it says Raw HTML and click it:
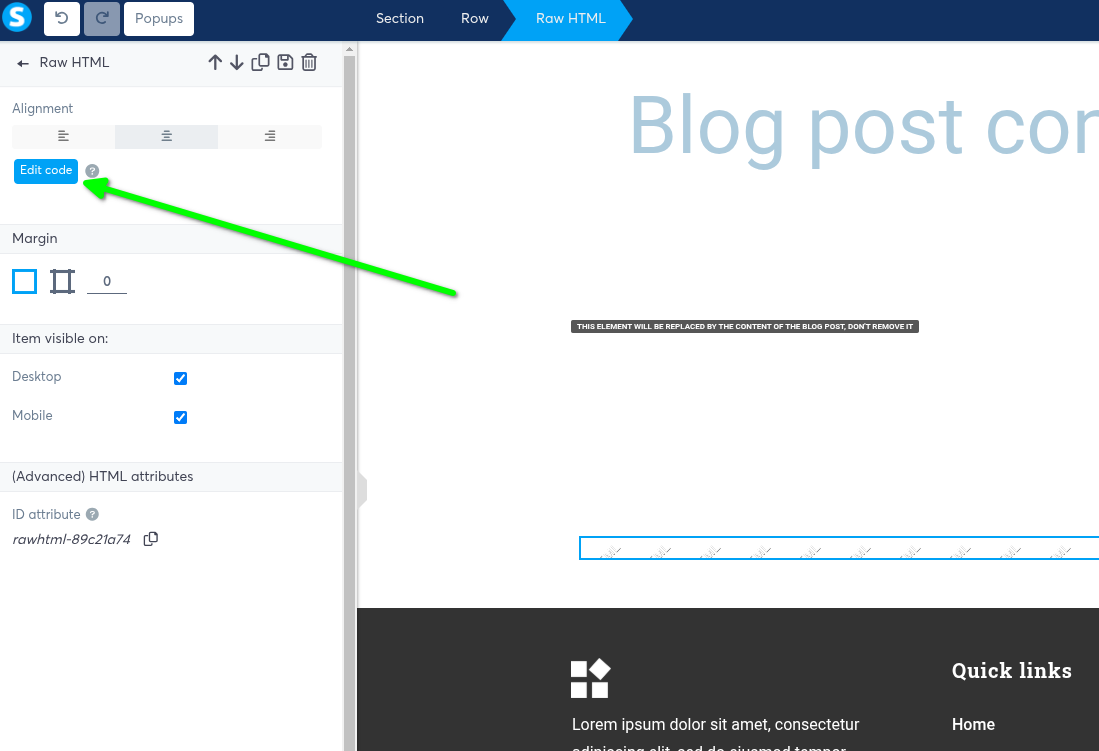
On the left hand side, now we'll have the option to click Edit Code - click that:
Step 2: Add The FastComments.com Code
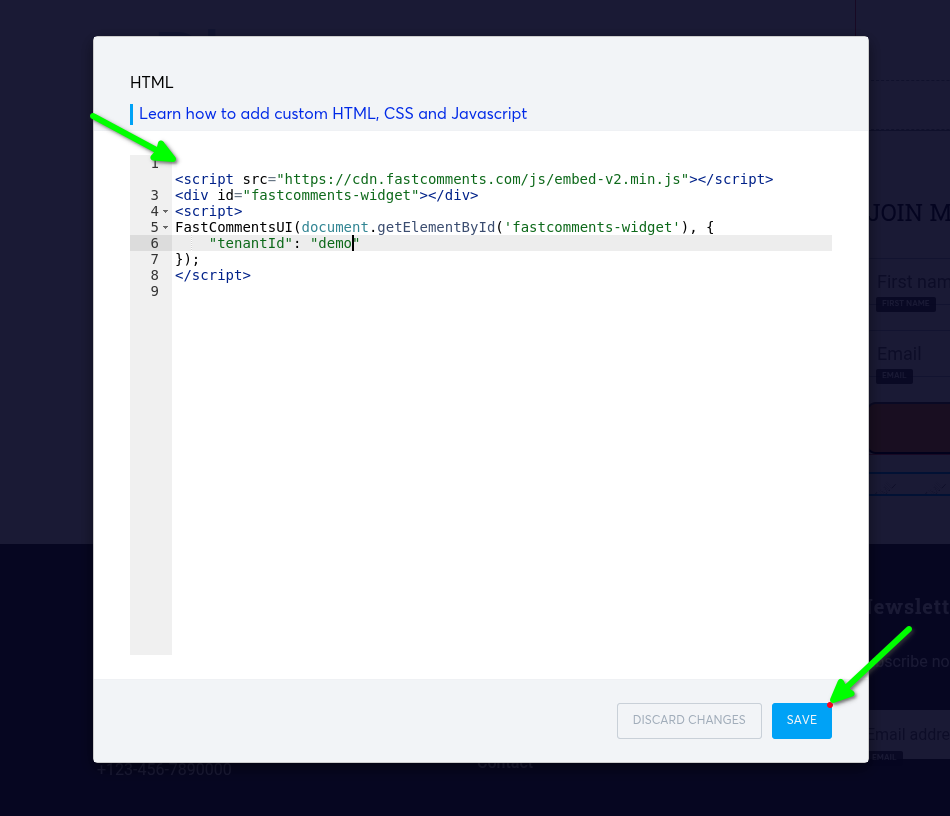
Now we're going to copy our code. If the code snippet says tenantId: "demo" on line 6 then you should log into your FastComments account
and then refresh this page so the copied code snippet has your account id.

Now paste it into the editor and click save:
... then save your site. That's it!
Success
Now if we view a blog post, we should see FastComments!

Congratulations on setting up FastComments with Systeme.io! If you've run into a Domain Error, or would like to learn how to customize the comment area, read on!
Domain Errors
You may get an authorization error, like the following:

This is because FastComments doesn't know it's supposed to allow your account to be used on this domain.
In this case, the fix is simple. You just have to add your site to your FastComments.com account.
Customization
FastComments is designed to be customized to match your site.
If you'd like to add custom styling, or tweak configuration, Checkout our Customization Documentation to learn how.