
Add Comments to Webnode Sites
Webnode's HTML block is what we'll use to embed the comment widget. Since June 26, 2023, this block is a paid Webnode feature: it is not available on the free plan, and projects created after that date need a premium package to use it. If you don't see the HTML option in the editor, upgrade your Webnode plan and it will appear.
Step 1: Edit Your Page 
First, we need to edit the template of the page we want to add comments to.
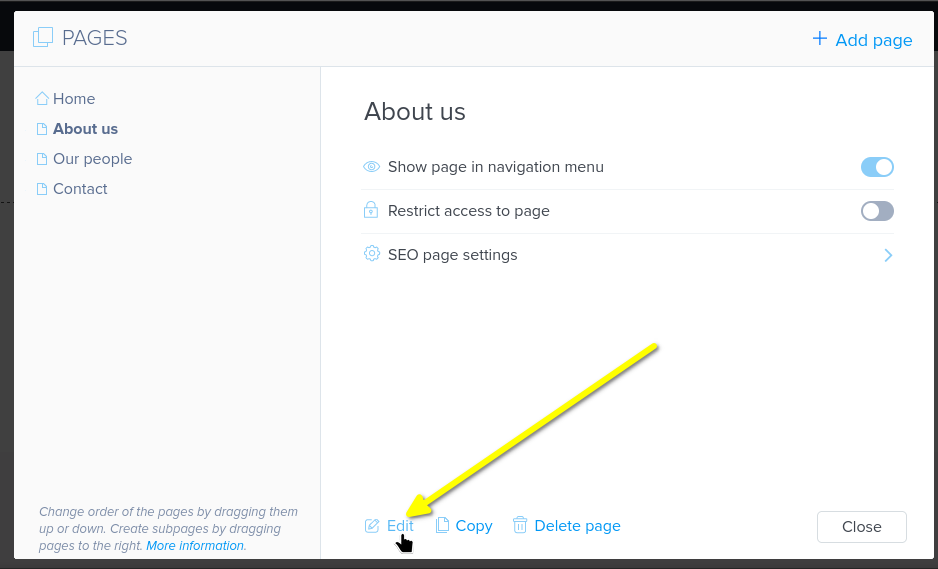
Open up the page in Pages and click Edit in the bottom:
Step 2: Add Section and HTML Block
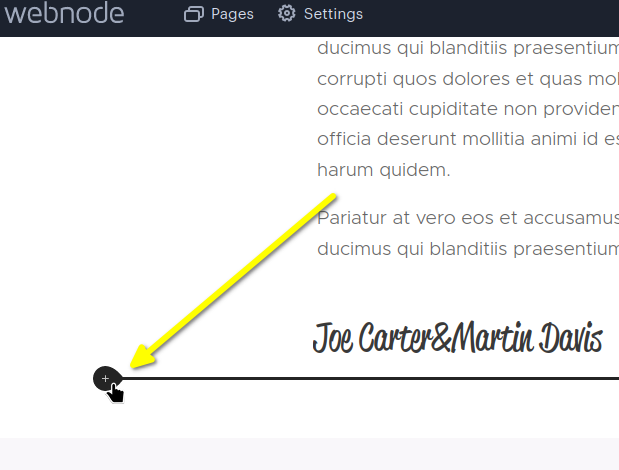
Next, determine where you want to add comments. Mouse over the bottom of the previous content area and click to add a section:
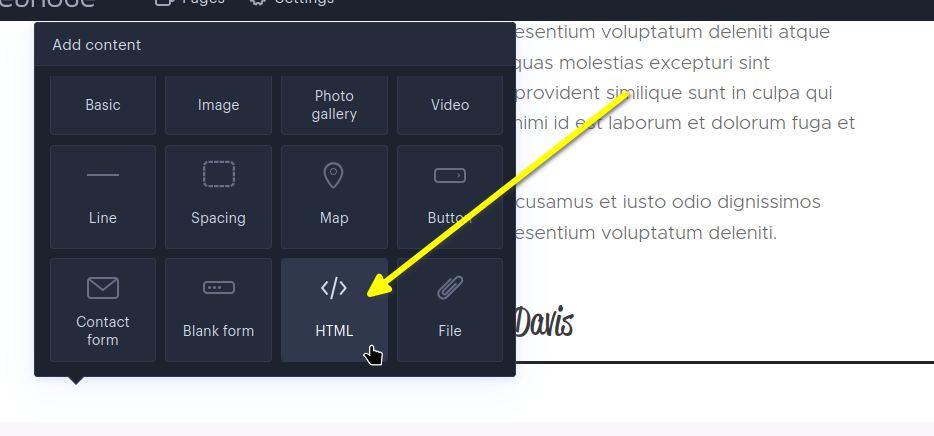
Now let's put an HTML block in that section, where the code snippet will go. Select HTML:
Note: As of June 26, 2023, Webnode's HTML block is a paid feature. It is not available on the free plan, and for projects created after that date it requires a premium package. If you don't see the
HTMLoption, upgrade your Webnode plan to enable it.
Step 3: Copy & Paste Code Snippet
Now, copy this code snippet:

Then paste it in the block:
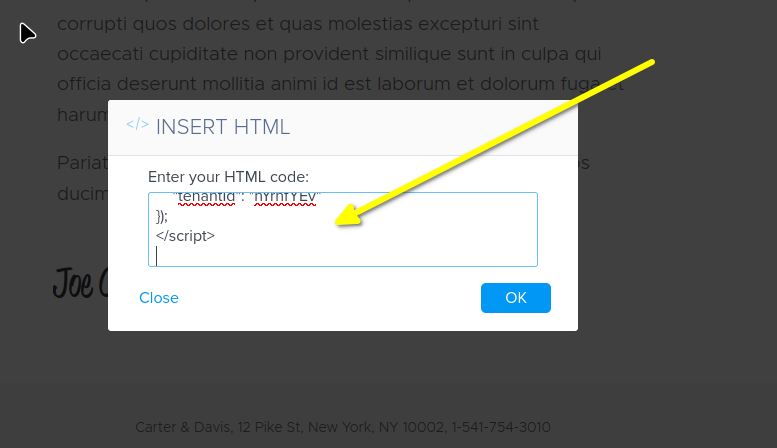
It should look like this in the editor:
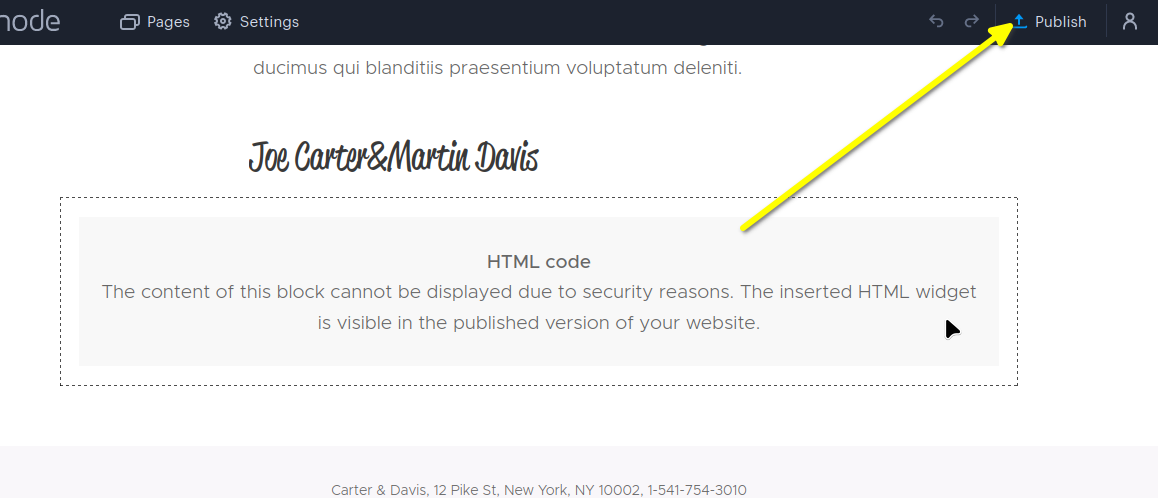
Webnode does not render HTML blocks inside the editor, so you'll see a placeholder saying the content can't be displayed for security reasons. This is expected. The comment widget only appears once you publish, which we'll do next.
Step 4: Publish
Now you can publish your changes to see the comment widget live on your site!
Success
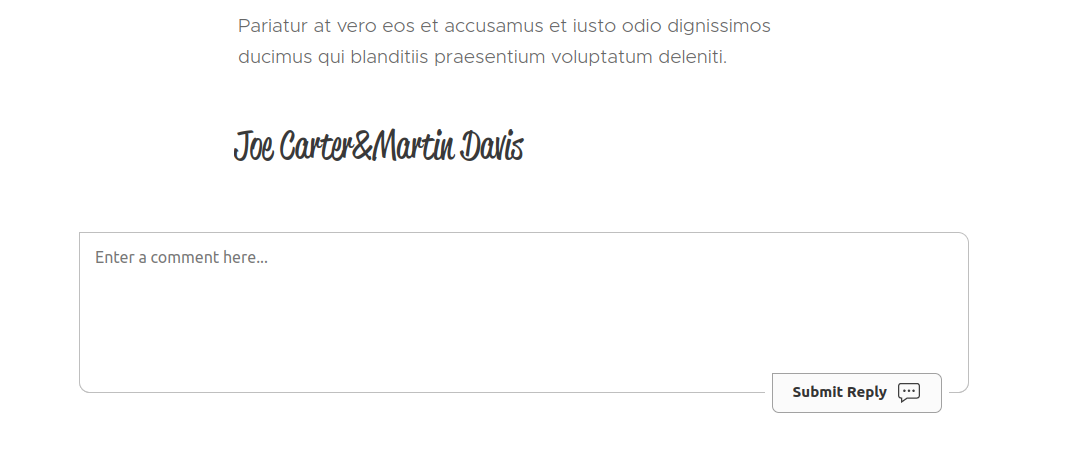
You should now see the FastComments.com Live Commenting widget:
Domain Errors
You may get an authorization error, like the following:
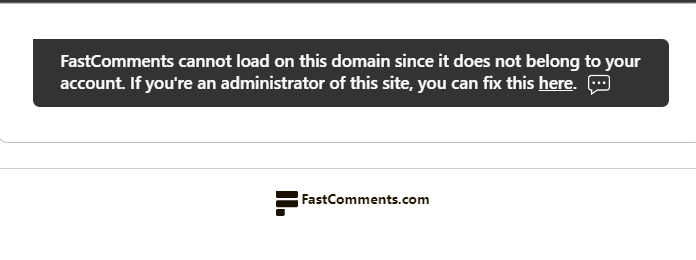
This is because FastComments doesn't know it's supposed to allow your account to be used on this domain.
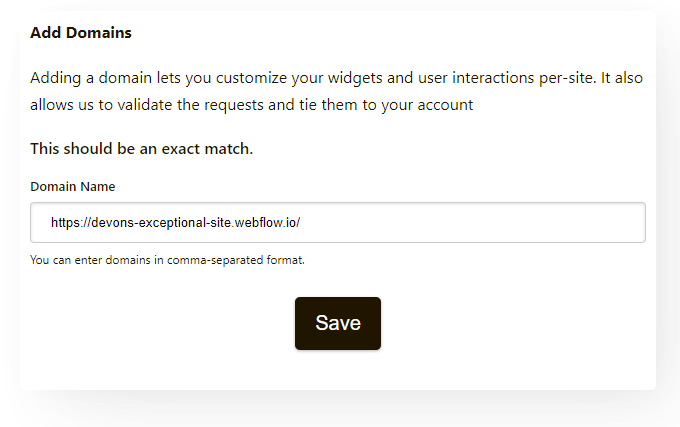
In this case, the fix is simple. You just have to add your site to your FastComments.com account.
Go here to add your site to your account.
Add the domain, like the following:
Now you should have fast, live, commenting added to your Webnode site!
Customization
FastComments is designed to be customized to match your site.
If you'd like to add custom styling, or tweak configuration, Checkout our Customization Documentation to learn how.