Language 🇺🇸 English
Weebly Installation
Add Comments to Weebly Sites
With FastComments we can easily add live commenting to any Weebly site.
The instructions below are for a blog built on Weebly. For other site types, we are happy to help, just reach out to our support staff.
Note that this tutorial requires a FastComments account. It's recommended that you sign up first and then come back here. You can create an account here.
Step 1: Open Blog Settings 
First, make sure you have some blog posts added to your site to see the results of this tutorial.
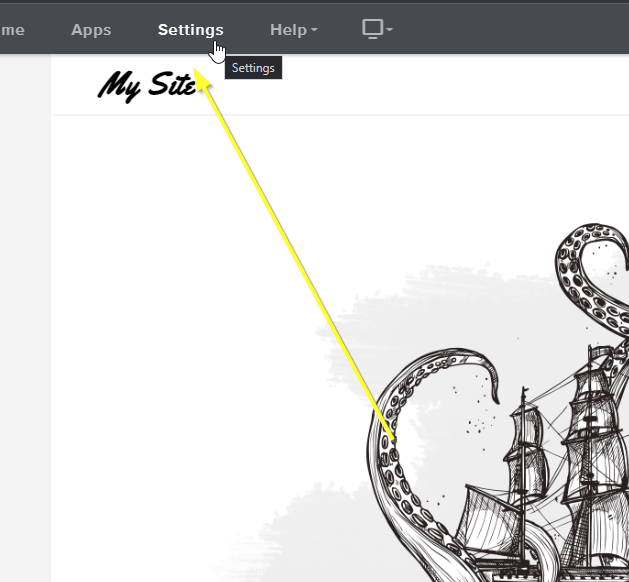
Once ready, we can go ahead and open the Weebly editor, and click Settings at the top.
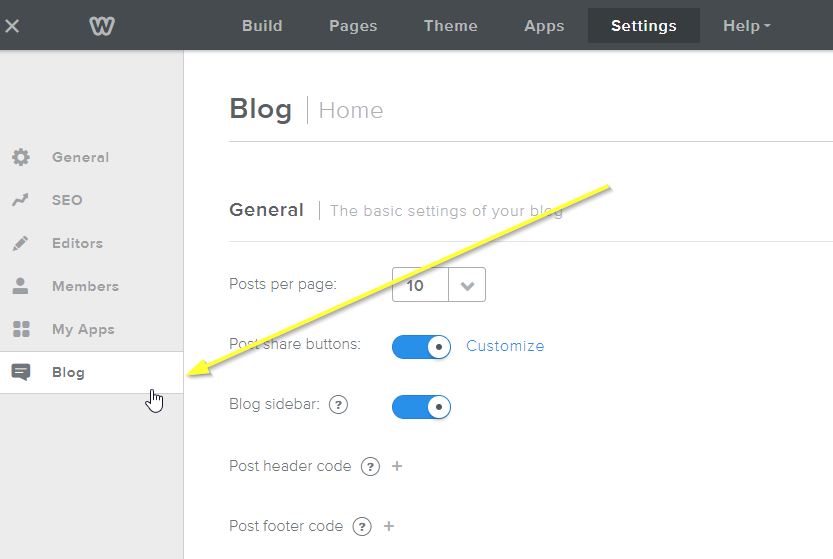
Now let's open the settings for our blog by going to Blog on the left:
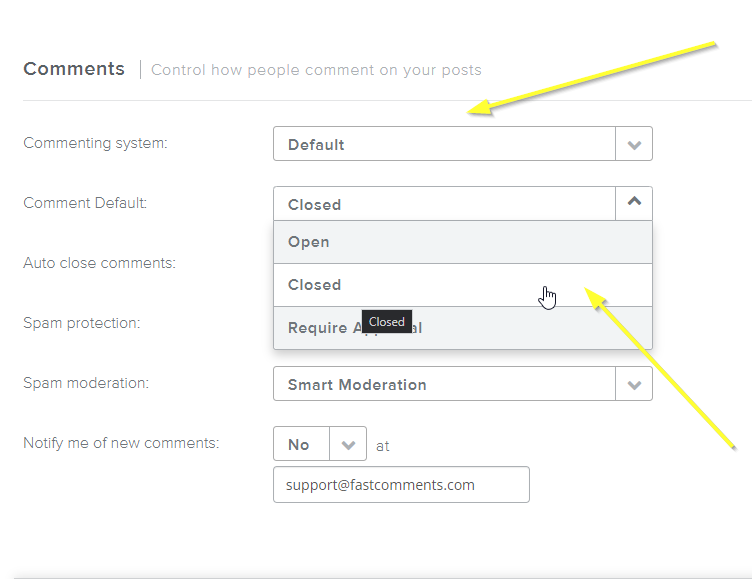
Now what we need to do is disable the default Weebly comment system, which we will replace.
Note if you'd like to migrate over existing comments from your Weebly site to FastComments, your support representative can assist with this migration.
Now let's set the Commenting system to Default and Comment Default to Closed:
Next we just have to add the FastComments.com widget code!
Step 2: Add The FastComments.com Code 
To make the Weebly and FastComments integration work nicely, we have to add two small pieces of code.
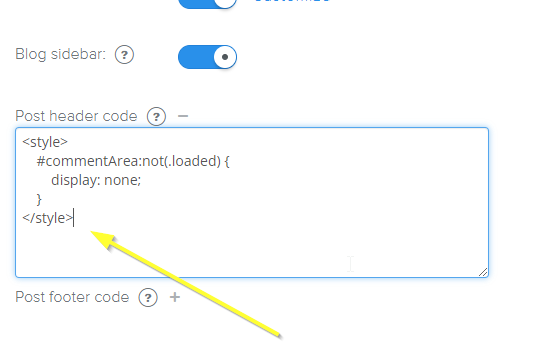
The first snippet is to hide the Weebly "Comments are Closed" message, and the second is to actually load FastComments.
First, copy this small code snippet:

Then, on the same settings page from Step One, click the + next to Post header code.
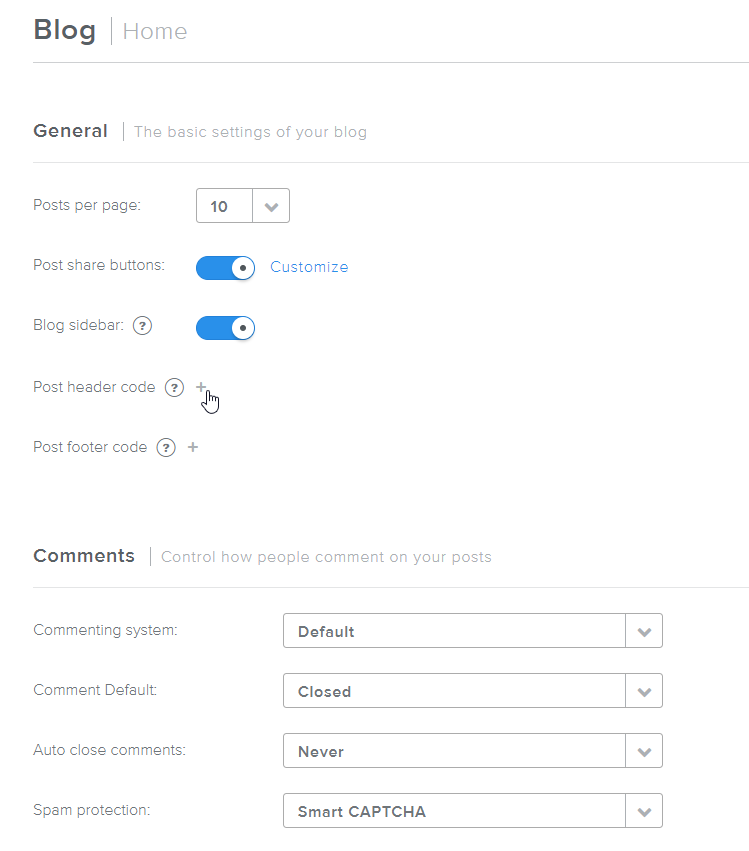
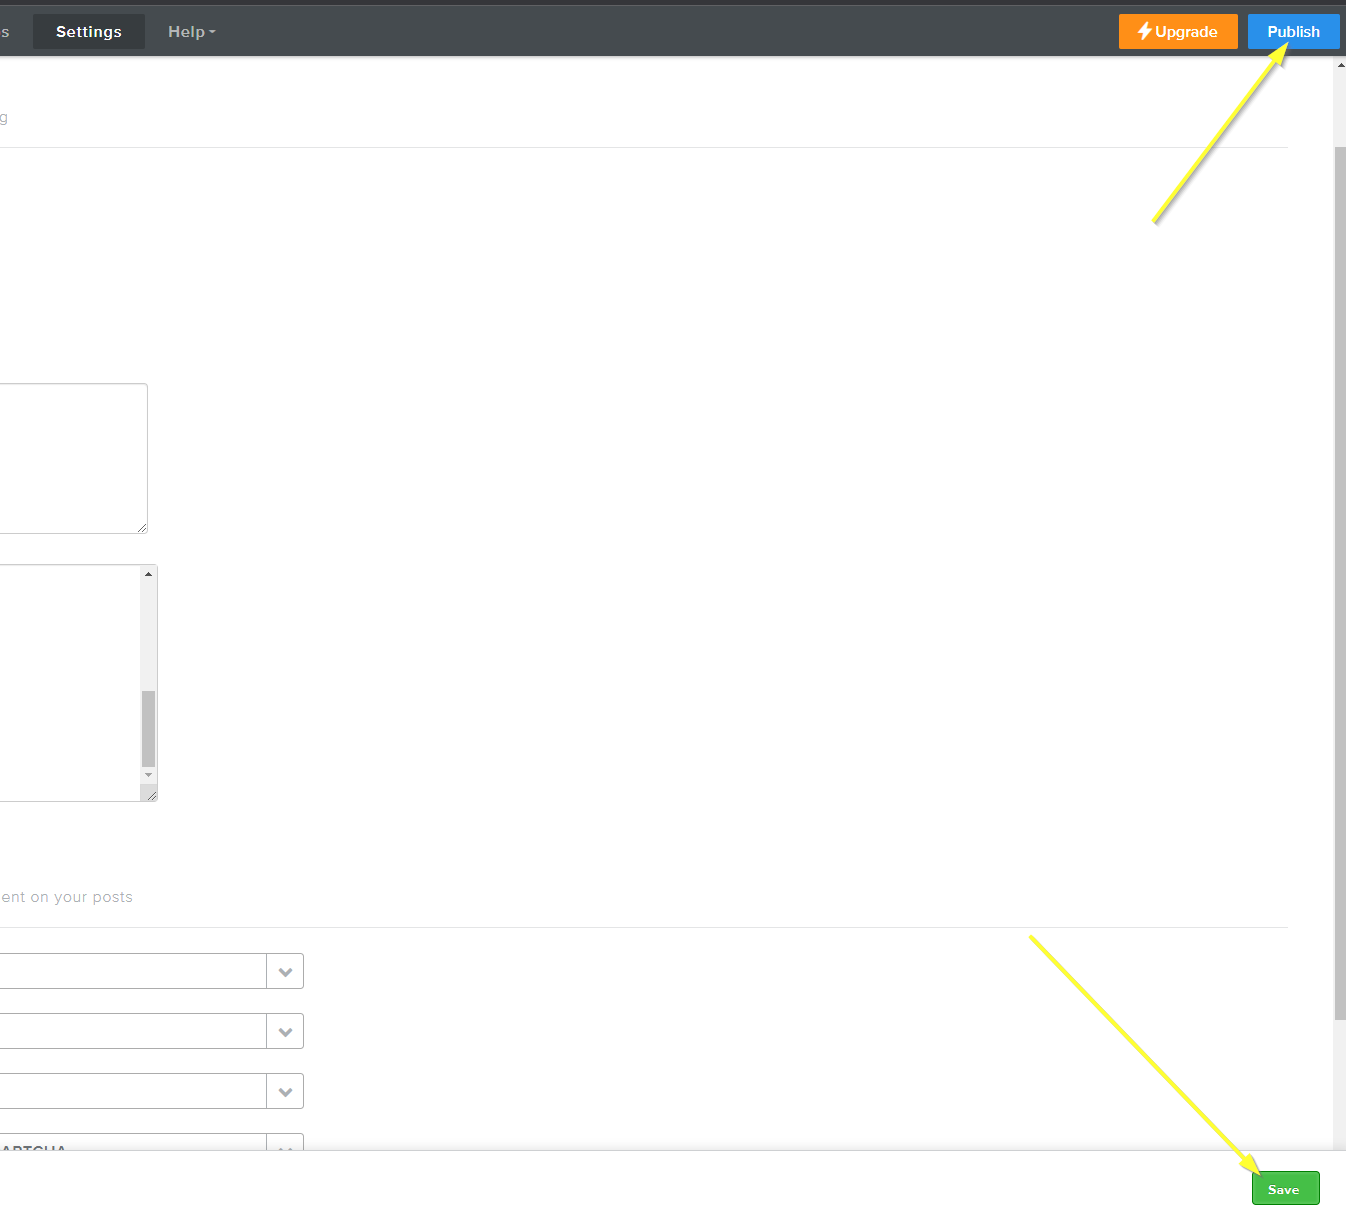
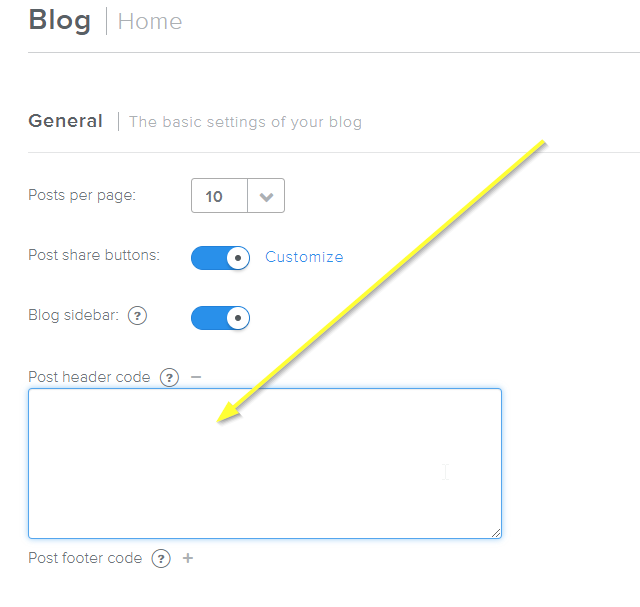
You should see a text box open like this:
Now let's paste in our code snippet:
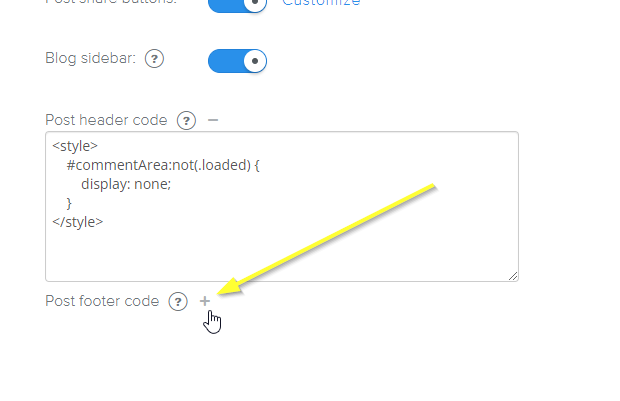
Next up is the footer code to enable FastComments. Click the plus sign next to Post footer code:
Copy this code snippet which is designed specifically for Weebly:

Now let's paste in our footer code:
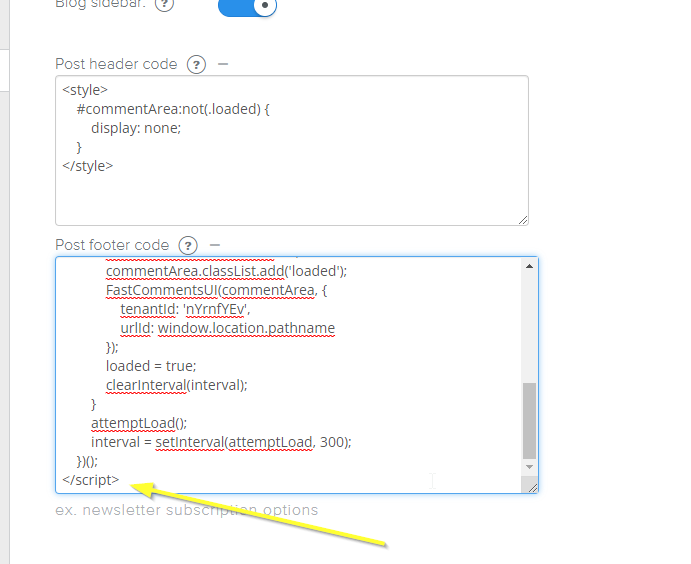
That's it!
Success 
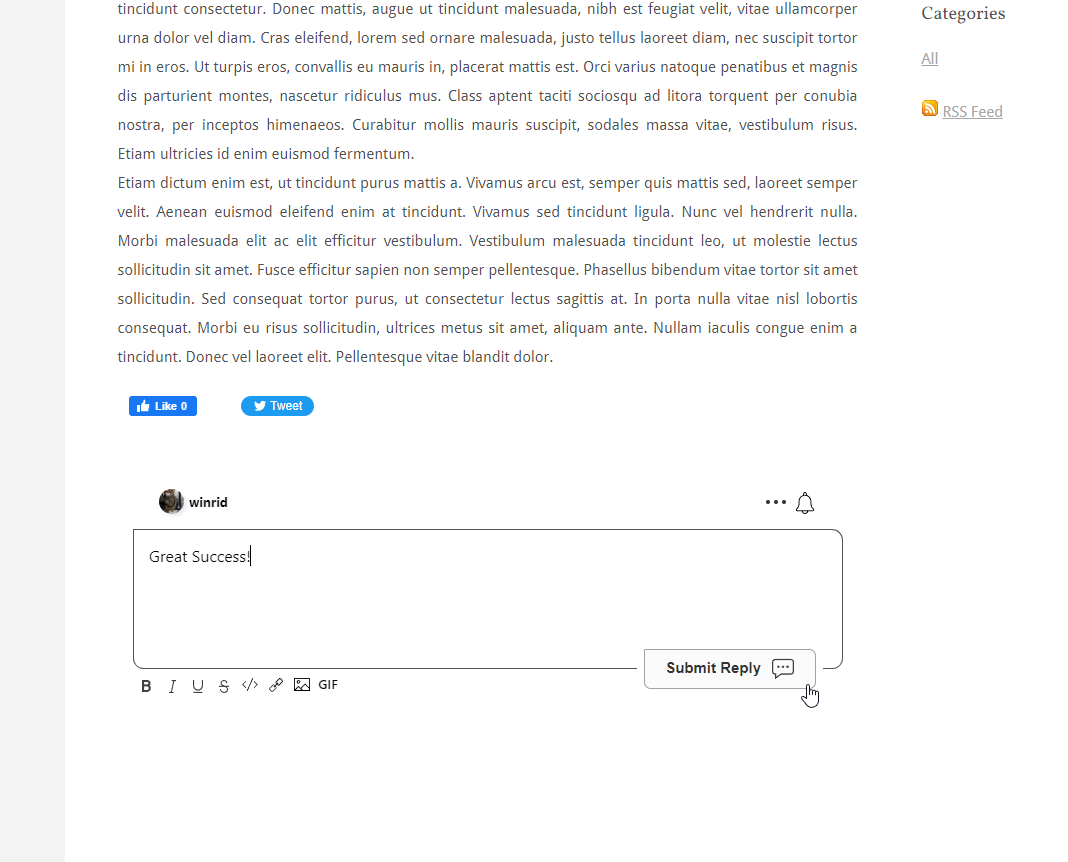
Success! If you view your site, you should now have FastComments Live Commenting enabled:
Domain Errors 
You may get an authorization error, like the following:
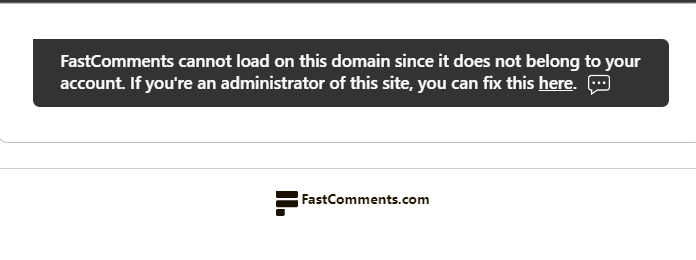
This is because FastComments doesn't know it's supposed to allow your account to be used on this domain.
In this case, the fix is simple. You just have to add your site to your FastComments.com account.
Customization 
FastComments is designed to be customized to match your site.
If you'd like to add custom styling, or tweak configuration, Checkout our Customization Documentation to learn how.
