
Add Comments to Wix Sites
With FastComments we can easily add live commenting to any Wix site. We will also go through ensuring that each page, or blog post, can have its own unique comment thread.
Note that this tutorial requires a FastComments account. It's recommended that you sign up first and then come back here. You can create an account here.
Step 1: Edit The Correct Page 
For this example, we're going to add FastComments Live Commenting to blog post pages.
To do this, we'll open our site in the Wix editor.
Then, we'll need to make sure we're editing the right page.
We want to make sure that we show a unique comment thread for each blog post, so let's edit Blog Pages -> Post.

Step 2: Add an Embed Block
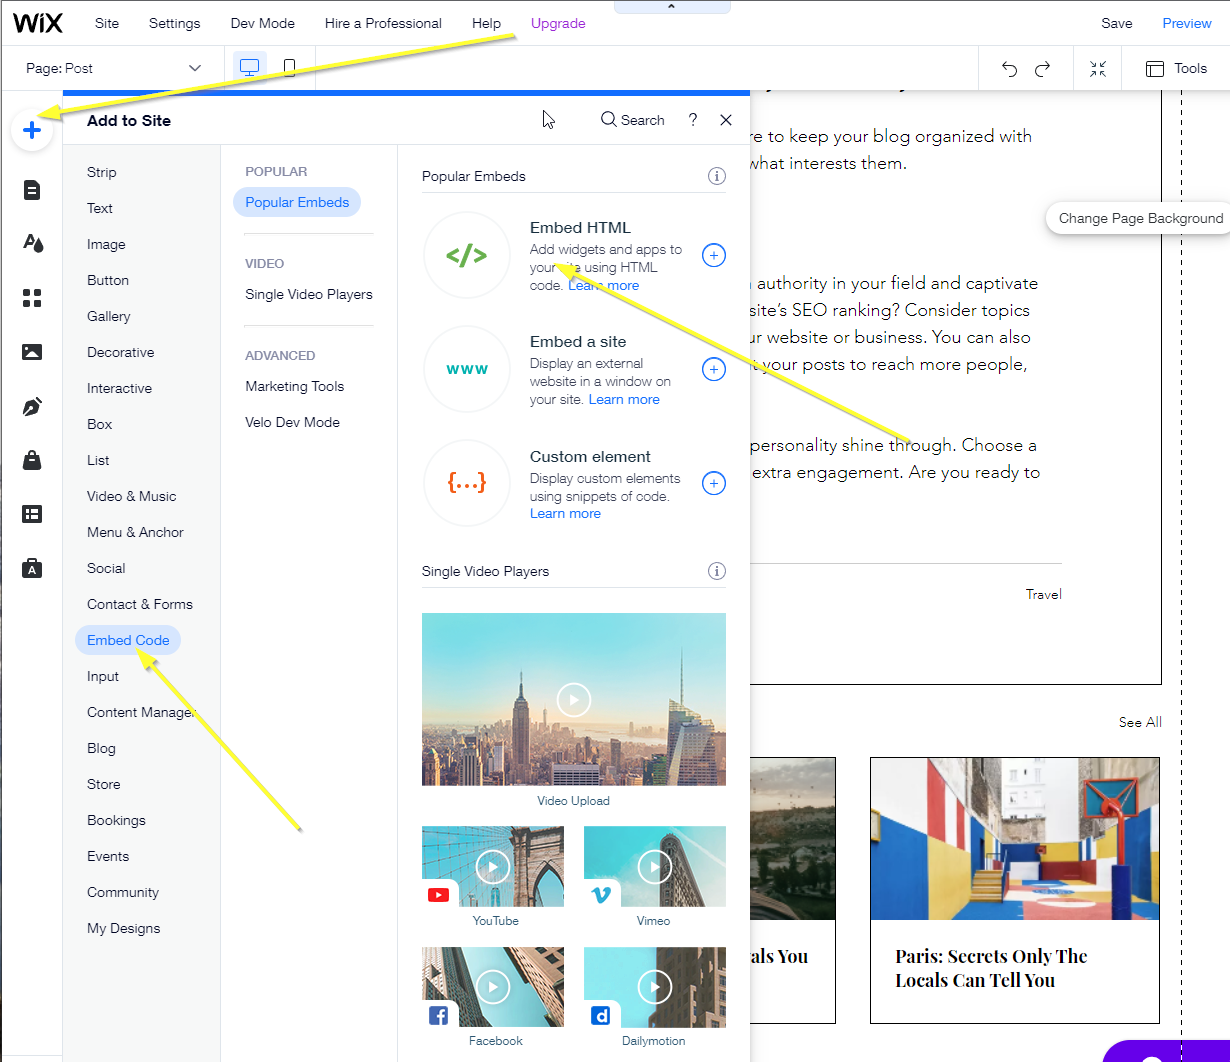
Then, we'll go to Add -> Embed Code -> Embed HTML.
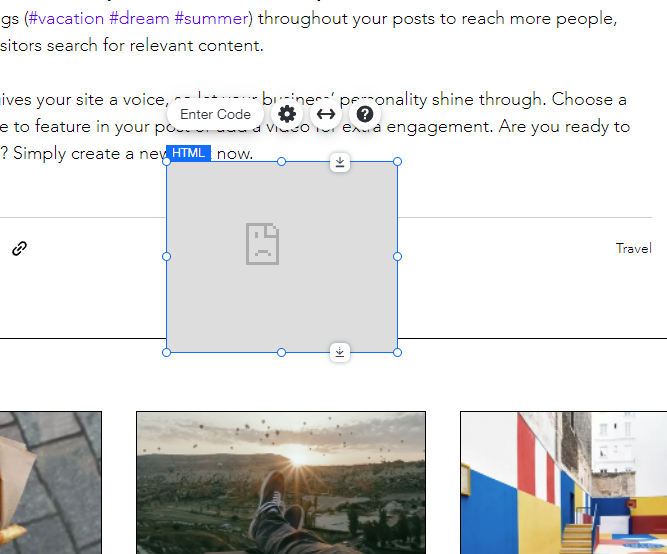
This will give us a sad looking box to start with:
Step 3: Copy/Paste Custom Code
This example uses custom code to be compatible with Wix. You won't be able to use the FastComments code snippets from other tutorials.
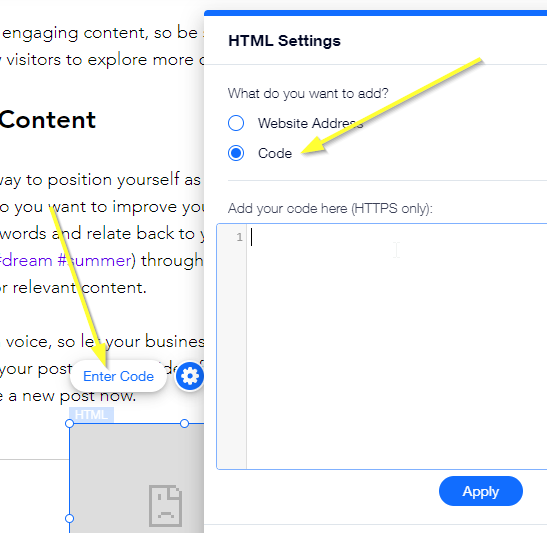
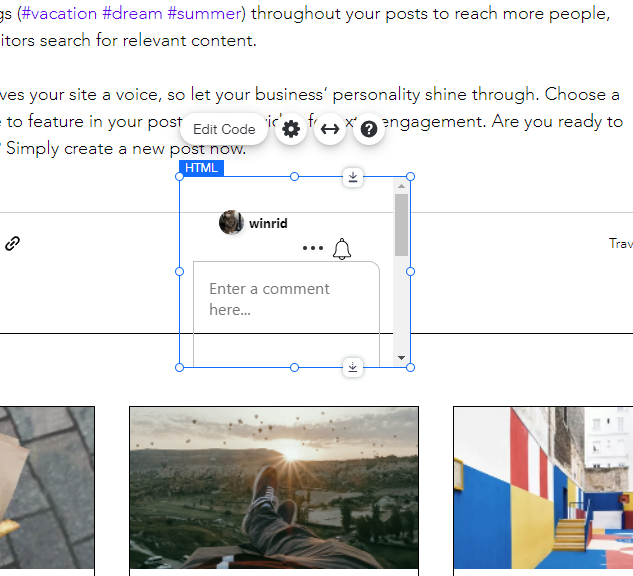
Open the form to add our custom HTML dialog by clicking Enter Code and selecting HTML:
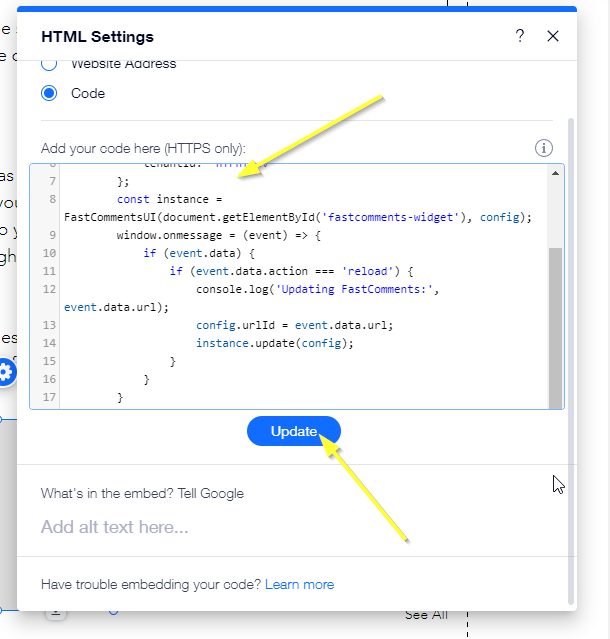
Copy the following HTML snippet and paste it into the dialog, and click Update:

You should now see a very tiny version of the comment widget:
Next we will position and size this to fit our page.
Step 4: Resize
Now that we have the comment widget added, let's get it arranged on our page.
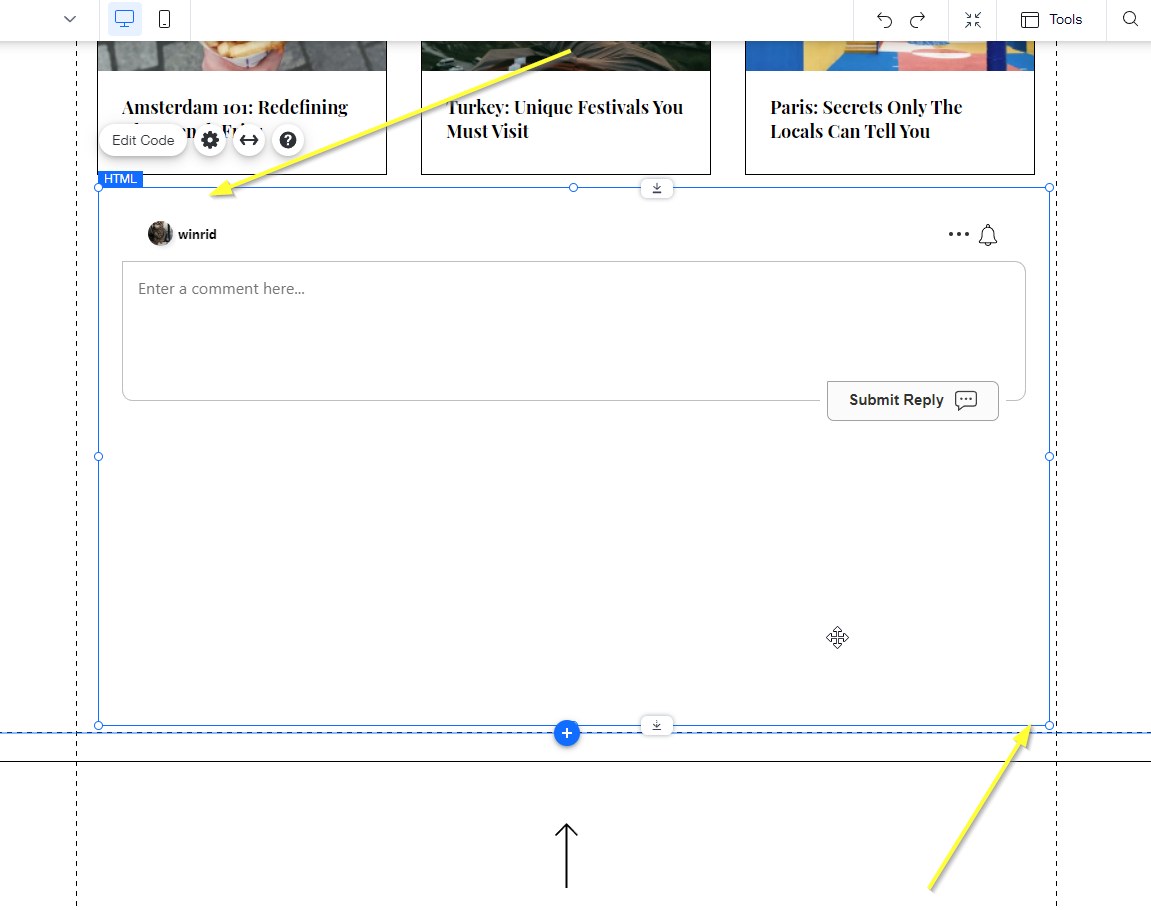
With this tutorial we will be able to change the current thread based on the active page. However, we won't be able to resize the comment widget dynamically until Wix opens up this functionality. Until then, you will have to decide how big you'd like the comment area on your page and size it appropriately.
Step 5: Unique Comment Threads
Next, let's set things up so that the comment thread changes based on the current page, allowing users to discuss the currently displayed content.
Without the following steps, you will only have one global comment thread for your entire site - which is not very useful.
Dev Mode
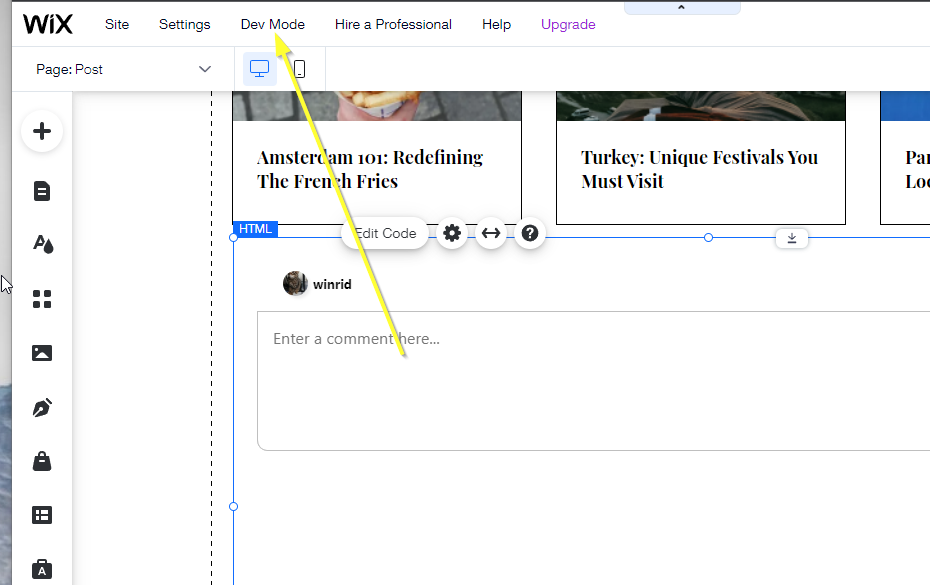
To add this functionality, we'll have to go into what Wix calls Dev Mode.
Click the Dev Mode option at the top of the screen.
Set the Element ID
We're going to add custom code to accomplish this, but first we need to give the new embed element an ID to refer to it by.
Let's call it fastcomments.
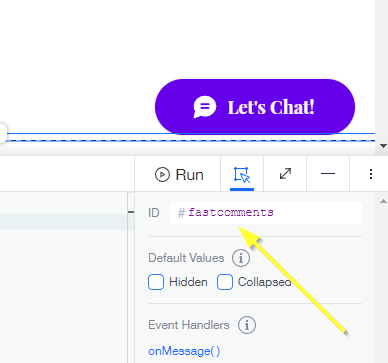
Click the new embed element we added, and in dev mode in the bottom right you should see an ID field with a value like html1:
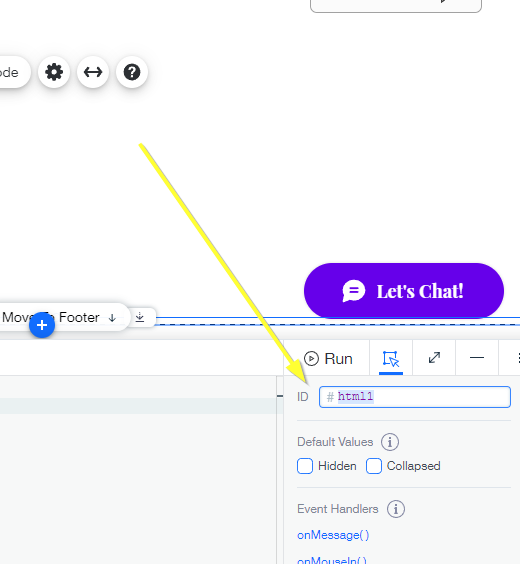
Change this to fastcomments and hit enter:
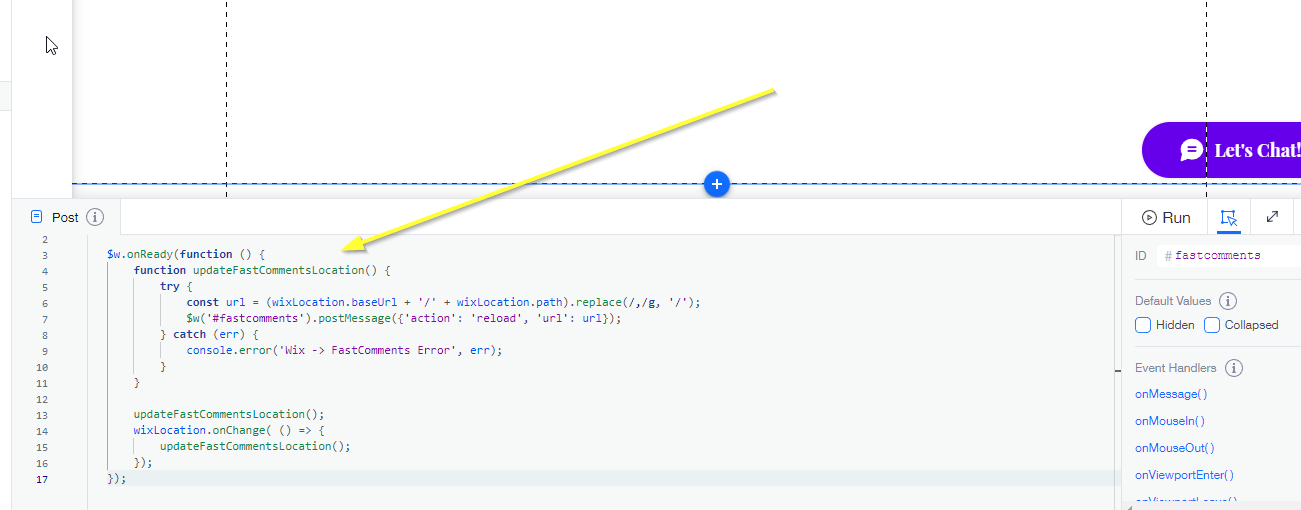
Now we can add our custom code that tells the comment area what page we are viewing.
At the bottom of the screen you should see a code editor like this:
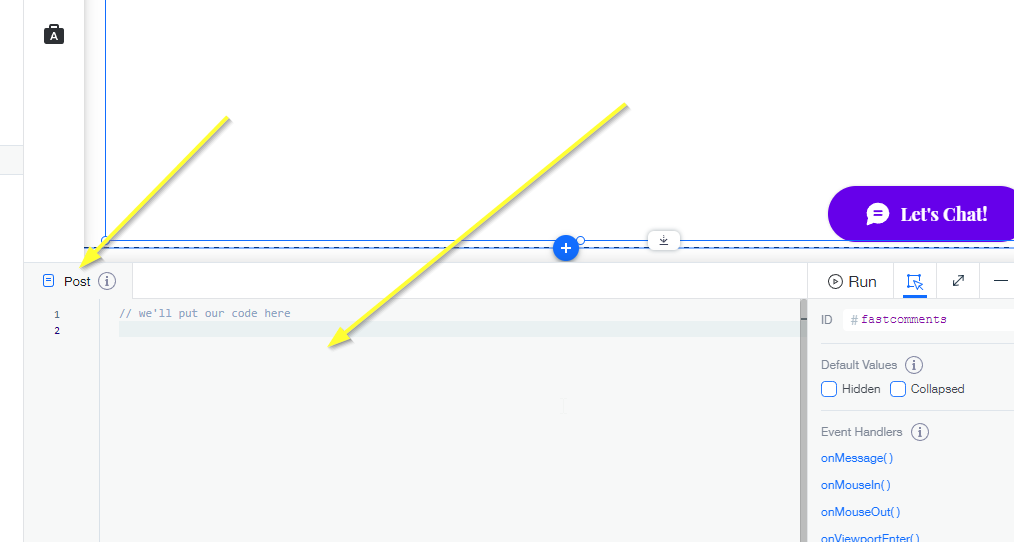
Copy the following code and paste it in there:
Step 6: Celebrate
Now we can take a breath and preview our site. You should see a comment area that changes based on the given page. Congratulations!
If you have any problems, let us know in the comment box below.
Customization
FastComments is designed to be customized to match your site.
If you'd like to add custom styling, or tweak configuration, Checkout our Customization Documentation to learn how.