
Add Live Commenting to Hostinger Sites
First, note that this tutorial only applies for the Hostinger Website Builder.
If you're using Hostinger with WordPress, you can just install our WordPress Plugin which has its own instructions.
This tutorial will continue with instructions for the Website Builder.
Step 1: Add Code Widget 
First, open up your site in the Website Builder.
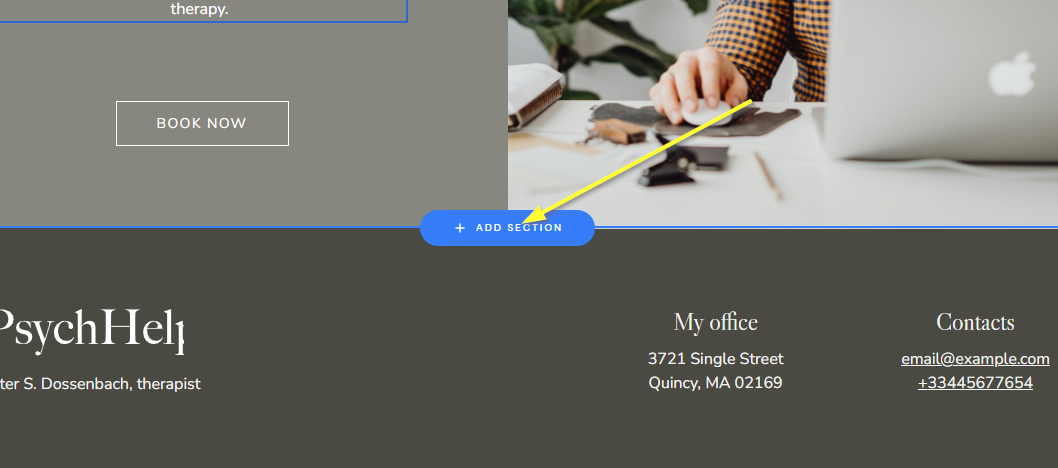
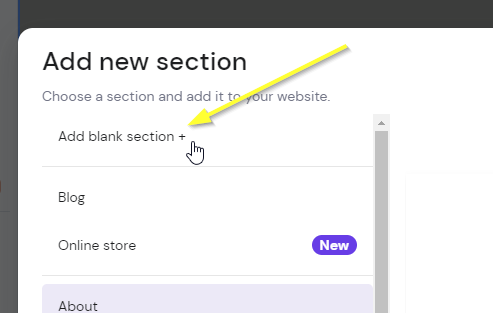
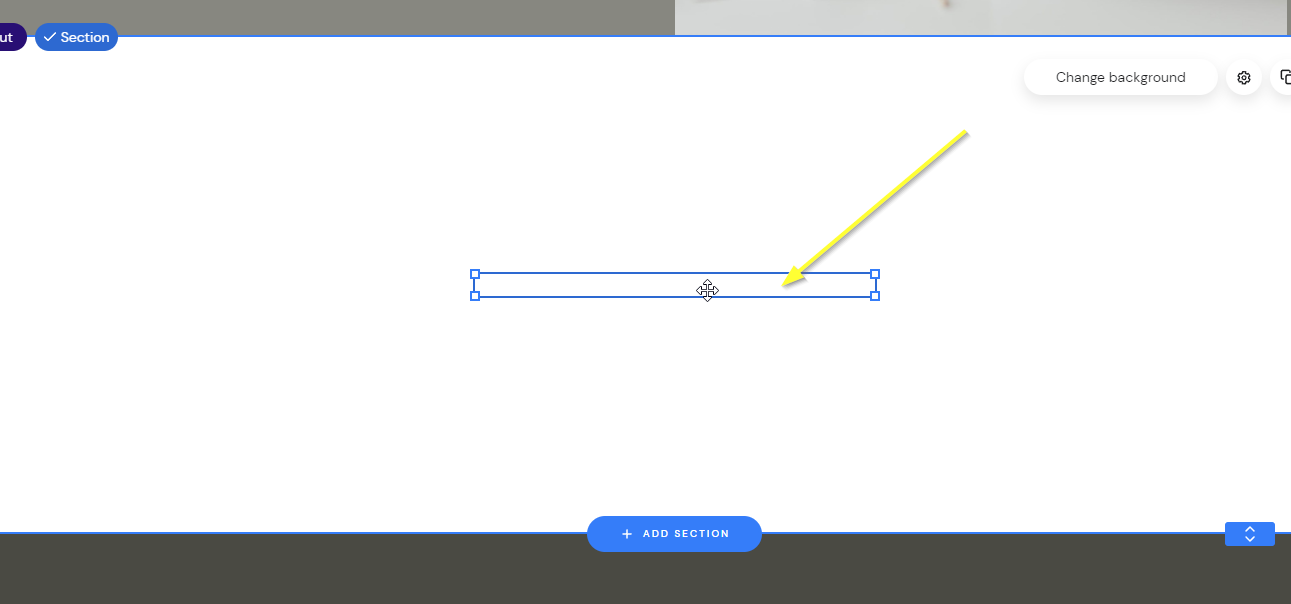
Now if you don't already have a section where you want the comments to go, add a blank section:
Now add the Hostinger Embed widget by clicking our new section and clicking Add element in the top and then Embed code:
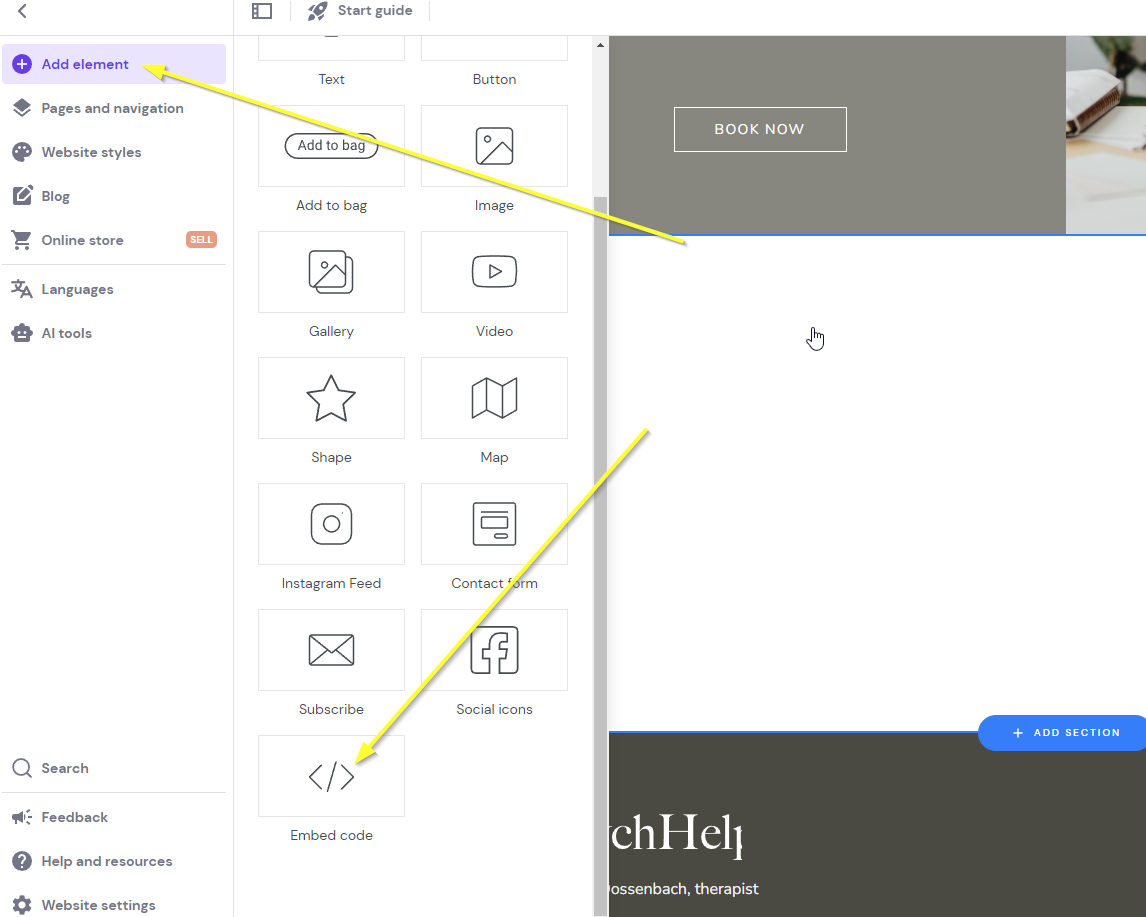
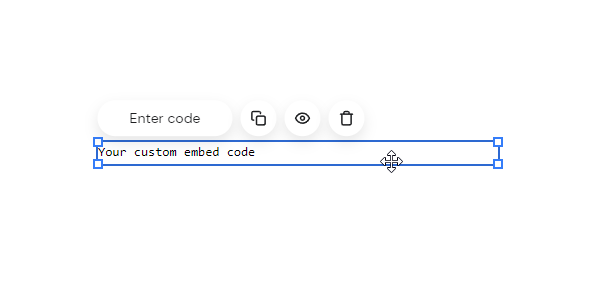
You'll get something like this:
Now we're ready for Step 2.
Step 2: Add The Code
Now let's add our widget code.
Copy the code below. You'll want to ensure you're signed into fastcomments.com and reload this page if not, so that the code is pre-populated with your account information, otherwise it will show the demo code.
Now let's copy the code:

Now let's go back to our site builder and click Enter code:
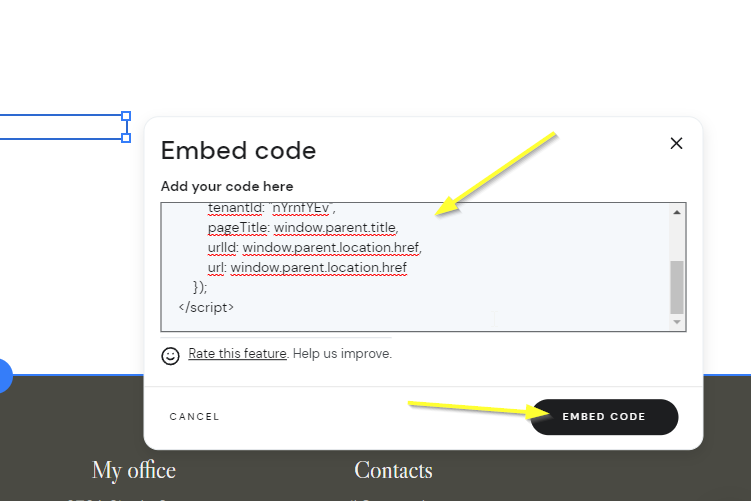
Note!
It's important you use the above code and not the code snippets from other documentation, as this snippet has been crafted specifically for Hostinger.
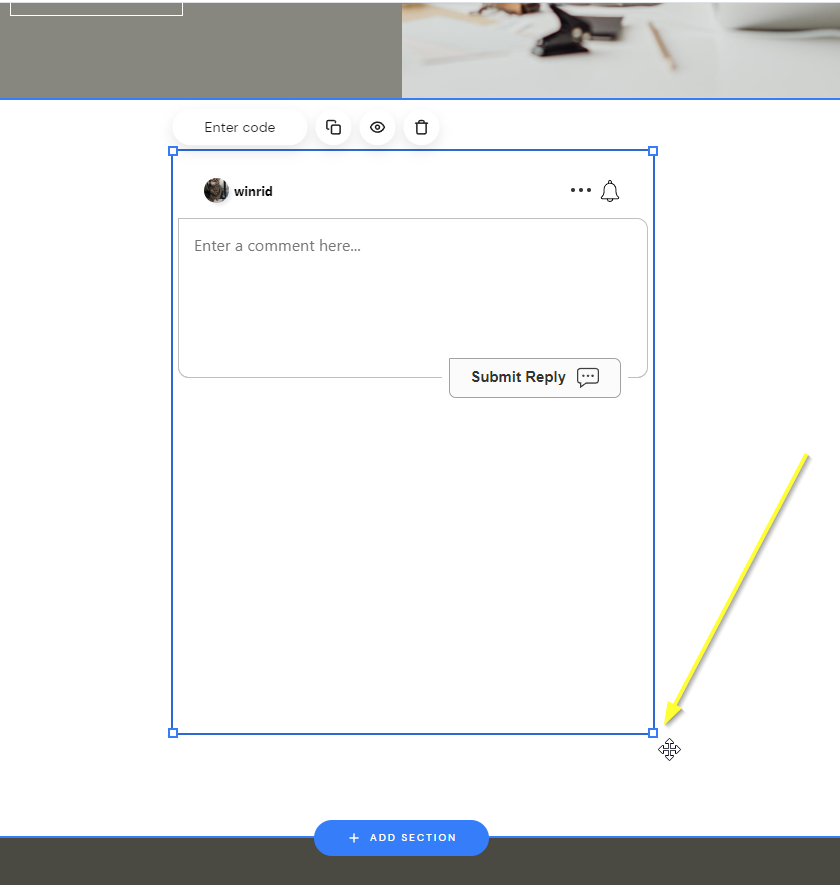
You should now have something like the following, which appears blank. This is expected. Move your mouse over the area where the widget should be:
Now drag the widget to be the desired size, you'll see it appear:
...and now preview and save!
Success
That's it! You should now have live commenting added to your Hostinger site.

If you've run into a permission denied error, or would like to customize FastComments, read on.
Site Domain Errors
You may get an authorization error, like the following:

This is because FastComments doesn't know it's supposed to allow your account to be used on this domain.
In this case, the fix is simple. You just have to add your site to your FastComments.com account.
Go here to add your site to your account.
Now you should have fast, live, commenting added to your site!
Site Customization
FastComments is designed to be customized to match your site.
If you'd like to add custom styling, or tweak configuration, Checkout our Customization Documentation to learn how.
Floating Likes Button
FastComments also supports the Page Reacts (aka Floating Like button) widget for Hostinger.
You can see it in action in the bottom right of this page!
Note!
These instructions are for the Hostinger Site Builder. If you're using Hostinger WordPress, then just grab the below code, and add it to your WordPress site using WPCode, which is a free and easy plugin for adding small code snippets to your site.
- First, grab the code:
- Then, in Hostinger, open the site builder.
- Go to Website Settings in the bottom Left.
- Select Integrations.
- Add the new code to the end of the
Custom codefield, and publish your site. - You will not see the widget in preview mode, but it will appear on the published version of the site.