
向 GoHighLevel 站点添加评论
使用 FastComments,我们可以轻松地为任何使用 GoHighLevel 构建的网站添加实时评论功能。
请注意,本教程需要一个 FastComments 帐户。建议您先注册,然后再回来这里。您可以在此创建帐户。
先登录将确保生成的代码片段已与您的帐户关联。
GoHighLevel 会员网站与其他网站
本教程分为两类:会员网站和常规的 GoHighLevel 网站。
我们先从会员网站的说明开始。
步骤 1:编辑课程 
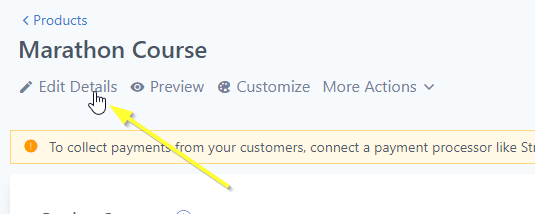
首先,我们将编辑课程的设置。
为此,打开课程,然后点击 Edit Details。
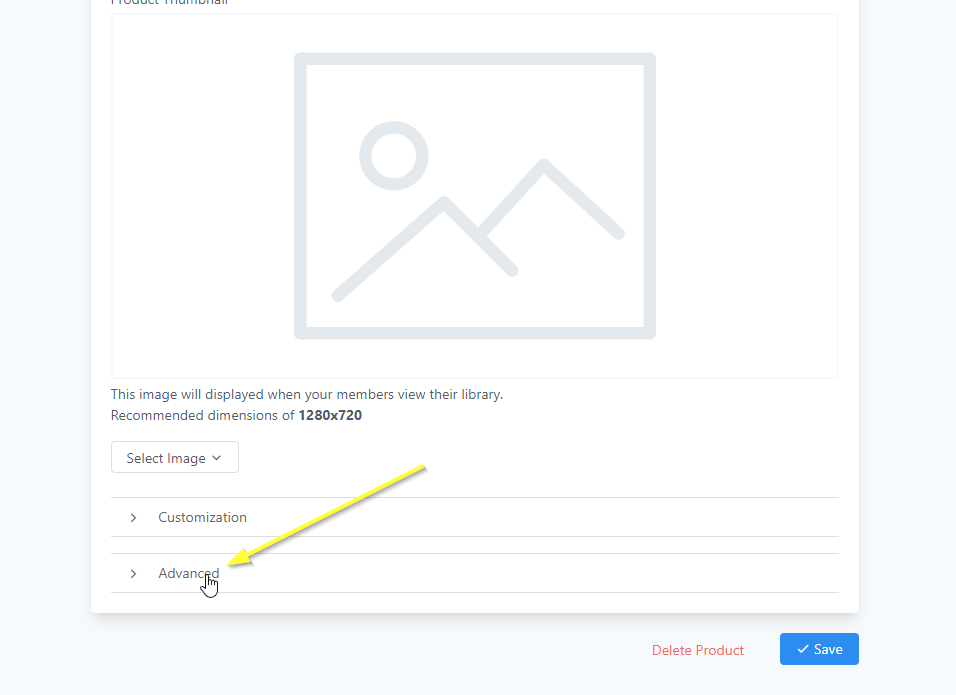
步骤 2:打开高级设置
接下来,我们需要打开 Advanced 设置:
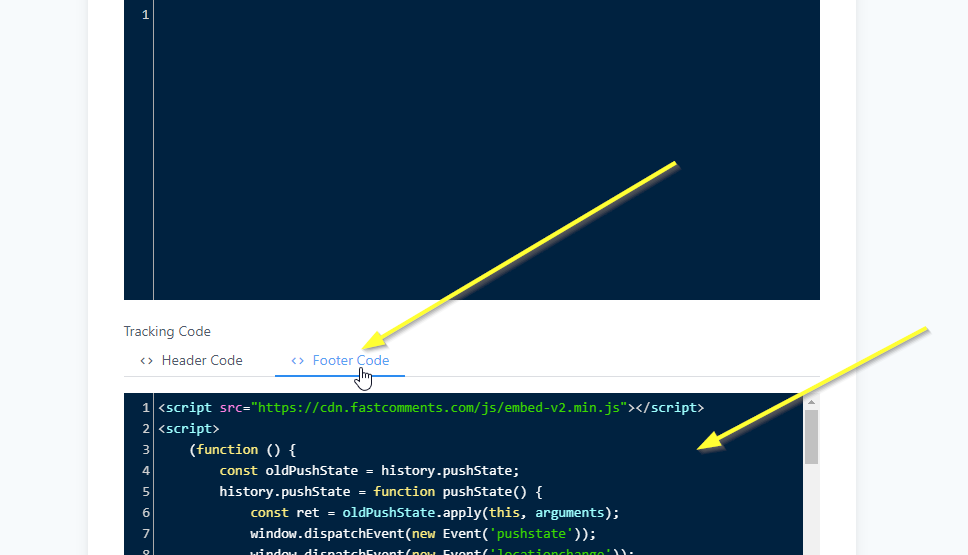
我们将把代码添加到 Tracking Code 部分。转到该部分并点击 Footer Code。
步骤 3:复制代码
现在我们将为你生成自定义的 FastComments 代码。使用下面的向导来配置 FastComments 在你的 GoHighLevel 网站上的工作方式:
FastComments Configuration Wizard
不同的评论框类型
你可以配置 TYPE = 'commenting' 这一行来切换使用的产品(例如你可以将其更改为 live 用于流式聊天,或 collab 用于协作聊天)。
将评论框放置在你想要的位置
假设你想在页面的特定部分放置评论框,而不是默认位置。 更改这行:
const TARGET_ELEMENT_ID = ''; // 设置为使用目标 div 模式为:
const TARGET_ELEMENT_ID = 'fc_box'; // 设置为使用目标 div 模式然后在 GHL 编辑器中,点击“code”按钮并添加你想放置评论的位置:

每页不同的评论框类型
假设你希望用户高亮并讨论文本片段,或者改用流式聊天界面。
首先按照上面“将评论框放置在你想要的位置”中的步骤操作。
注意在上面的那段小片段中有 type="commenting"。
例如,如果你想启用协作聊天,请将 type 改为 type="collab"。
仅在特定页面显示
如果你不设置 不要设置 TARGET_ELEMENT_ID,你可以改为配置 VALID_PATTERNS 变量,以设置评论应该显示哪些 URL 路由。默认情况下,它会在 URL 中包含 /post 的页面上显示。
配置协作聊天
你可以告诉协作聊天只在特定区域内的 HTML 周围添加协作功能,例如,假设你在上面添加了页脚代码,然后在帖子/页面内容中添加此 div 来启用协作聊天:
然后 <div> 内的段落元素将启用协作聊天,页面上的其他部分则不会。如果你在 <div> 中不放任何内容,那么它将对整个帖子正文启用协作聊天。
步骤 4:粘贴代码
现在已复制代码片段,请将其按下图所示粘贴到 Footer Code 部分:
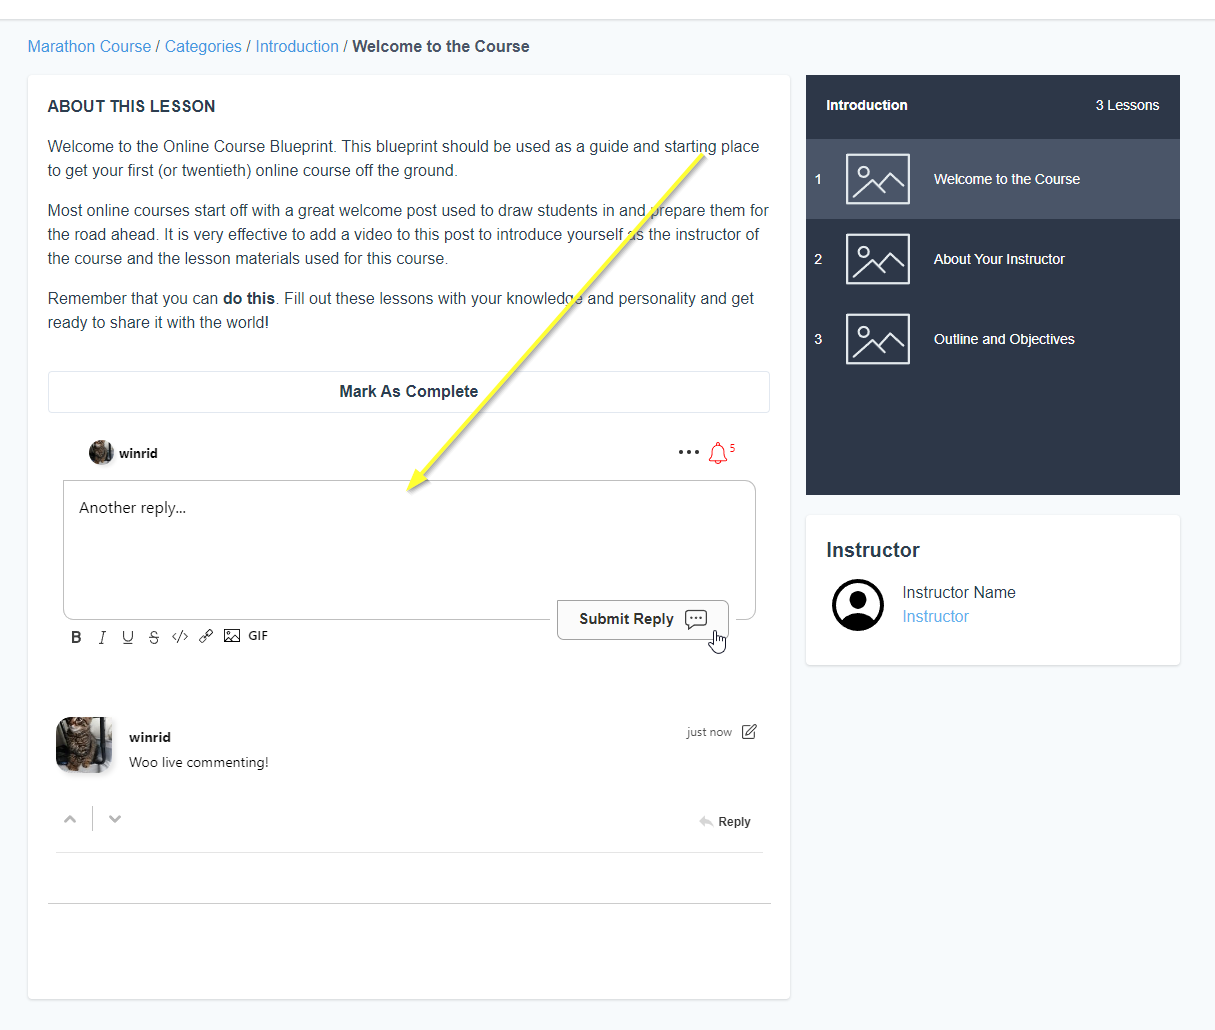
会员站点:安装成功
就这样!您现在应该已经在您的 GoHighLevel 课程中添加了实时评论。
如果您遇到“权限被拒绝”错误,或想自定义 FastComments,请继续阅读。
会员站点域名错误
您可能会遇到如下授权错误:

这是因为 FastComments 不知道应该允许您的帐户在此域上使用。
在这种情况下,修复很简单。您只需将您的站点添加到您的 FastComments.com 帐户中。
现在,您的网站应该已经添加了快速、实时的评论功能!
会员站点自定义
步骤 1:添加自定义代码元素
首先,我们将打开网站上要添加评论的页面的编辑器。

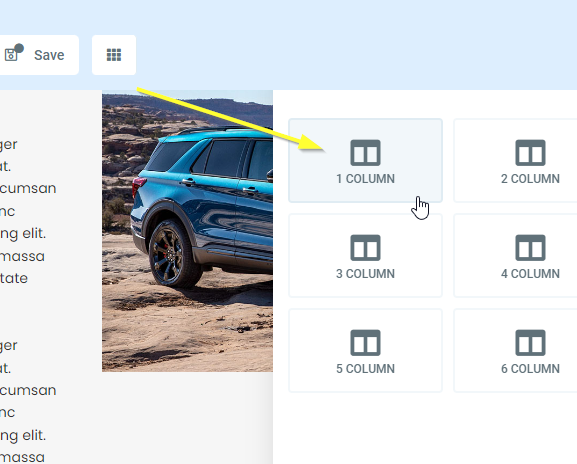
现在找到页面上想要添加评论的位置。将鼠标移到该区域的末端。会出现一个 + 图标:

如果我们点击它,会询问新部分应有多少列。我们将选择 1 COLUMN:
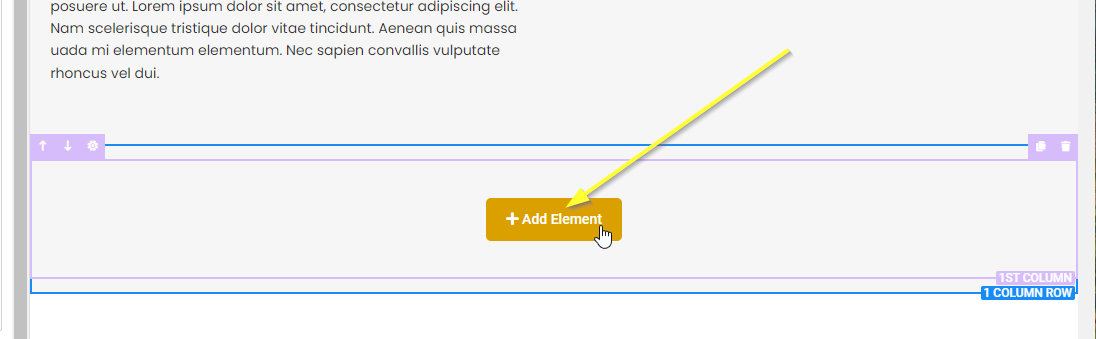
现在,如果将鼠标移到新的单列行上,你将看到添加元素的选项。点击它:
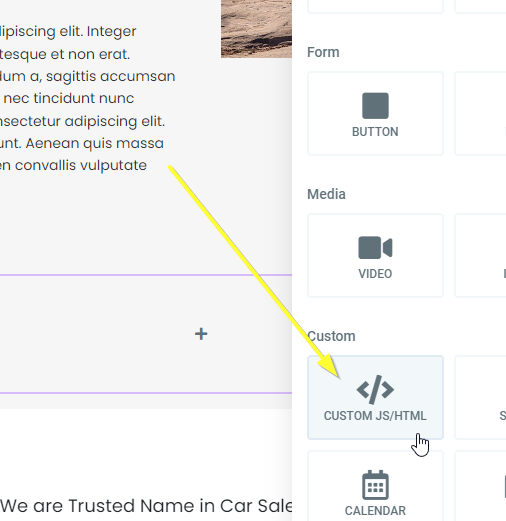
向下滚动并选择 CUSTOM JS/HTML:
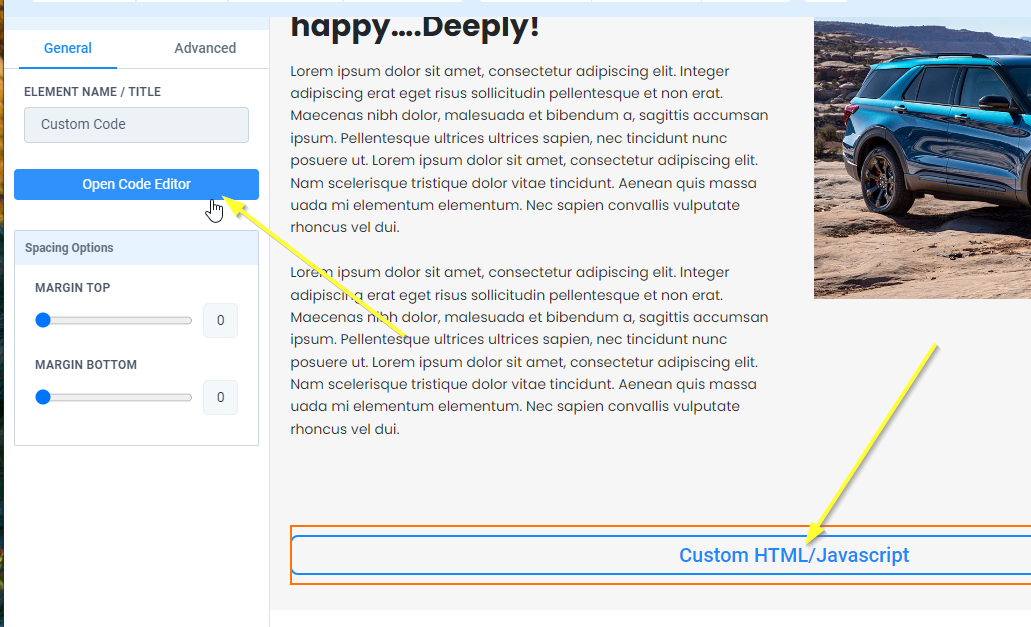
现在选择我们的新元素,然后在左侧点击 Open Code Editor:
步骤 2:复制并粘贴代码
现在是复制我们的代码。复制以下代码:
将其粘贴到我们打开的编辑器窗口中:
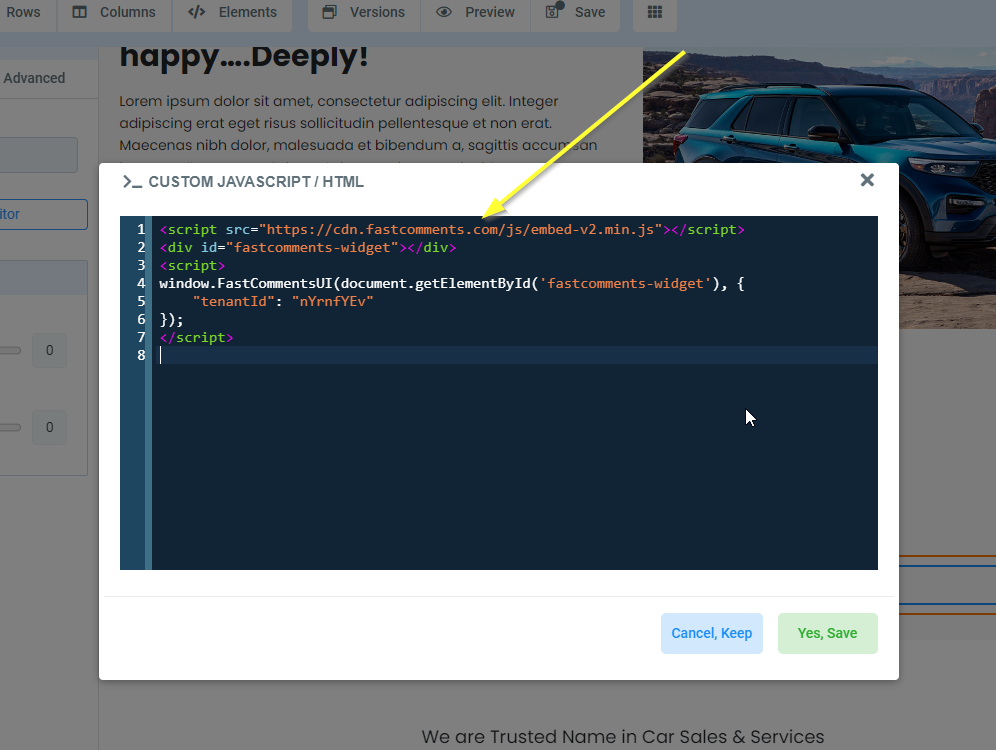
现在我们可以点击该窗口右下角的 Yes, Save。
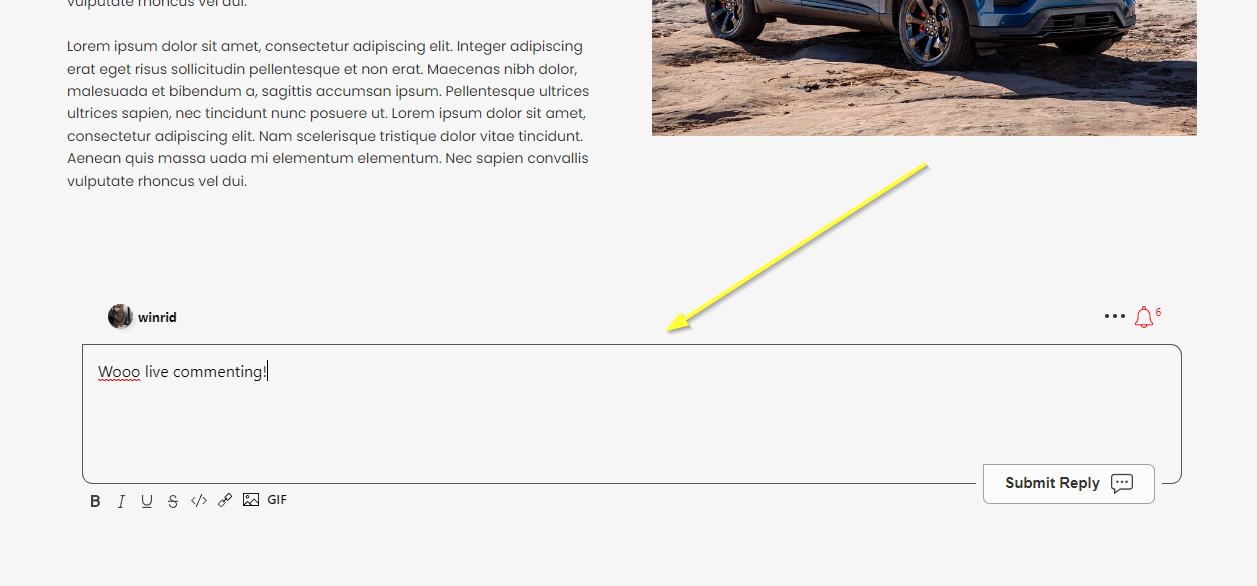
在页面顶部点击 Save,然后点击 Preview。
站点:安装成功
就是这样!您现在应该已经在您的 GoHighLevel 网站上添加了实时评论功能。
如果您遇到“权限被拒绝”错误,或想要自定义 FastComments,请继续阅读。
站点域名错误
您可能会遇到如下授权错误:
这是因为 FastComments 不知道应该允许您的账户在此域上使用。
在这种情况下,解决方法很简单。您只需将您的站点添加到您的 FastComments.com 帐户。
现在,您的站点应该已经添加了快速、实时的评论功能!
站点自定义
FastComments 设计为可自定义,以匹配您的网站。
如果您想添加自定义样式或调整配置,请查看我们的自定义与配置文档以了解如何操作。
结论
如果所提供的步骤或代码因任何原因无法正常工作,请让我们知道。