
在 Ionos 网站添加评论
使用 FastComments,我们可以轻松为任何使用 Ionos 构建的网站添加实时评论。
请注意,本教程需要一个 FastComments 帐户。建议您先注册,然后再返回此处。您可以在此创建一个帐户。
步骤 1:添加联系表单 
首先,我们将添加一个联系表单,FastComments 会替换该表单。
为此,打开站点编辑器,并在目标页面上点击 Add Section。
然后,在左侧转到 Content -> Contact -> Contact Form,如图所示:

接下来,我们需要告诉 FastComments 替换我们的表单。点击默认的表单标题:
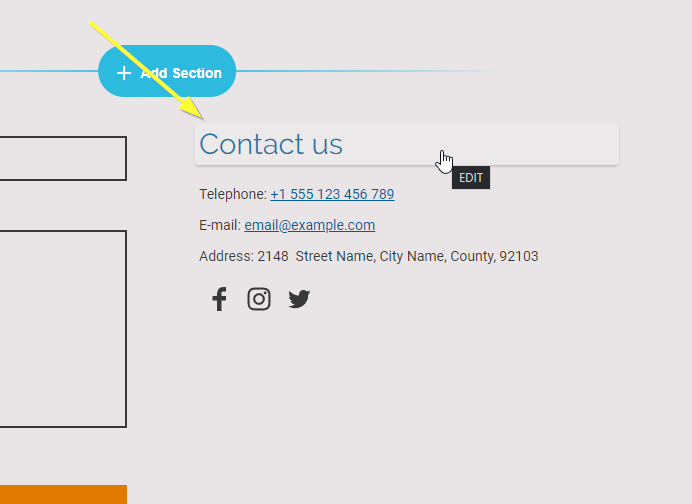
我们会将标题设置为 FastComments Goes Here。大小写和空格必须完全一致,否则无法生效,因此建议您复制此文本并粘贴。
完成后,应如下所示:

第一步到此完成!
步骤 2:添加 FastComments.com 代码
接下来我们将把 FastComments 小部件代码添加到你的网站。该代码将搜索所有标题为 FastComments Goes Here 的表单,并将其替换为 FastComments。
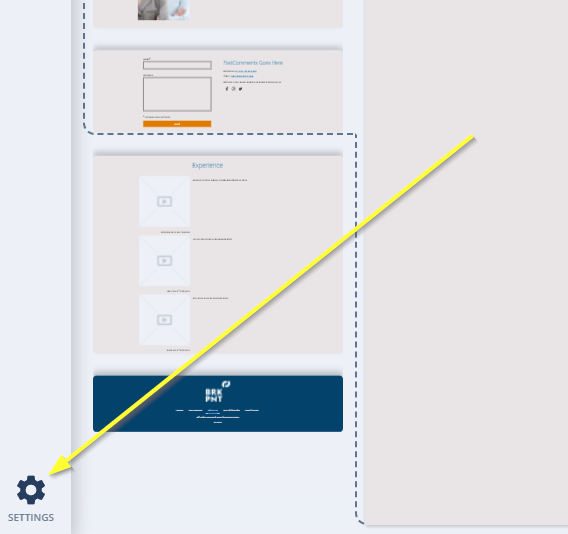
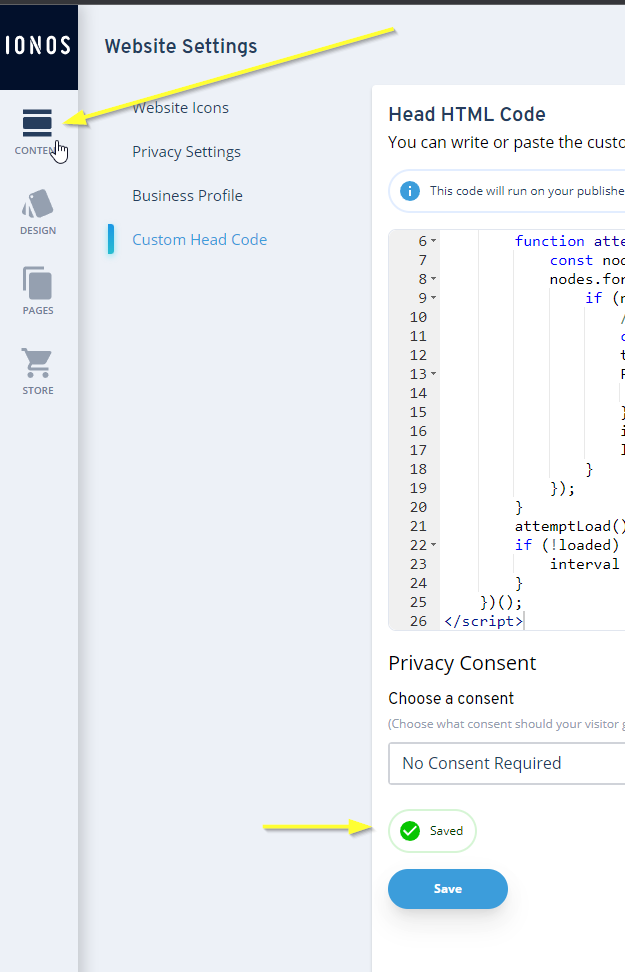
所以现在在站点编辑器的左下角进入 Settings:
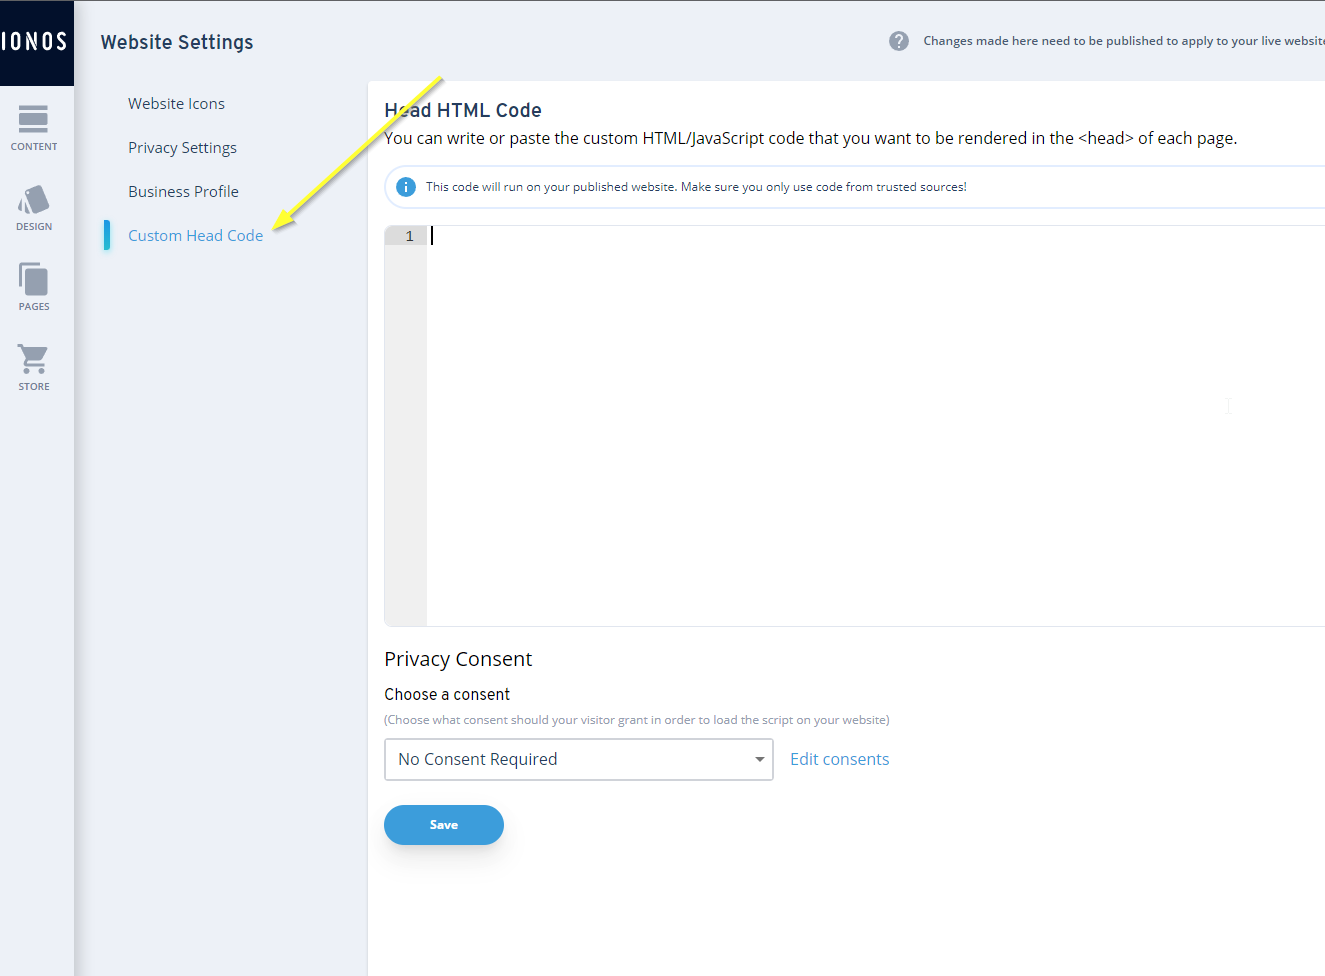
打开 Custom Head Code 部分:
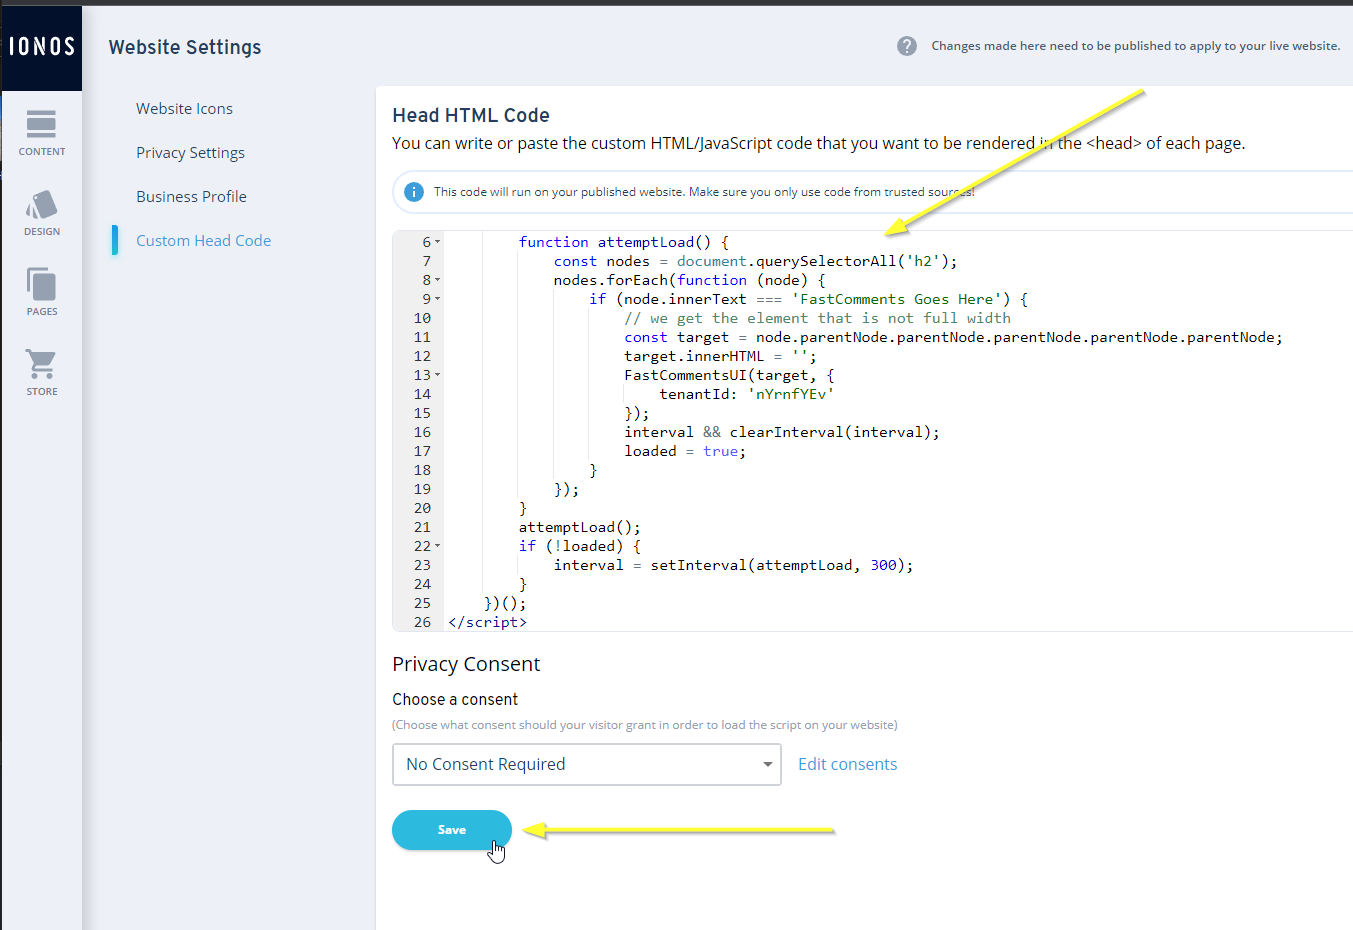
对于 Ionos,我们需要 FastComments 小部件代码的 特殊版本。来自 其他教程 的代码片段 将无法使用。
现在复制以下代码:

...并按如下所示粘贴:
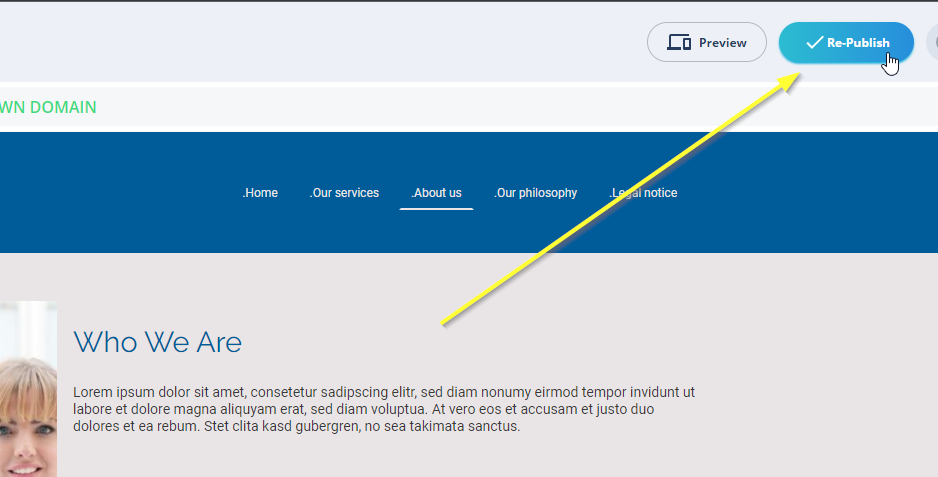
步骤 3:发布
现在我们只需发布网站,就完成了。
通过点击左上角的 Content 返回内容编辑器:
然后我们就可以发布了!
就是这样!FastComments 应该已在您的网站上线。您应该会看到类似如下内容:
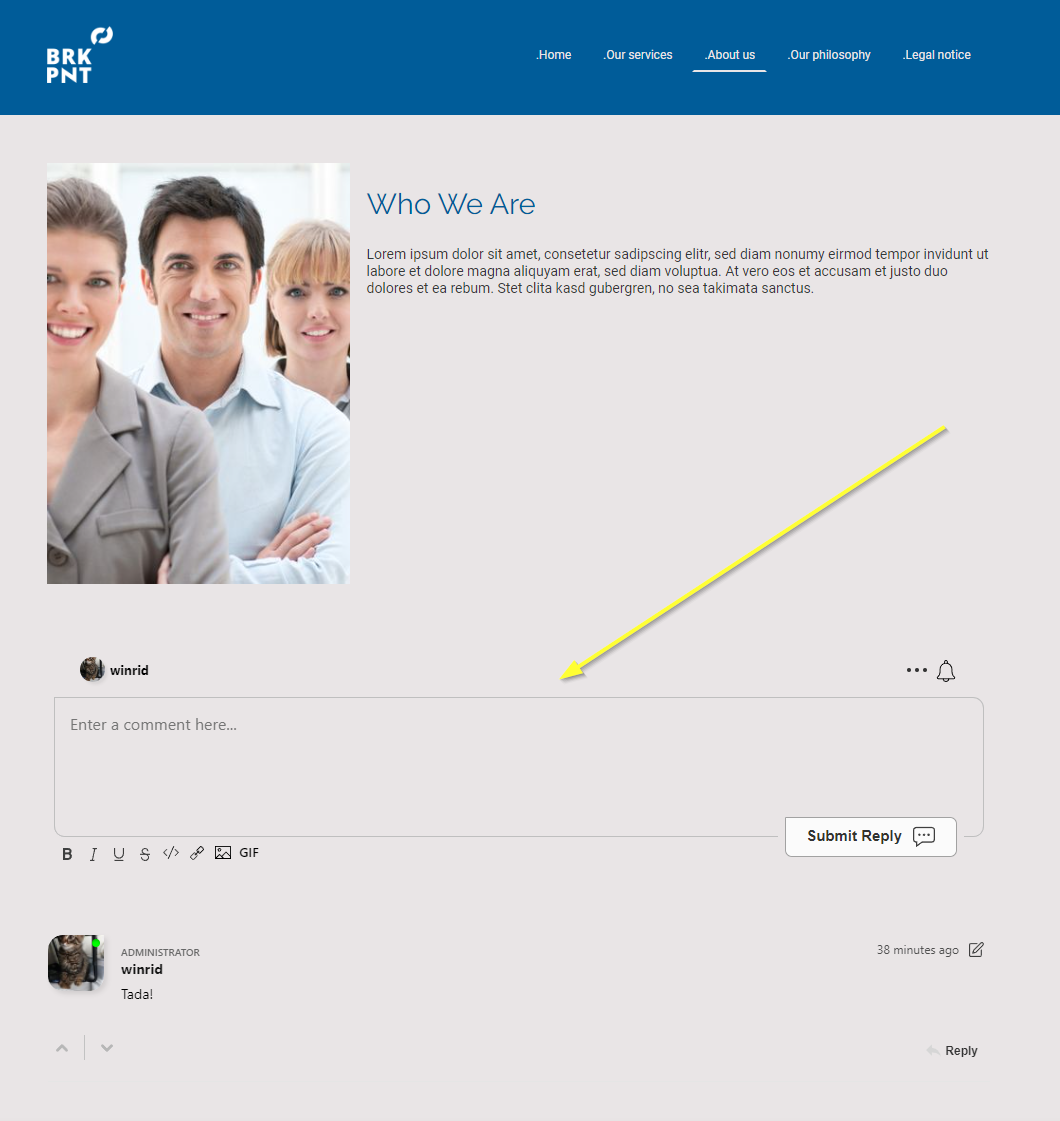
成功
干得好!您已将实时评论添加到您的 Ionos 站点。
如果您遇到“permission denied”错误,或想自定义 FastComments,请继续阅读。
域名错误
您可能会遇到类似如下的授权错误:

这是因为 FastComments 并不知道应允许您的账户在此域上使用。
在这种情况下,解决方法很简单。您只需将站点添加到您的 FastComments.com 帐户中。
现在,您应该已经在 Ionos 站点上添加了快速、实时的评论功能!
自定义
FastComments 旨在可定制,以匹配您的网站。
如果您想添加自定义样式或调整配置,请查看我们的自定义与配置文档以了解如何操作。