
在 Webnode 網站新增留言
Webnode 的 HTML 區塊是我們用來嵌入評論小工具的方式。自 2023 年 6 月 26 日起,此區塊已成為付費的 Webnode 功能:在免費方案中不可用,且此日期之後建立的專案需要升級為付費方案才能使用它。如果在編輯器中看不到 HTML 選項,請升級您的 Webnode 方案,該選項即會出現。
步驟 1:編輯您的頁面 
首先,我們需要編輯想要加入留言的頁面的範本。
在 Pages 中打開該頁面,然後在底部點擊 Edit:
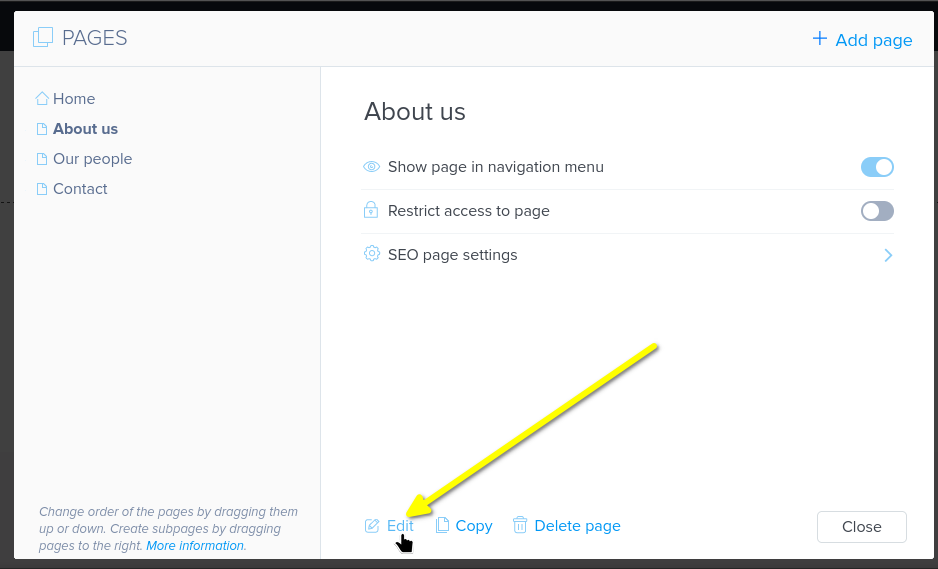
步驟 2:新增區段與 HTML 區塊
Next, determine where you want to add comments. Mouse over the bottom of the previous content area
and click to add a section:
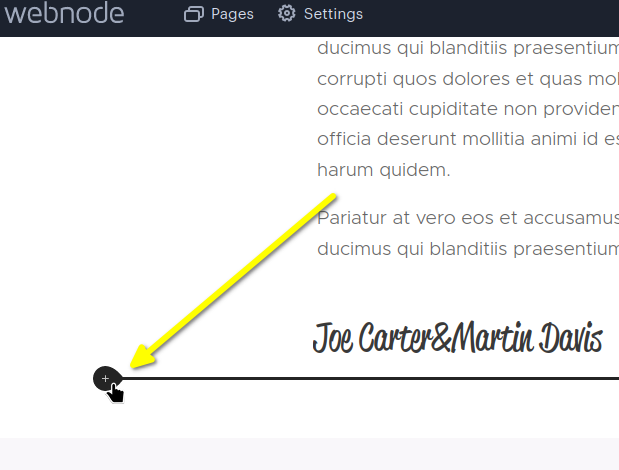
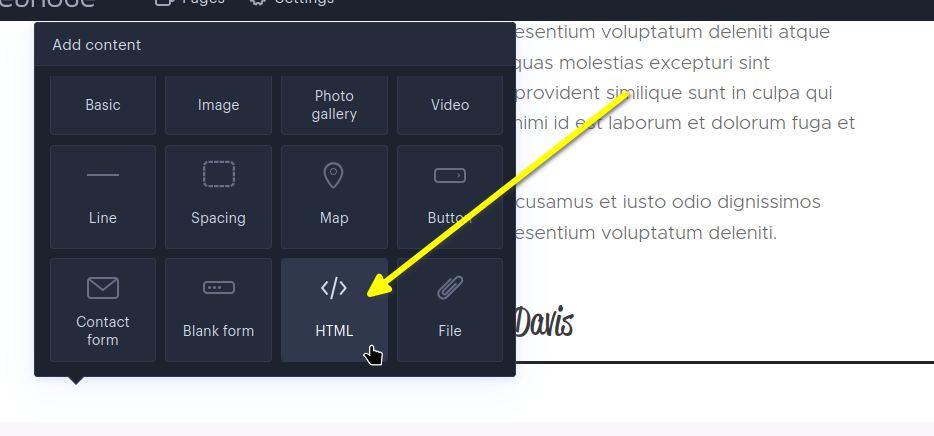
Now let's put an HTML block in that section, where the code snippet will go. Select HTML:
注意: As of June 26, 2023, Webnode's HTML block is a paid feature. It is not available on the free plan, and for projects created after that date it requires a premium package. If you don't see the
HTMLoption, upgrade your Webnode plan to enable it.
步驟 3:複製並貼上程式碼片段
Now, copy this code snippet:

Then paste it in the block:
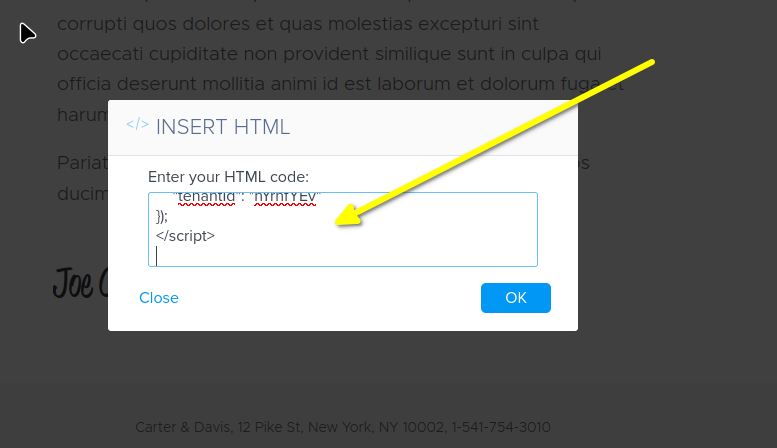
It should look like this in the editor:
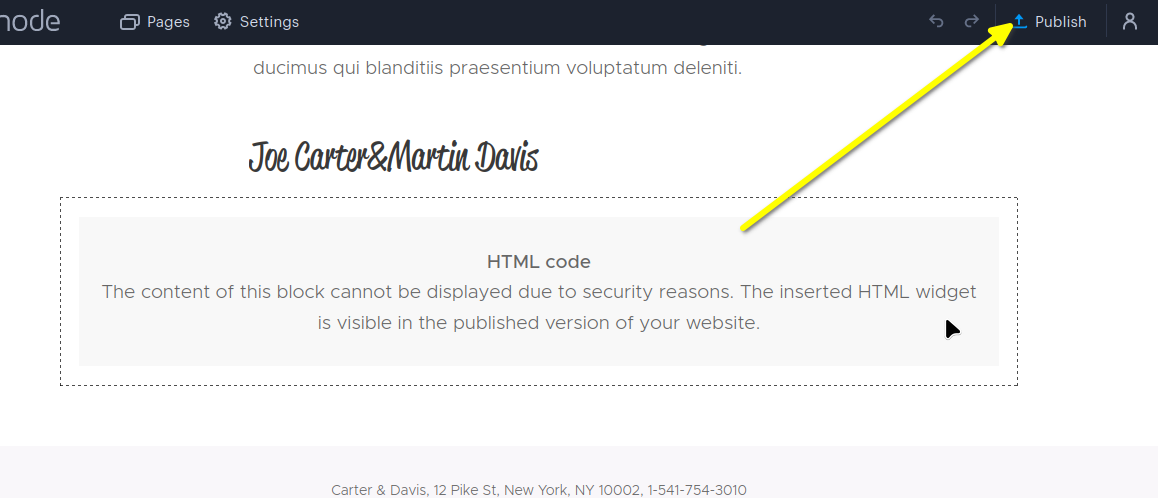
Webnode 在編輯器中不會渲染 HTML 區塊,因此您會看到一個佔位符,顯示內容因安全原因無法顯示。這是預期的行為。評論小工具僅在您發佈後才會顯示,我們接下來會這樣做。
步驟 4:發佈
現在您可以發佈您的變更,並在網站上看到留言小工具即時顯示!
成功
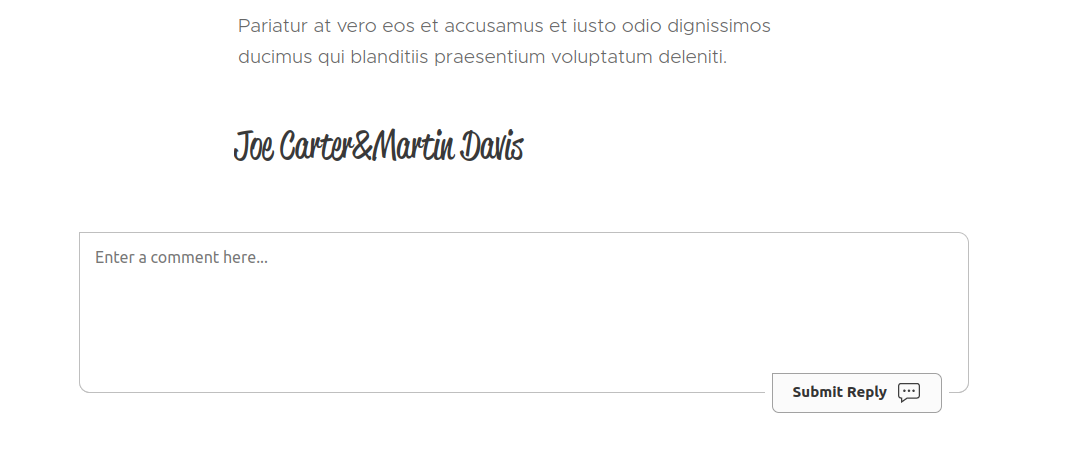
您現在應該可以看到 FastComments.com 的即時留言小工具:
網域錯誤
您可能會收到類似下列的授權錯誤:
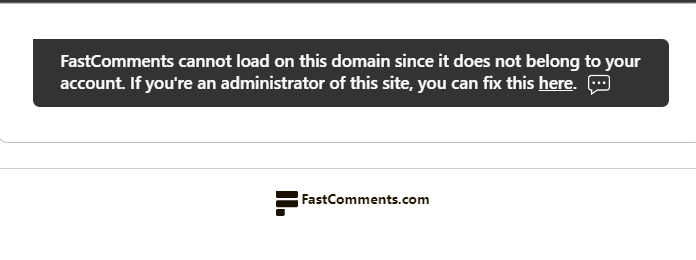
這是因為 FastComments 不知道應該允許您的帳號在此網域上使用。
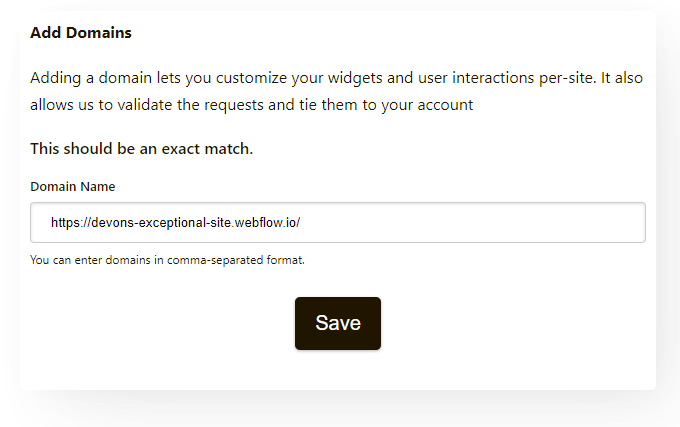
在這種情況下,解決方法很簡單。您只需將您的網站新增到您的 FastComments.com 帳戶即可。
加入網域,如下所示:
現在您應該已在您的 Webnode 網站上新增快速、即時的留言功能!
自訂
FastComments 設計為可客製化以符合您的網站。
如果您想新增自訂樣式或微調設定,請查看我們的自訂與設定文件以了解如何操作。