
Ghost サイトにメンバー限定のライブコメントを追加する
With FastComments we can easily add live, members-only commenting to any site built with Ghost.
We will be able to メンバーのユーザー名やアバターを自動的にインポートし、コメント返信通知を設定できるようになります。
注意 このチュートリアルには FastComments アカウントが必要です。まずサインアップしてから戻ってくることをお勧めします。ここでアカウントを作成できます。
In this tutorial we'll be targeting a blog built with Ghost, but with a little know-how the same instructions apply to any type of site.
This tutorial starts from the perspective of a user who is very new to Ghost. Users experienced in editing their themes can skip to Step 4.
If you're having trouble, feel free to send your exported theme template to your support representative(それでもステップ1〜5が必要です)。
ステップ 1: テーマをダウンロードする 
FastCommentsをGhostに正しく追加するには、テーマファイルを編集する必要があります。
まずは、現在のテーマまたは使用したいテーマをダウンロードしましょう。
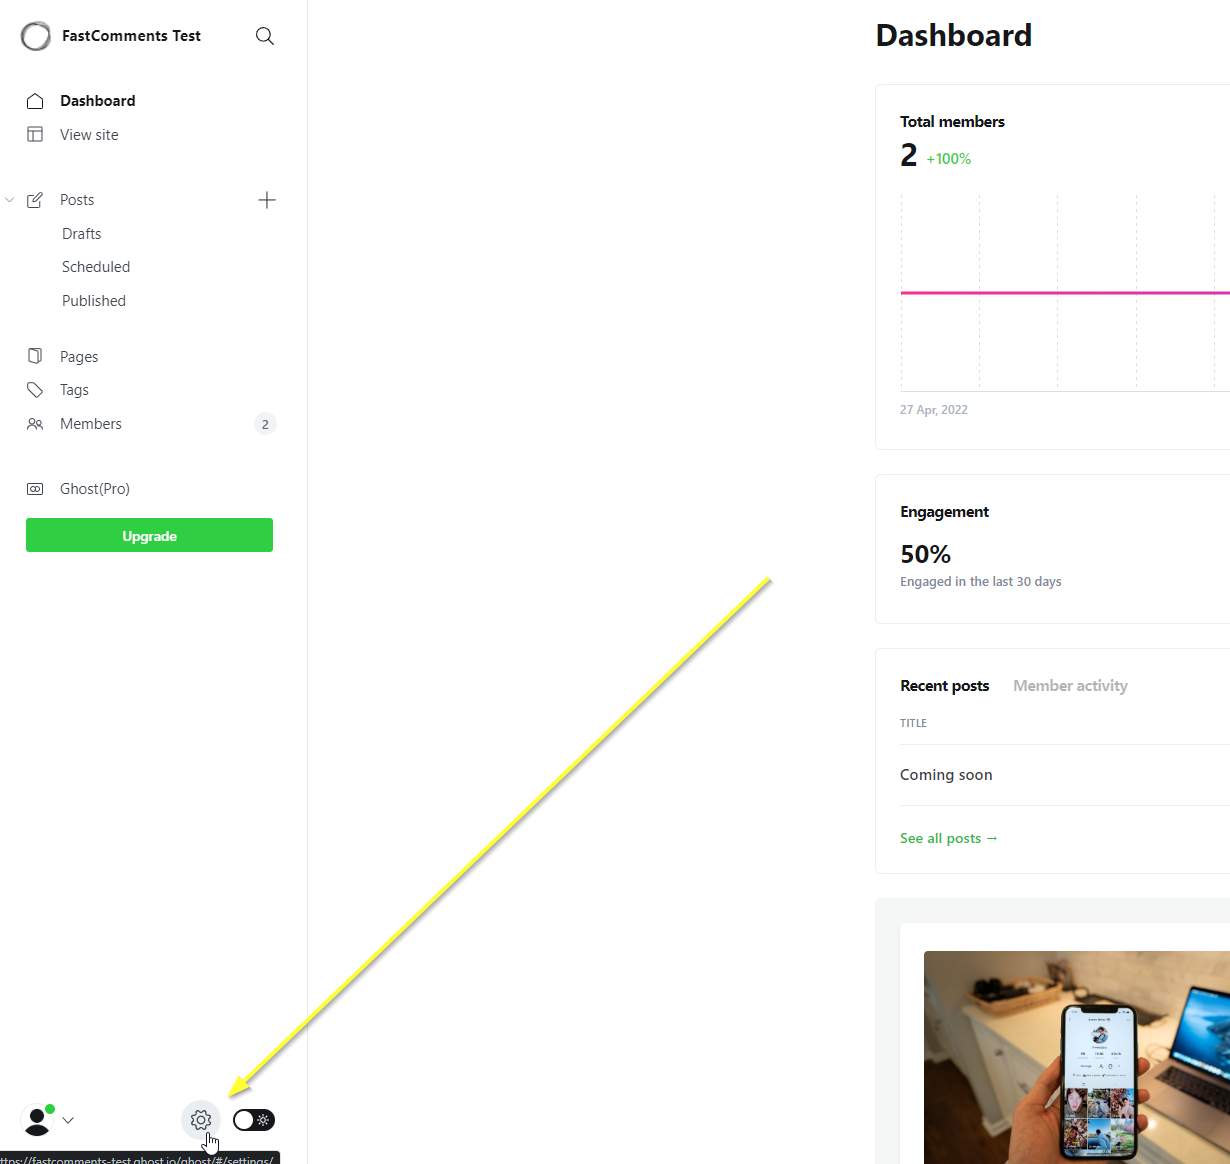
サイトのダッシュボードに移動し、左下の歯車をクリックします:
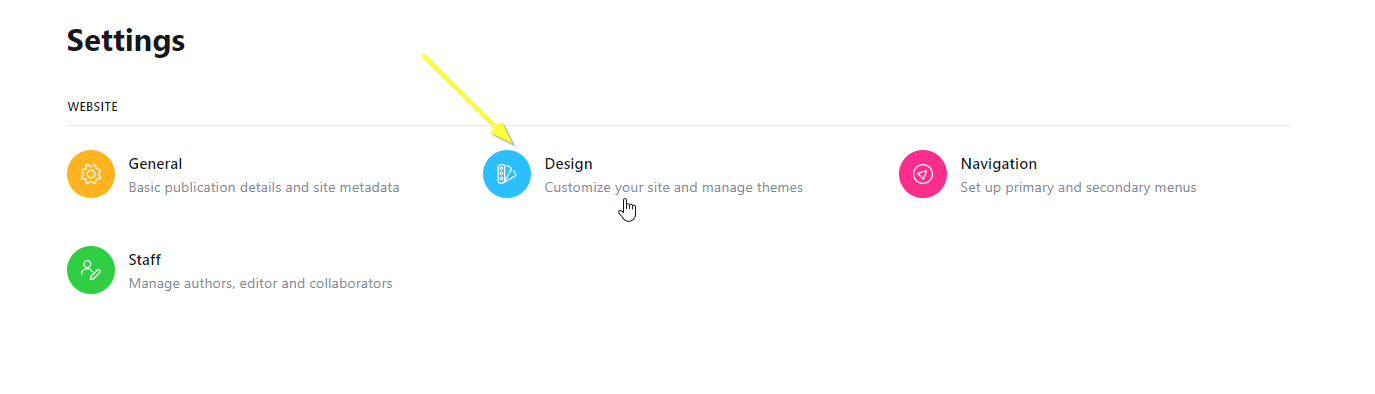
次に Design オプションを選択します:
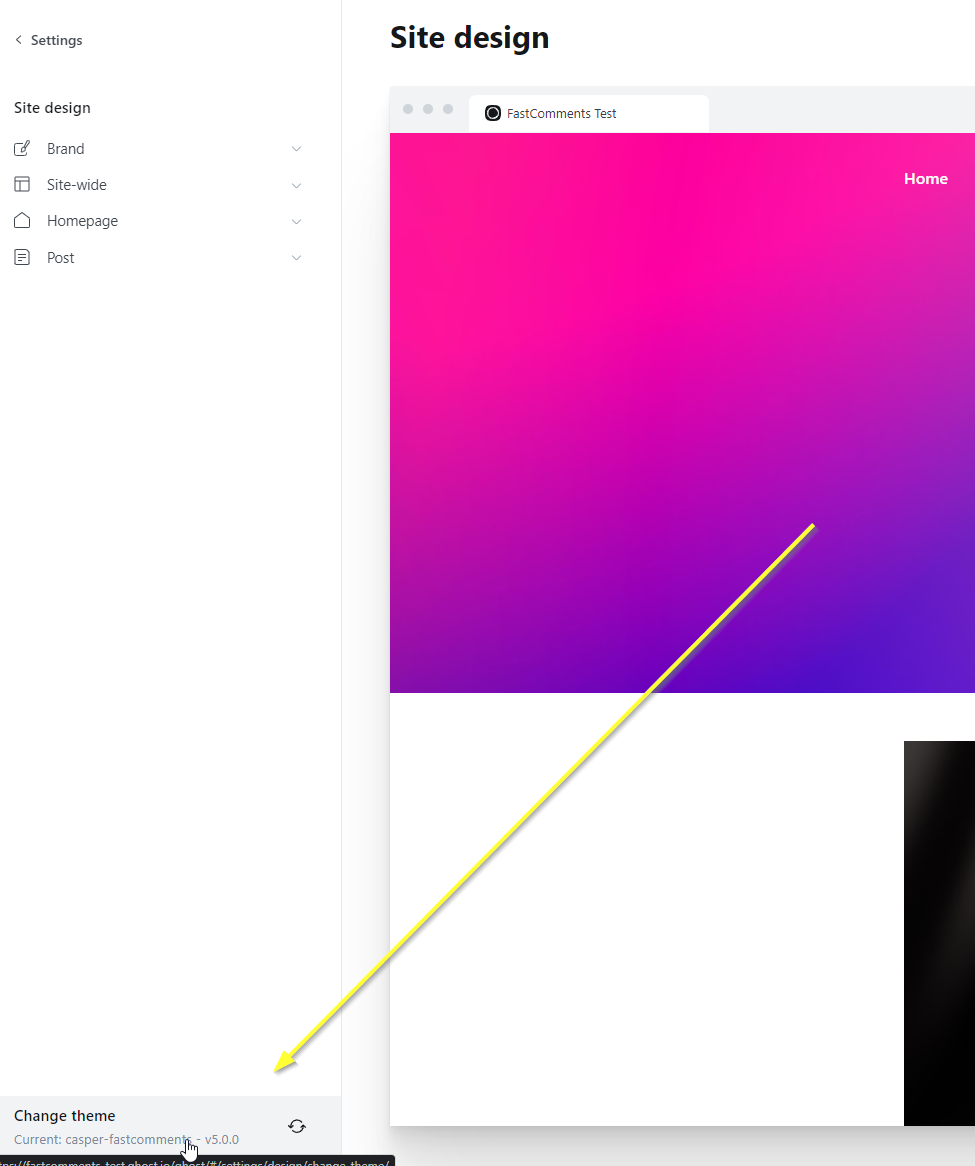
厳密にはテーマを変更しているわけではありませんが、左下の Change Theme をクリックします:
右上で Advanced を選択します:
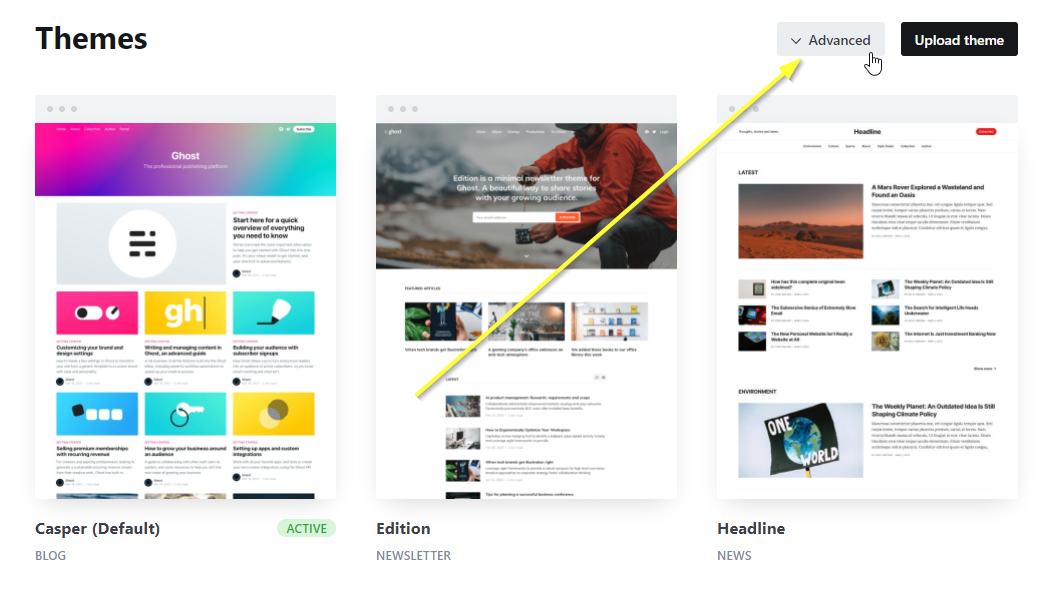
...そして現在のテーマまたは希望するテーマをダウンロードします:

ステップ 2: テーマをローカルにインストールする
zipファイルをダウンロードしたので、フォルダに解凍します。デフォルトの casper.zip をダウンロードし、Windows の Downloads\casper に解凍しました。
次に、LTS またはそれ以降のバージョンの NodeJS がインストールされていることを確認してください。入手はこちら: https://nodejs.org/en/download/
NodeJS がインストールされたら、コードエディタをインストールします。
当社では Webstorm を推奨(および使用)しています。30日間のトライアル(クレジットカード不要)で入手できます: https://www.jetbrains.com/webstorm/
次に良い無料の選択肢はおそらく Visual Studio Code でしょう: https://code.visualstudio.com/download
エディタのセットアップが完了し、テーマフォルダをエディタで開いたら、IDE のターミナルを開き、次を実行します:

出力は次のようになります(警告は無視して構いません):
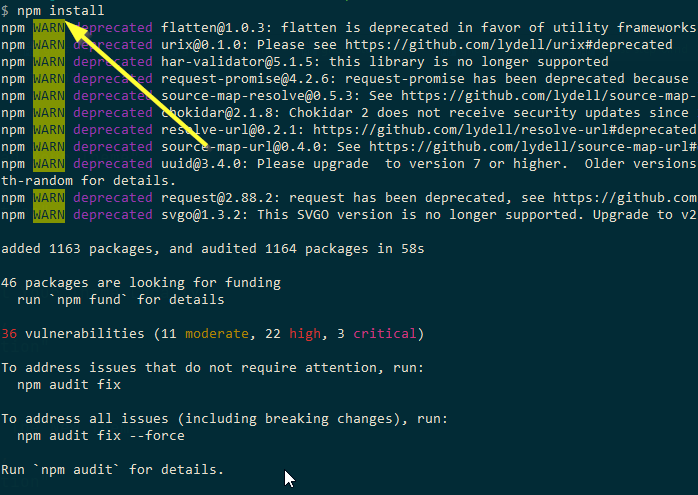
これにより、後で実行するコマンドのためにテーマの依存関係が設定されます。また、エクスポートはテーマの依存関係がインストールされていることに依存するため、インポートし直す際に正しく動作するには依存関係が必要です。
ステップ 3: 新しいテーマに名前を付ける
テーマをエディタで開いた状態で、package.json を開き、name フィールドを別の値に変更してください。今回は末尾に -fastcomments を追加します:
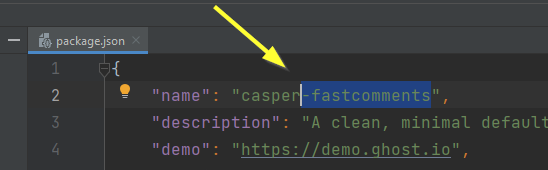
IDE を使用している場合、この変更は自動的に保存されます。
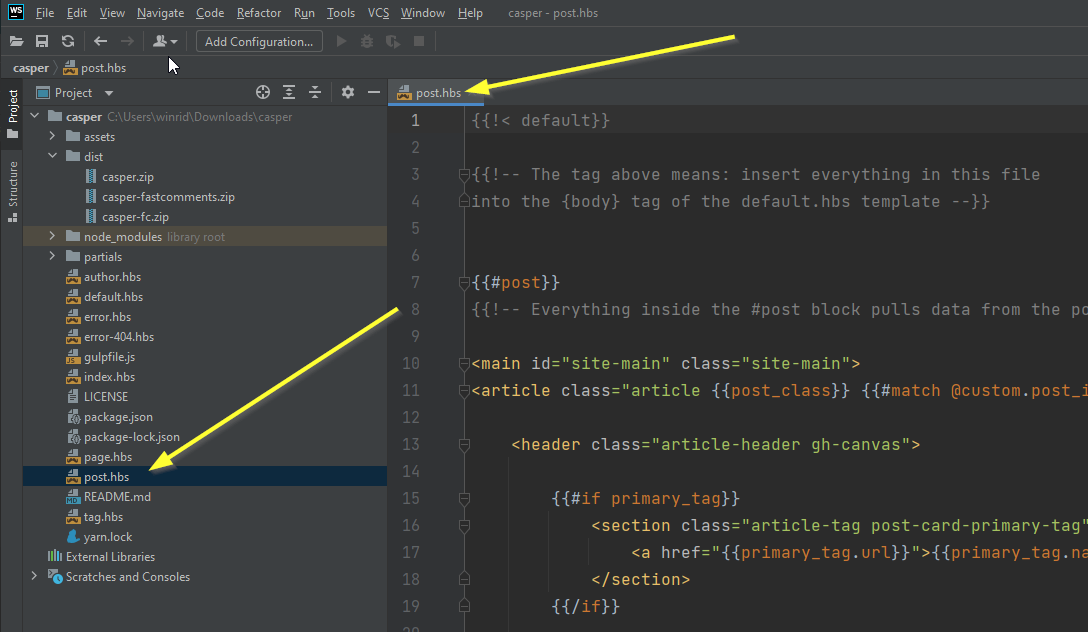
ステップ 4: 投稿テンプレートを開く
これからブログ記事で使用されているテンプレートを開きます。名前は post.hbs です:
ステップ 5: FastComments のコードを追加する
次に、FastComments.com ウィジェットコードを追加する場所を特定する必要があります。
デフォルトの casper テーマを使用している場合、82行目に次のようなセクションが表示されます:
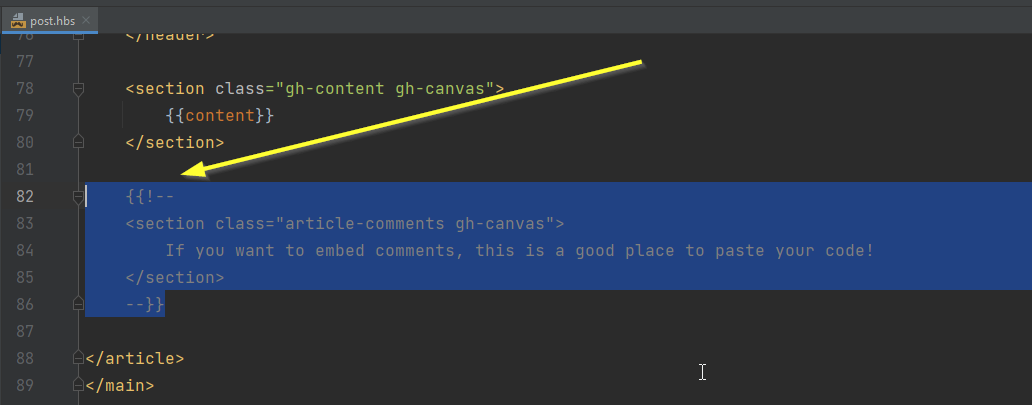
他のテーマを使用している場合はこれが表示されないため、最後の </section> の後にこのコードを追加する必要があります:
以下のようになっているはずです:

準備ができたら、FastComments.com ウィジェットコードをコピーします:
...すると次のように表示されます:

コーディングは完了です。次はテーマを再インポートするだけです!
ステップ 6: テーマをエクスポートする
今度はテーマファイルを再びzipファイルにまとめる必要があります。これを行うには、Ghostの組み込み機能を使用してください。
エディタのターミナルをもう一度開き、npm run zipを実行します。
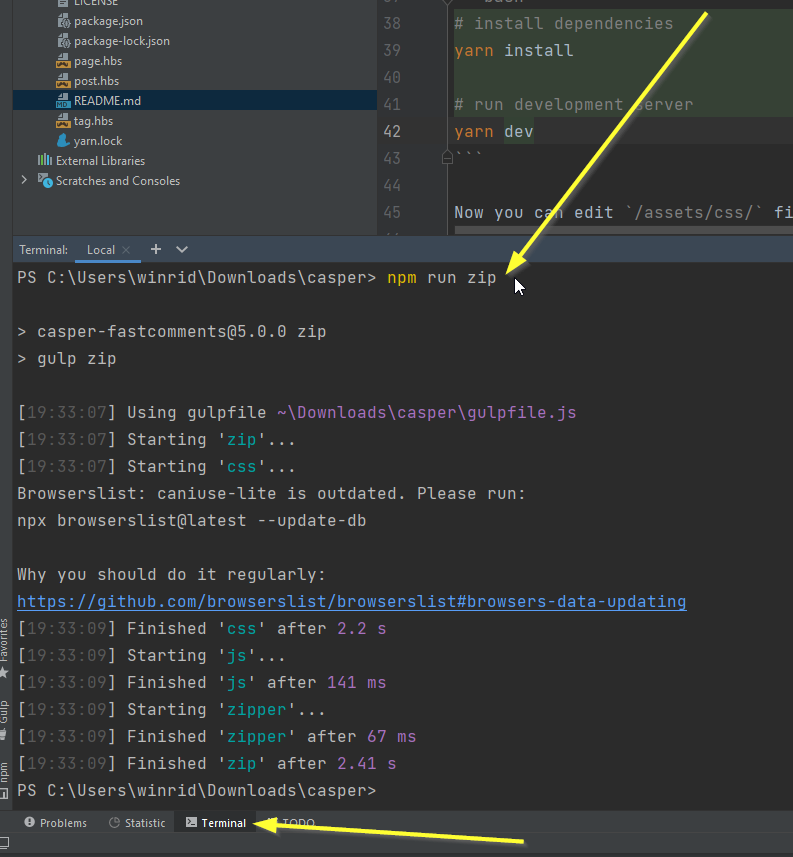
This will package the theme into a zip file in dist/casper-fastcomments.zip (if that is what you've named the theme in Step Three).
ステップ 7: テーマを Ghost にアップロードする
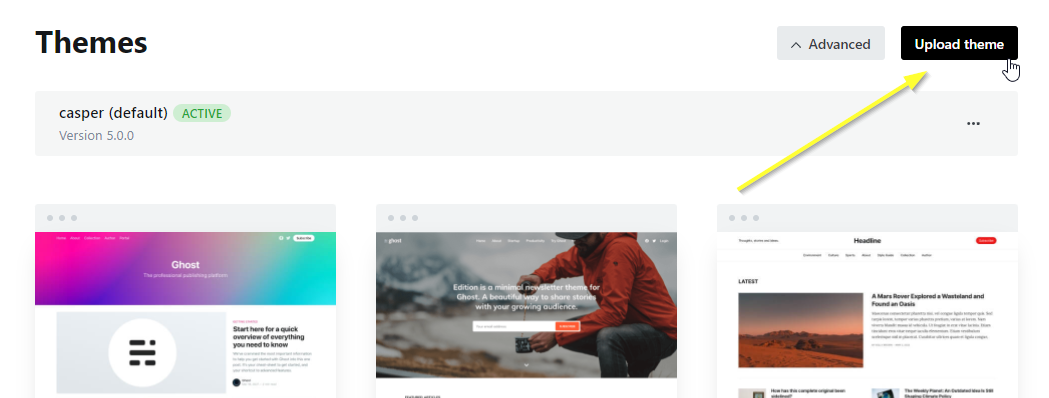
Ghostのダッシュボードに戻り、テーマをアップロードしましょう:
私の場合、zipファイルは次の場所にあります。distフォルダーに注意してください:
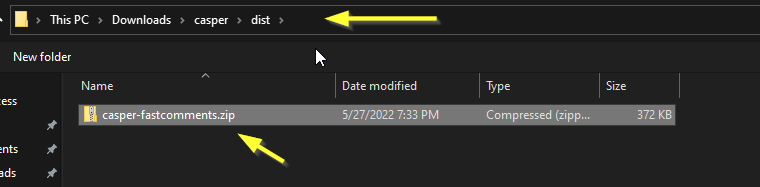
アップロードした新しいテーマを有効化するのを忘れないでください(Ghostが確認を促します)。
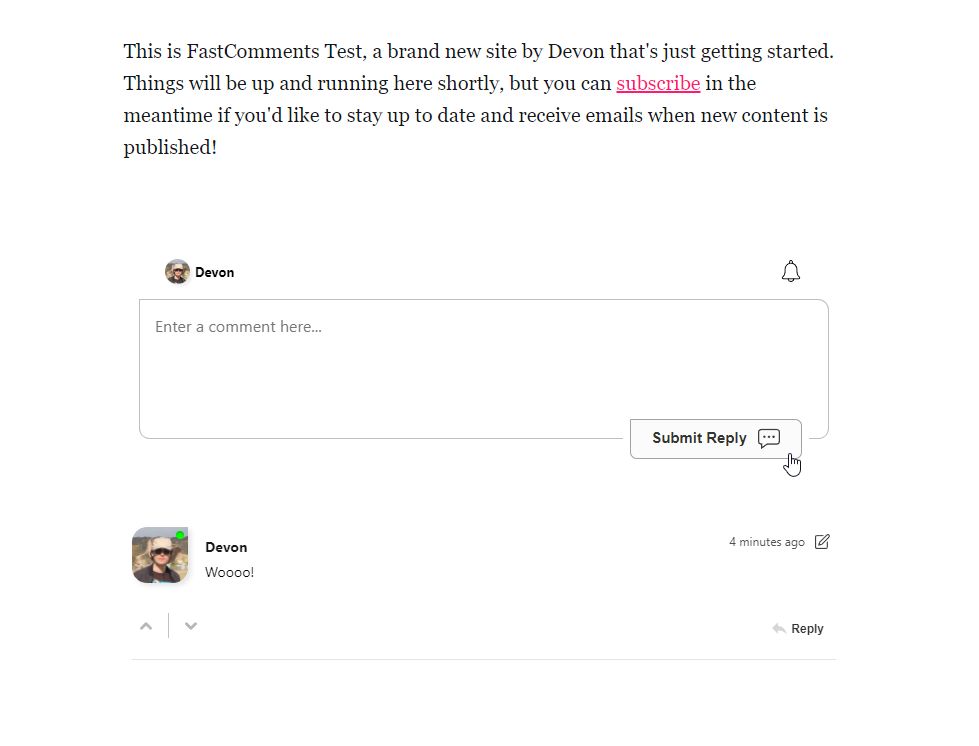
完了!
これでメンバー向けに FastComments のライブコメント機能が有効になっているはずです!
Ghost に FastComments を設定したこと、おめでとうございます!ドメインエラーが発生した場合、またはコメント欄をカスタマイズする方法を知りたい場合は、読み進めてください!
ドメインエラー
次のような認可エラーが発生することがあります:

This is because FastComments doesn't know it's supposed to allow your account to be used on this domain.
In this case, the fix is simple. You just have to add your site to your FastComments.com account.
カスタマイズ
FastComments はあなたのサイトに合わせてカスタマイズできるように設計されています。