
为 Ghost 站点添加仅限会员的实时评论
With FastComments we can easily add live, members-only commenting to any site built with Ghost.
We will be able to 自动导入您的会员用户名、头像,并设置评论回复通知。
注意 本教程需要一个 FastComments 帐户。建议您先注册,然后再回来这里。 You can create an account here.
In this tutorial we'll be targeting a blog built with Ghost, but with a little know-how the same instructions apply to any type of site.
This tutorial starts from the perspective of a user who is very new to Ghost. Users experienced in editing their themes can skip to Step 4.
If you're having trouble, feel free to send your exported theme template to your support representative (still requires steps 1 - 5).
步骤 1:下载您的主题 
要将 FastComments 正确添加到 Ghost,我们必须编辑主题文件。
因此,我们先下载您当前或想要的主题。
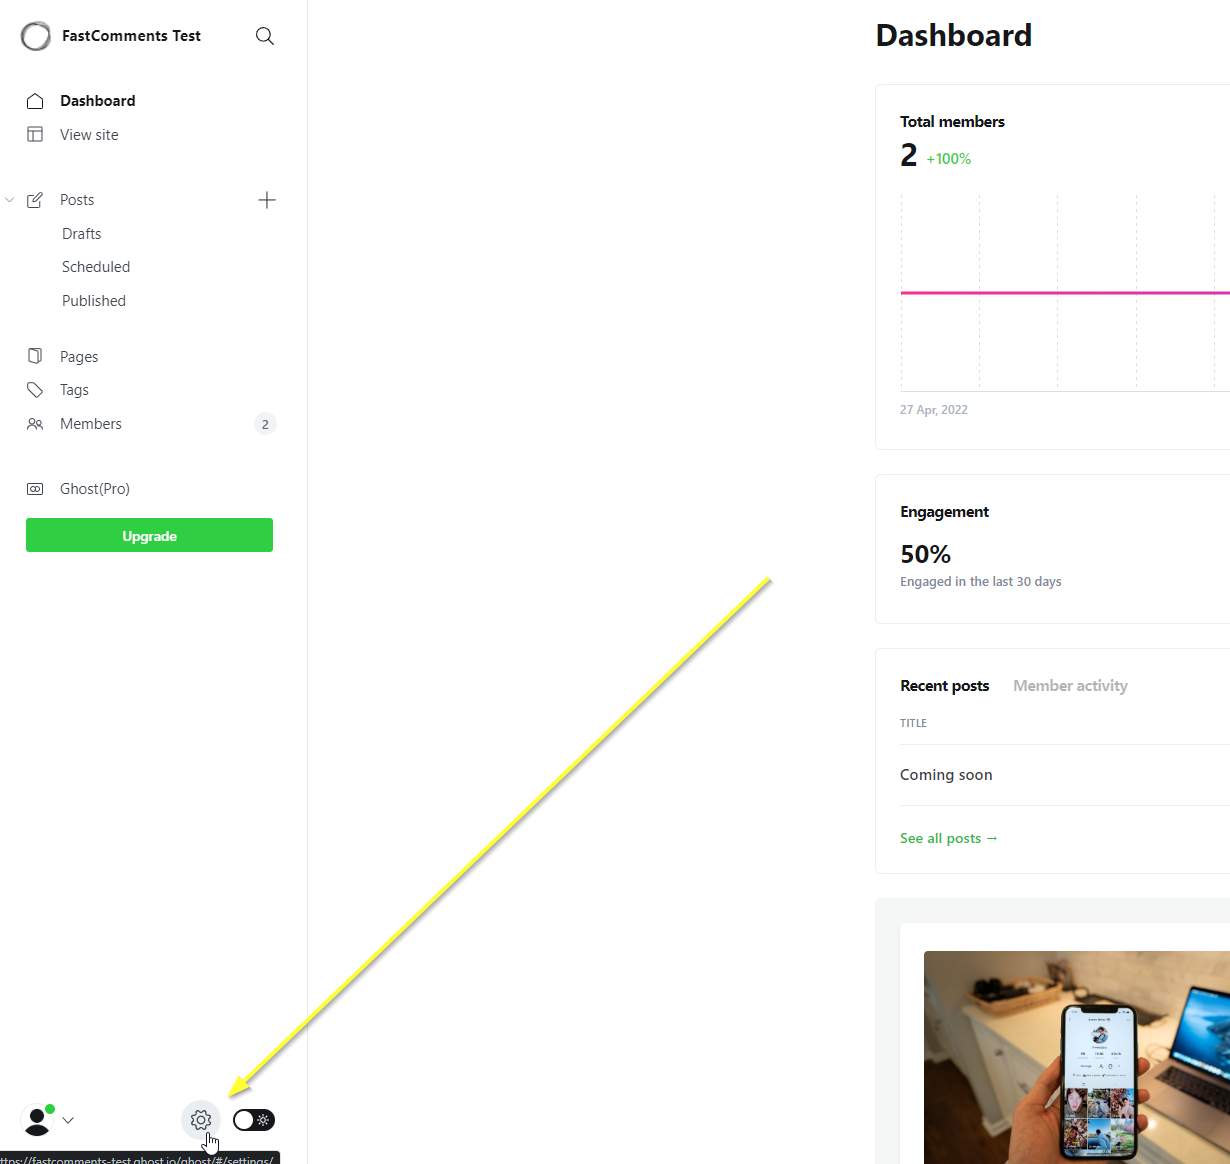
导航到您站点的仪表板,点击左下角的齿轮:
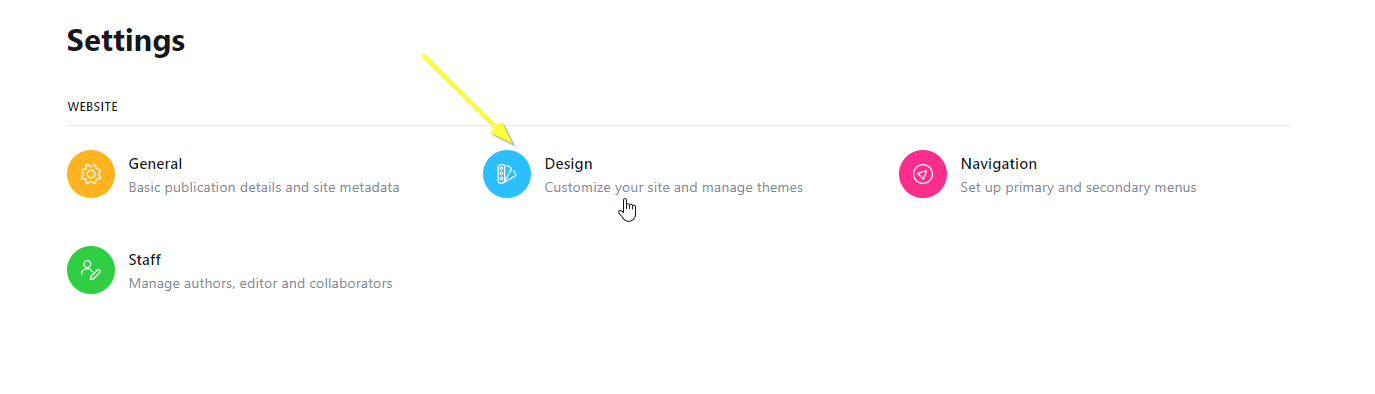
接下来选择 Design 选项:
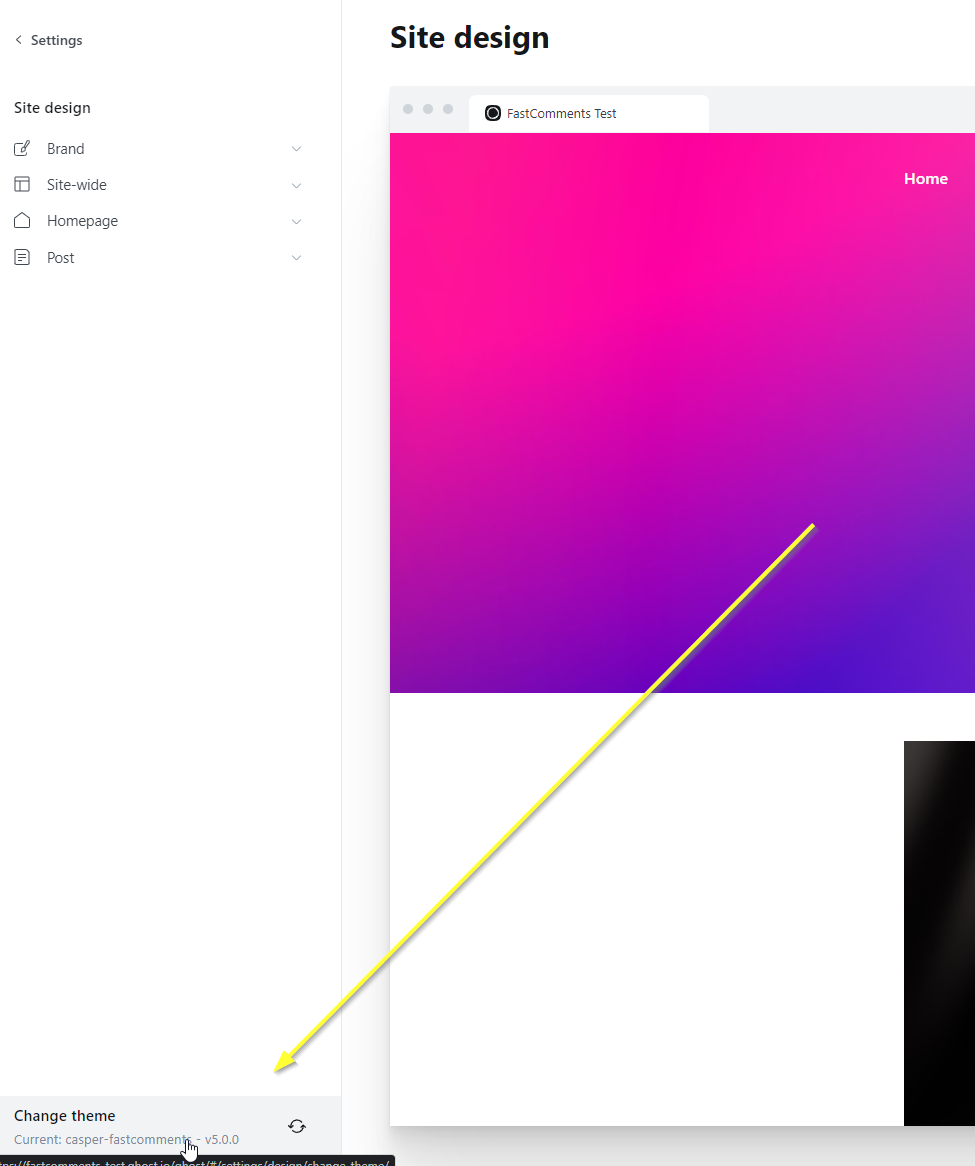
虽然我们实际上并未更改主题,但请在左下角点击 Change Theme:
在右上角选择 Advanced:
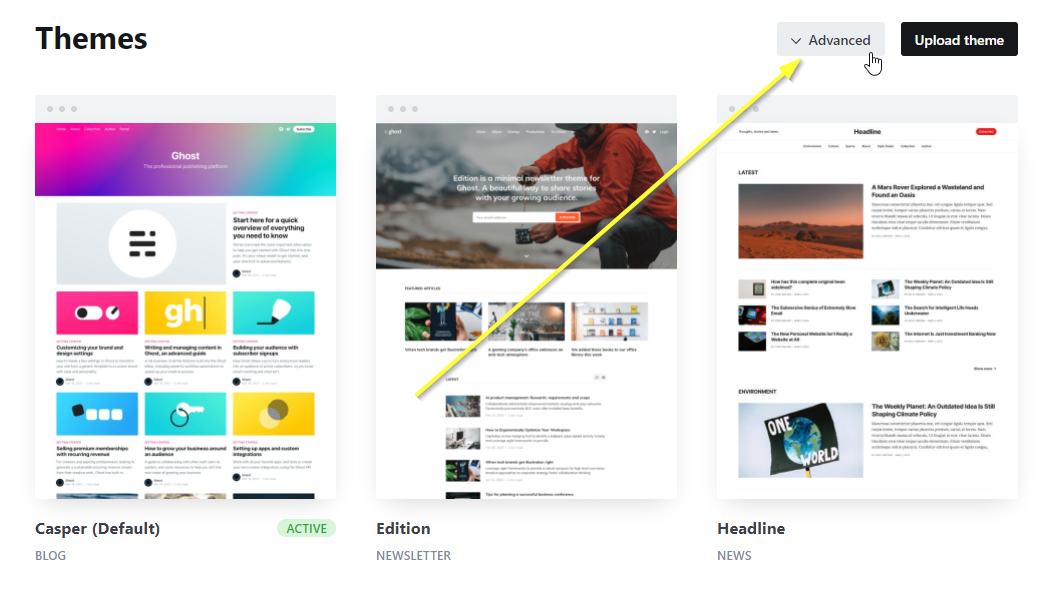
...然后下载您当前或理想的主题:

步骤 2:在本地安装您的主题
现在我们已下载 zip 文件,将其解压到一个文件夹。我已下载默认的 casper.zip 并在 Windows 上解压到 Downloads\casper。
接下来,请确保已安装 LTS 或更高版本的 NodeJS。您可以在此获取:https://nodejs.org/en/download/
NodeJS 安装完成后,请安装一个代码编辑器。
我们推荐(并使用)Webstorm,您可以在此获取试用 30 天(无需信用卡):https://www.jetbrains.com/webstorm/
下一个最佳的免费选择可能是 Visual Studio Code: https://code.visualstudio.com/download
在编辑器中设置好并打开主题文件夹后,在 IDE 中打开终端并运行:

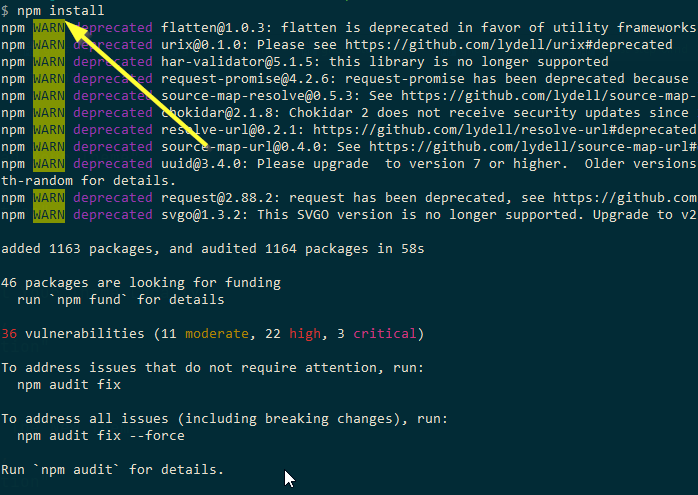
成功的输出如下(您可以忽略警告):
这将为后续要运行的命令设置主题的依赖项。此外,导出依赖于已安装主题的依赖项,否则重新导入将无法正常工作。
步骤 3:为新主题命名
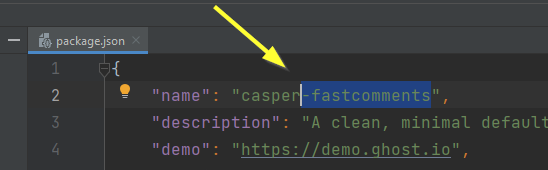
现在我们在编辑器中打开了主题,打开 package.json 并将 name 字段更改为其他内容。在我们的例子中我们只是在末尾添加 -fastcomments:
如果你使用 IDE,它会在你进行此更改后自动保存。
步骤 4:打开文章模板
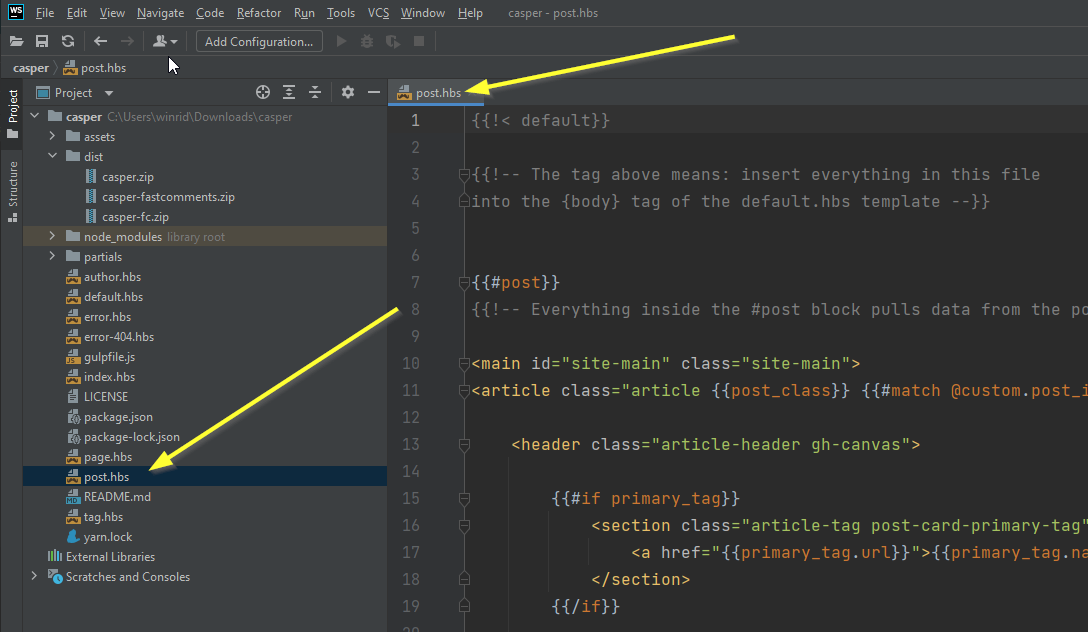
现在我们将打开用于我们的博客文章的模板。它叫 post.hbs:
步骤 5:添加 FastComments 代码
接下来我们需要确定在何处添加 FastComments.com 小部件代码。
如果您使用默认的 casper 主题,您将在第 82 行看到如下部分:
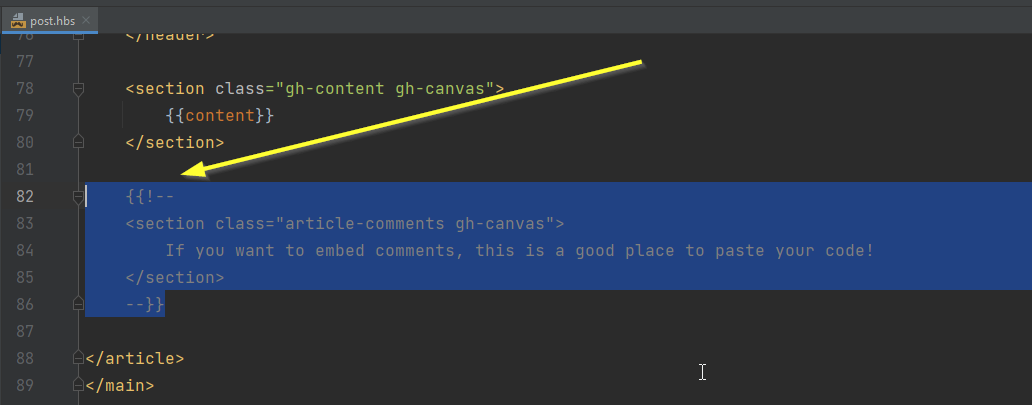
如果您使用其他主题,您将看不到此内容,需要在最后一个 </section> 之后添加此代码:
您应该会看到类似如下的准备状态:

准备好后,复制 FastComments.com 小部件代码:
...and it should look like this:

编码完成。现在我们只需重新导入主题!
步骤 6:导出您的主题
现在我们需要将主题文件打包回一个 zip 文件。为此,请使用 Ghost 内置的功能。
再次打开编辑器的终端并运行 npm run zip。
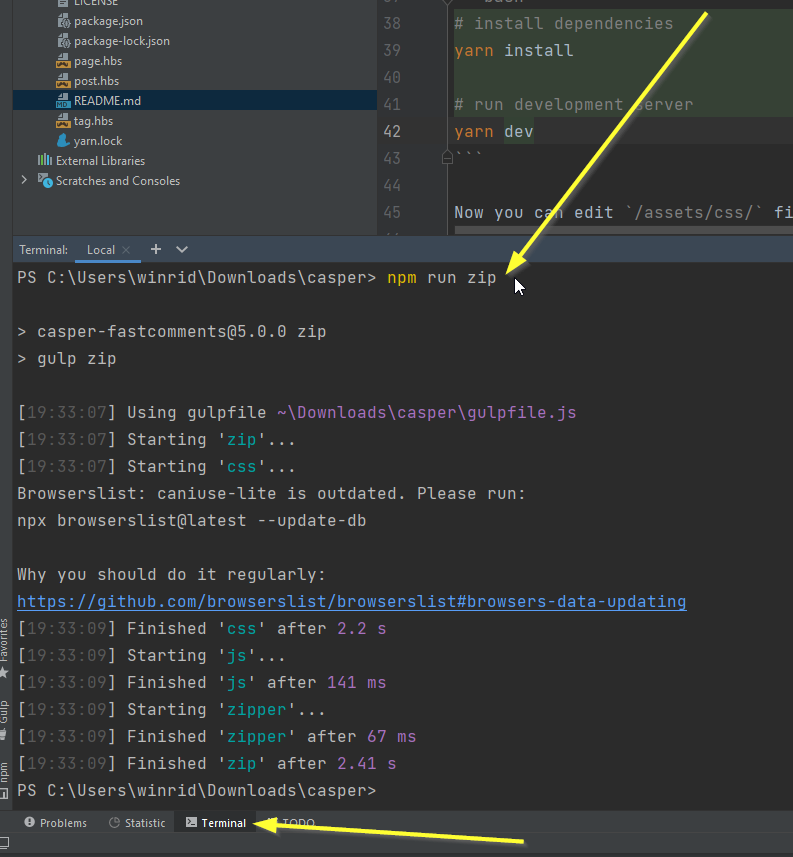
这会将主题打包成一个位于 dist/casper-fastcomments.zip 的 zip 文件(如果这是你在 Step Three 中为主题命名的名称)。
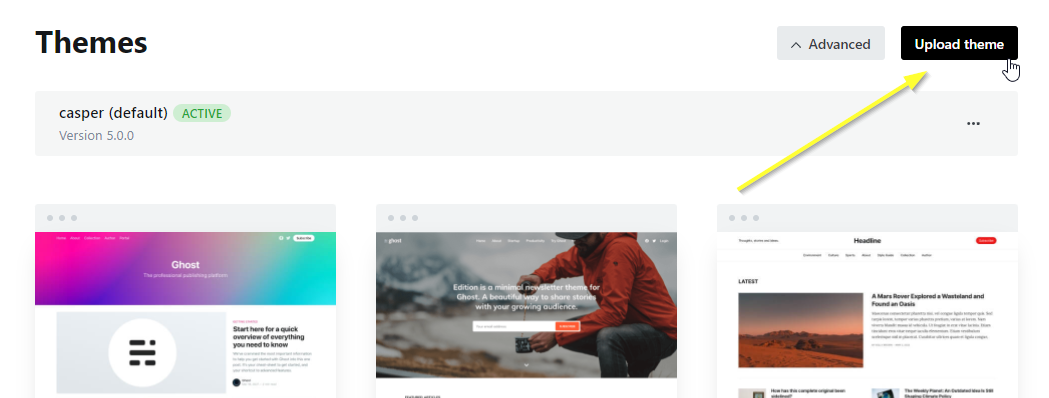
步骤 7:将主题上传到 Ghost
回到 Ghost 仪表板,我们来上传我们的主题:
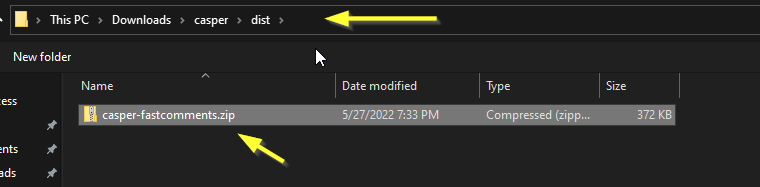
就我而言,我的 zip 文件位于以下位置。注意 dist 文件夹:
记得激活你新上传的主题(Ghost 应该会提示你)。
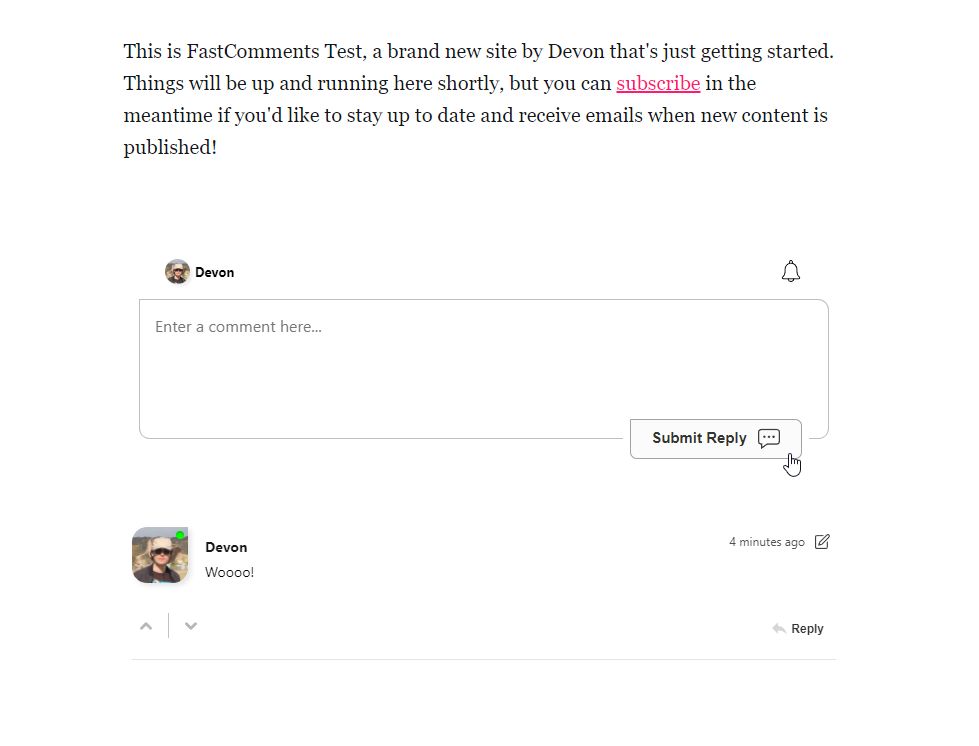
成功!
现在我们应该已经为我们的成员启用了 FastComments 即时评论功能!
恭喜你在 Ghost 中完成了 FastComments 的设置!如果你遇到域名错误,或想了解如何自定义评论区,请继续阅读!
域名错误
您可能会遇到如下授权错误:

这是因为 FastComments 不知道应该允许在此域上使用您的帐户。
在这种情况下,修复很简单。您只需将您的网站添加到 FastComments.com 帐户中。